

How to lace sneakers with a clear starting point
Learning how to lace sneakers becomes easier when you separate three jobs: threading the lace, distributing the slack and tying the bow. A neat pattern cannot rescue a shoe that does not suit you, and pulling harder is not a useful shortcut. This guide uses ordinary criss-cross lacing on casual low-top sneakers with paired eyelets. It offers a small, reversible preparation task, with optional MogRise planning if remembering the sequence is your main difficulty.
Choose one pair you already wear comfortably. Work on one shoe before copying the arrangement to the other. Keep the original laces if they are intact and appropriate for the shoe. There is no need to purchase a new colour, collect several patterns or photograph every attempt. The useful result is a shoe you can put on, secure and remove without a prolonged adjustment session.
A crossed pattern also gives you a simple visual reference: each end travels to the opposite side, one row at a time. Think of left and right from your position looking down at the shoe. A skipped eyelet becomes easier to spot when that reference stays consistent throughout the task.
Check the shoe and lace before changing the pattern
Sit somewhere stable with enough light to see the eyelets. Put an unworn shoe on a clean surface, rather than balancing it on your knee while rushing. Look at the lace tips, the fabric along the lace and the eyelet edges. A damaged tip may make threading difficult; a frayed lace or broken eyelet calls for repair or an appropriate replacement, not extra force.
Notice whether the shoe uses ordinary holes, loops, hooks or a special fastening system. The sequence here is for a straightforward pair of eyelet rows. Follow the manufacturer's directions for other designs. Leave dedicated sports or occupational footwear to its own fitting instructions rather than applying a casual styling experiment to a specific equipment requirement.
Before unlacing, remember where the original route began and ended. One optional reference photo can help reconstruct it, but a short written note works as well. If the original arrangement is comfortable and tidy, you may only need to untwist a segment. Avoid rebuilding a whole shoe merely because a detail looks different from an advertisement.
Begin with two reasonably even ends
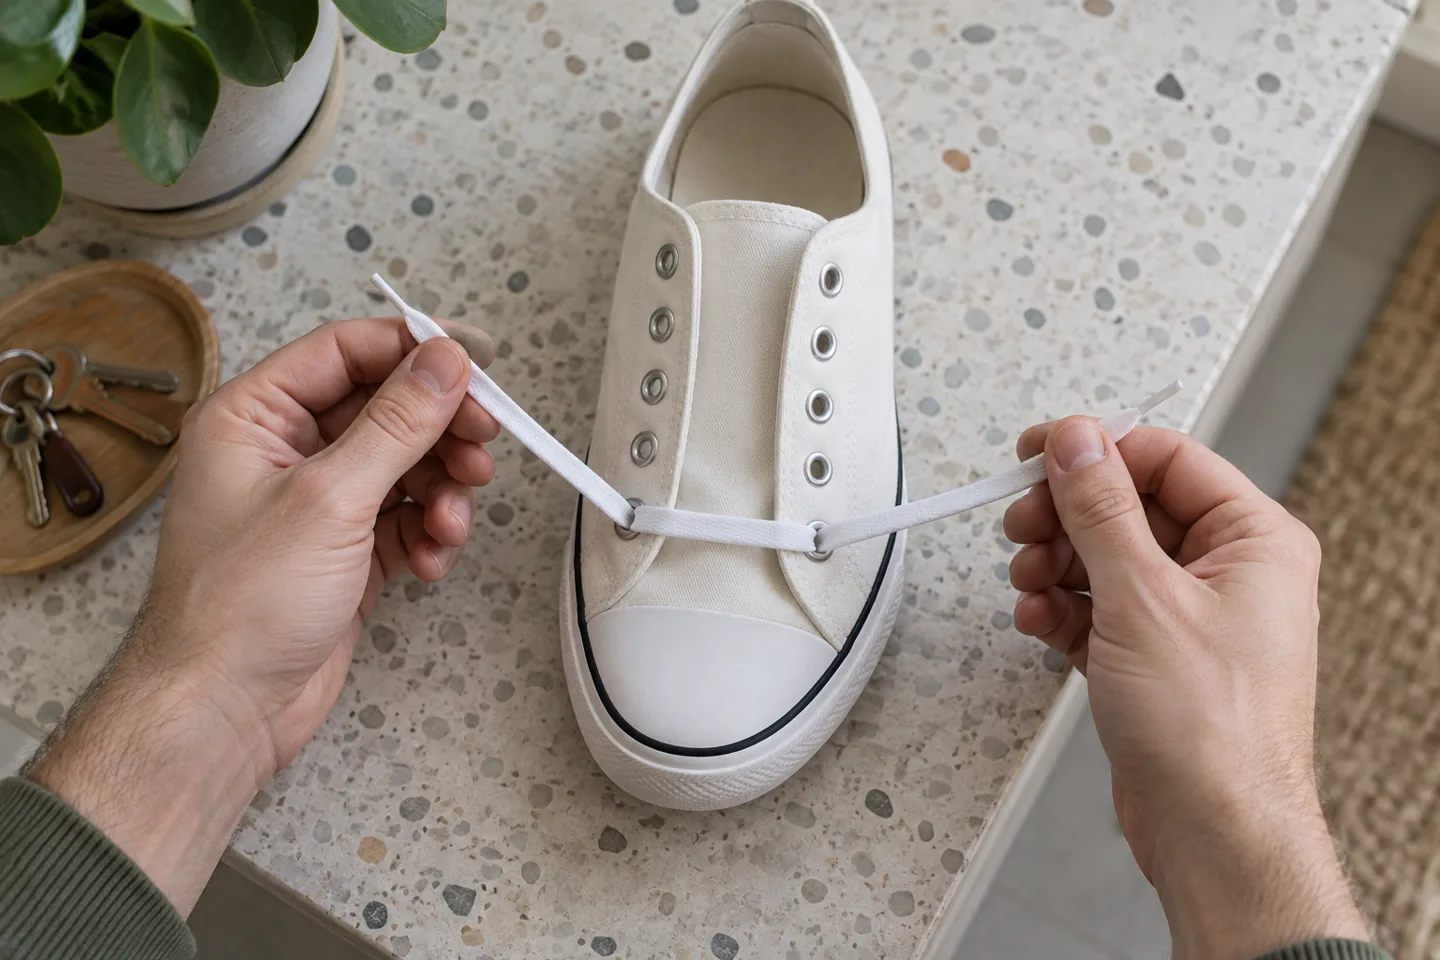
Loosen the top rows and remove the lace gently. Do not drag a damaged tip through a tight opening. Lay the lace out so you can untwist it, then feed its ends through the lowest paired eyelets. Keep the route consistent with the shoe's existing design; this example starts with a horizontal bar outside the lowest pair and ends emerging towards the inside.
Draw both ends out and compare their available lengths without stretching the lace. They need not match to a millimetre, but a substantial difference now will become an awkward bow later. Adjust the starting bar by moving a little lace through the lowest eyelets, rather than trying to compensate at the final knot.
For example, if one end reaches well beyond the other, return some length to the shorter side before making your first cross. You are setting up a usable starting point, not measuring a body proportion. Flat laces are easier to inspect when their broad faces lie open; remove a visible twist with your fingers before it travels into the next row.
Build the crosses one row at a time
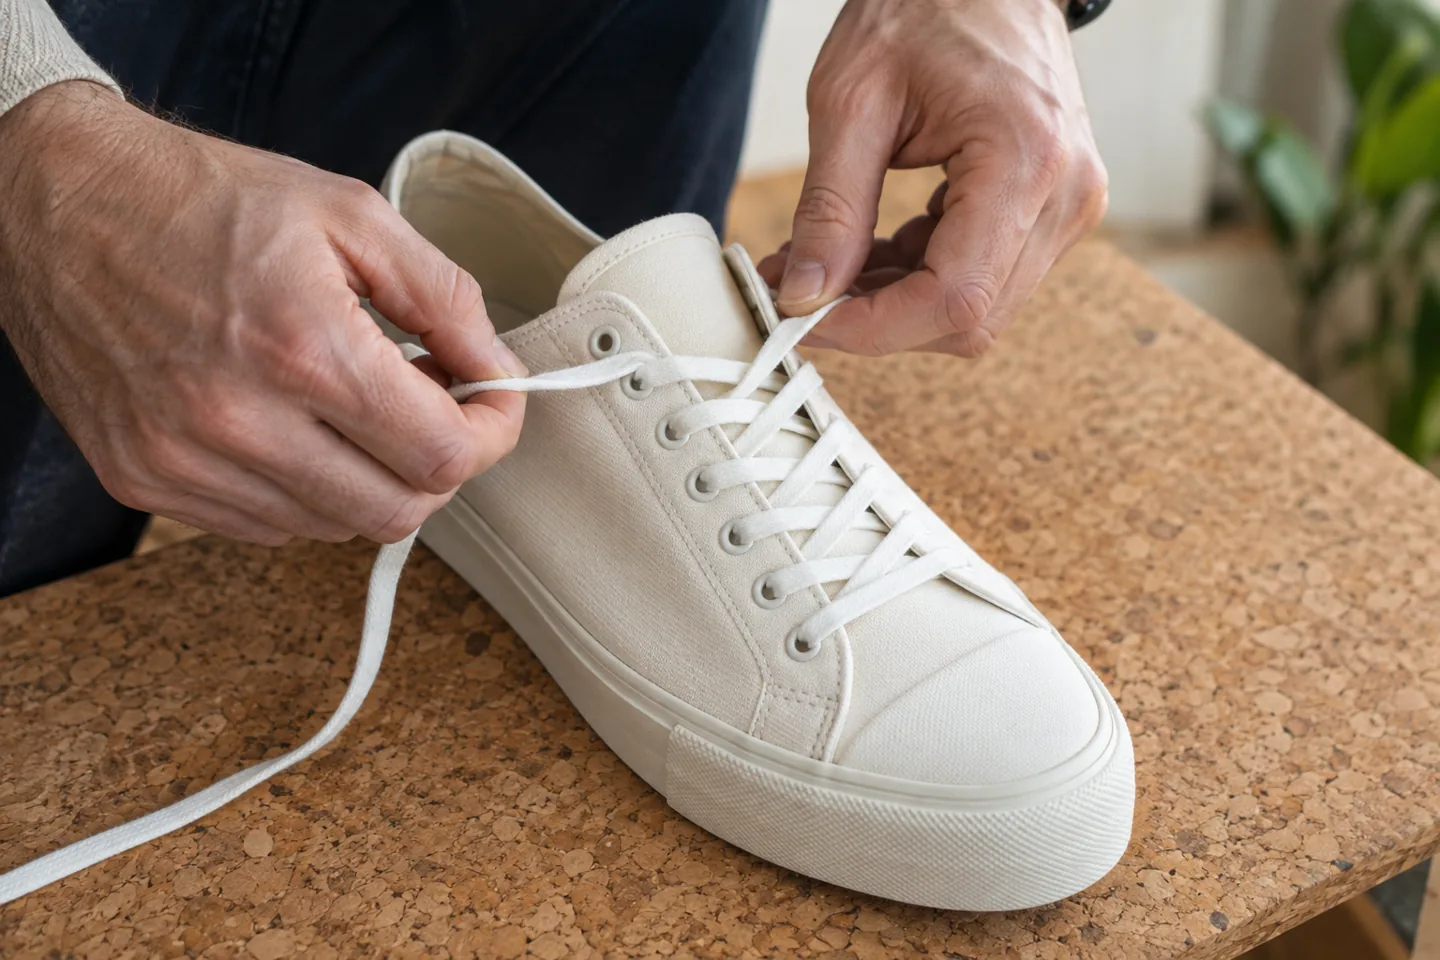
Take the left end across the tongue and thread it through the next eyelet on the right. Then take the right end through the next eyelet on the left. In this example, both travel from inside to outside at each new row. Repeat that same route upwards, using one new pair of eyelets for each cross. Keep the tongue centred while you work.
The basic equal-ends and crossed-row sequence is also shown in Nike's standard lacing instructions. That page covers running footwear; only the ordinary threading sequence is used here, without adopting its performance or injury claims.
Pause after two rows. Check whether each end has passed through one eyelet at the same level, whether a flat lace has rolled over and whether the tongue has folded underneath. Fix an error at its first appearance instead of carrying it upwards. Leave enough slack for the next threading movement. A lace that already feels jammed is harder to correct and is not proof of a secure fit.
Straighten the route before tightening anything
Once you reach the intended top pair, look down the completed route. A crossing can lean slightly without being wrong. What matters is that you can follow both ends from the bottom to the top, with no unexplained skipped row, doubled segment or trapped tongue. Work patiently around a small twist rather than tugging on the entire lace.
If a top end is much shorter, check the starting lengths first. Unthreading the last few rows may be enough to correct a modest difference. Do not stretch one end, trim the other with scissors or hide a long tail inside the shoe as a quick visual fix. Preserve the lace and make the arrangement easy to undo.
The wider outfit is a separate decision. Our wardrobe fit audit helps assess clothes without treating every small accessory adjustment as a reason to rebuild the whole look. Finish the threading task before judging it alongside trousers, socks or a jacket. Several simultaneous changes make it difficult to know which one actually solved your practical problem.
Redistribute slack with the shoe on
Put the shoe on using your usual socks and release enough lace to avoid forcing your foot through a closed opening. Settle the tongue, then work upwards from the lower rows, moving small amounts of slack between neighbouring segments. Pulling only the free ends can leave the lower section unchanged while compressing the top. Aim for an ordinary secure arrangement you can tolerate comfortably.
Take this as a practical check, not a technique for changing foot shape or correcting a medical concern. If a shoe hurts, creates numbness or remains uncomfortable after loosening, stop wearing it for this experiment. A different lace pattern is not a diagnosis or a guarantee that the shoe is suitable. Persistent symptoms deserve qualified advice.
As an example, a visibly uneven middle cross can be addressed by easing a little slack into that segment while seated. Recheck the nearby rows, then stop adjusting if the arrangement works. There is no target force, beauty score or ideal gap between the two eyelet panels. Real shoes and preferences differ.
Tie an ordinary bow and keep the ends controlled
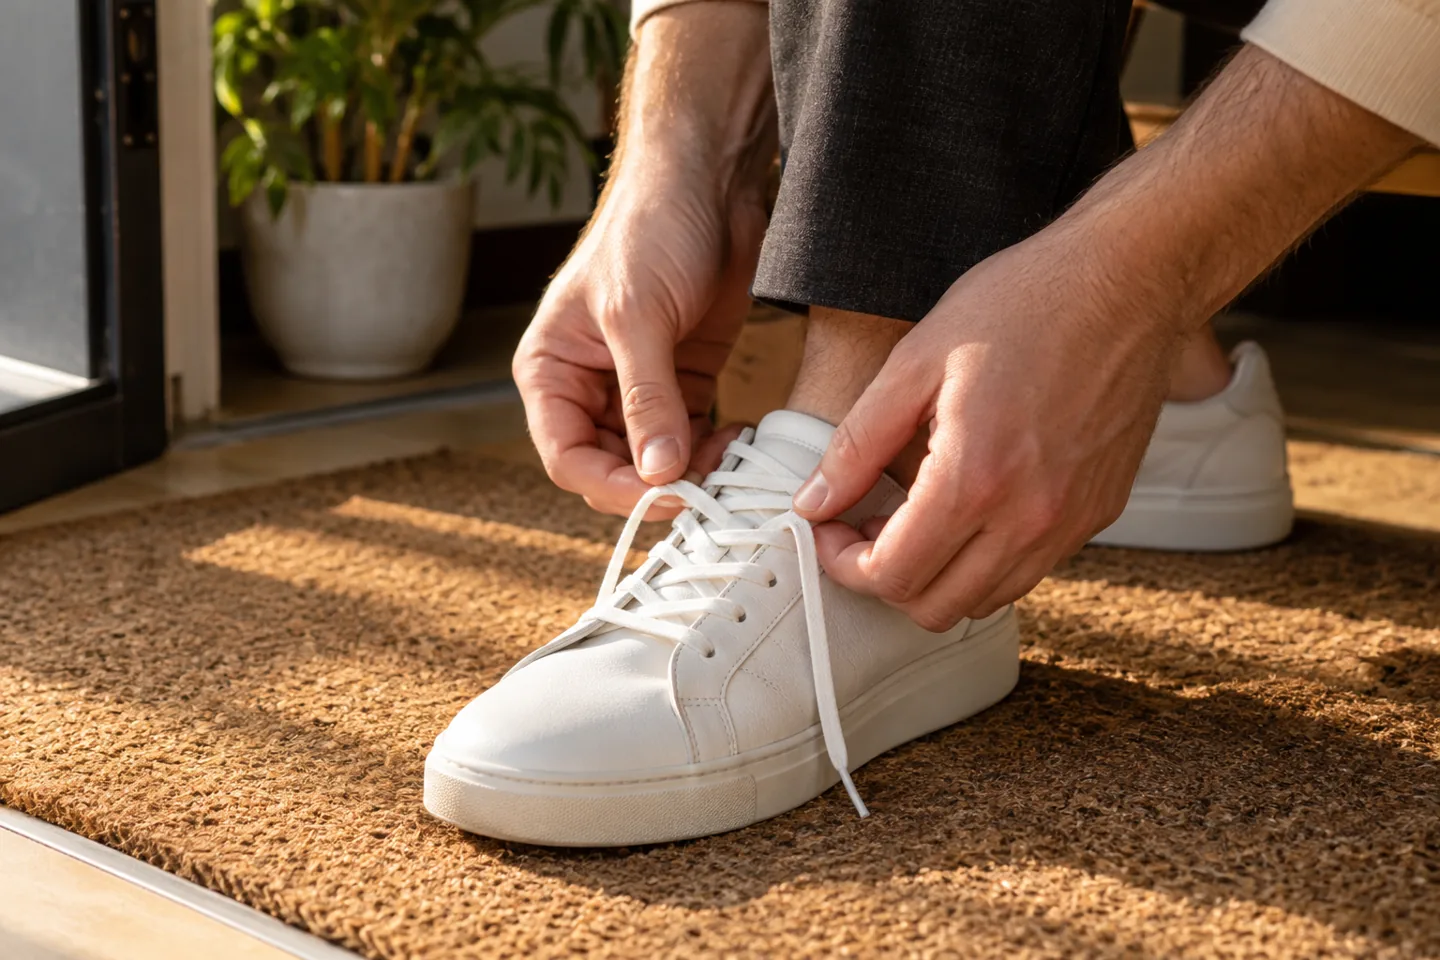
Use a bow you already know how to tie reliably. The objective is a fastening that stays tied during normal use and can be undone when you remove the shoe. Check that the loops and tails remain clear of the floor. A large decorative bow is not helpful if its ends trail under your steps.
If the ends are inconveniently long, first confirm that you used the intended rows and started with reasonably even lengths. An appropriate replacement lace can be considered if the supplied length does not work, using the shoe maker's guidance. Avoid choosing a length solely from another person's photograph: eyelet count, spacing and your final bow all affect the amount needed.
Do not turn this into a hidden-knot project unless the shoe's design specifically calls for it. A knot or loose tail tucked under the foot can be unpleasant and makes the fastening harder to inspect. For this simple trial, a visible, manageable bow is sufficient. Reopen it fully when removing the shoe, rather than repeatedly pushing a foot through a tied opening.
Make one short movement check
Stand up carefully, then take a few ordinary steps on a clear, level indoor surface. Check whether the fastening holds, the tongue remains in a usable position and the bow stays clear of the floor. This is a brief check of your current setup, not evidence that a lace arrangement is right for exercise, long distances or every possible activity.
Sit back down if you need a small adjustment. Change one thing, such as redistributing slack at a single middle row, rather than replacing the pattern and the laces together. If repeated tweaks are necessary, abandon the trial and return to a comfortable arrangement or seek help with the shoe itself. More time spent adjusting does not make an unsuitable shoe suitable.
Our guide to tracking style without overthinking offers a useful boundary: review a practical choice, then return to your day. No daily lace photographs or appearance ratings are needed. A satisfactory result can simply be “easy to fasten and comfortable for this ordinary use.”

Use MogRise for a focused preparation question
MogRise is our publisher's app. Its official product description includes personal plans, daily actions and Coach follow-up questions about implementation and simpler alternatives. Those features can help organise this task when the obstacle is remembering the order or fitting it into a morning. They do not measure lace tension, inspect shoe construction or diagnose foot problems.
Give the Coach context you can describe yourself: “I wear this casual pair with my usual socks. The threading is complete, but I rush the final bow. Help me make a short preparation checklist.” A useful plan might separate checking the route, putting the shoes on and tying both bows. This is an example of a question and routine, not a claim that the app produced or tested a particular answer.
Keep the physical decision with you. If a suggestion conflicts with the shoe maker's instructions or your comfort, do not follow it. You can complete every step in this article without an app. The realistic looksmaxxing plan guide explains how to keep optional planning small enough to serve a real day.
Finish with a reusable setup
Copy the working route to the second shoe, checking it separately rather than pulling it to look identical. Keep the same everyday socks and activity for this first check. Shoes can differ slightly in how they sit; visual symmetry is not more important than a usable fastening.
Leave the pair somewhere you can sit to put it on next time. Untie and loosen before removal so the next use does not begin with a struggle. If you choose to save a note, make it concrete: starting bar outside, simple crosses upwards, slack checked while seated, normal bow. There is no benefit in turning that note into an appearance log.
The stopping point matters. Once the route is understandable, the ends are controlled and ordinary use feels acceptable, close the task. Changing lacing colours or collecting elaborate patterns can wait for a separate preference decision. Today's useful result is a straightforward arrangement you can repeat without needing a fresh tutorial every morning.
Frequently asked questions
Must both shoes look perfectly identical?
No. Use the same basic route, but check each shoe on its own. Minor visual differences do not require further tightening. Comfort and a manageable fastening matter more than matching every diagonal angle in a photograph.
Why is one lace end shorter at the top?
It may have started shorter, or one side may have followed a different route. Trace the lace downwards and correct the earliest difference. Rebuilding a few rows is more useful than stretching or cutting an end.
Can this solve a shoe that feels too small?
No. This guide is a threading and preparation exercise. Do not use extra force or a novel pattern to justify wearing an uncomfortable shoe. Stop if discomfort persists and obtain appropriate advice about the footwear.
Do I need MogRise or a photograph?
Neither is required. A short written sequence is enough. MogRise is optional for planning and implementation questions; a photo can document a route, but cannot establish comfort, suitability or a medical conclusion.