

How to tie a tie with one repeatable route
Learning how to tie a tie is easier when you separate the knot from the rest of getting dressed. This guide uses the four-in-hand: one familiar route, a length adjustment and a comfortable finish. You do not need a collection of knots, a new tie or a photograph of your face. Start with the shirt and tie you intend to wear, then judge whether the result works with those clothes.
The practical target is modest. The fabric should lie without an obvious twist, the wide blade should finish around the trouser waistband, and the collar should feel comfortable. A small difference between the two sides of this knot is normal. You are learning a clothing skill, not trying to produce a perfectly symmetrical triangle or meet an attractiveness standard.
Allow an unhurried practice attempt before the occasion. If you are already running late, asking someone to demonstrate the route beside you can be more useful than opening several different tutorials. Keep one method in view until its movements make sense.
Prepare the shirt before the knot
Put on the trousers you will wear and settle their waistband where it normally sits. This gives you a real reference for the tie tip. Checking against an untucked shirt or different trousers can leave you correcting the length later. Button the shirt as you intend to wear it; do not use a tie to force an uncomfortable collar closed.
Raise the collar enough to see the fabric route. Clear necklaces or loose accessories from the working area, and stand somewhere you can move your hands freely. A mirror is useful for the final check, but looking down at every movement while also following its reflection can become confusing. Choose whichever view lets you identify the two ends clearly.
If the shirt itself pulls when you turn or sit, deal with that first. Our wardrobe fit audit helps separate a clothing fit problem from an accessory adjustment. Tightening the knot cannot correct the wrong collar size.
Identify the wide blade and narrow tail
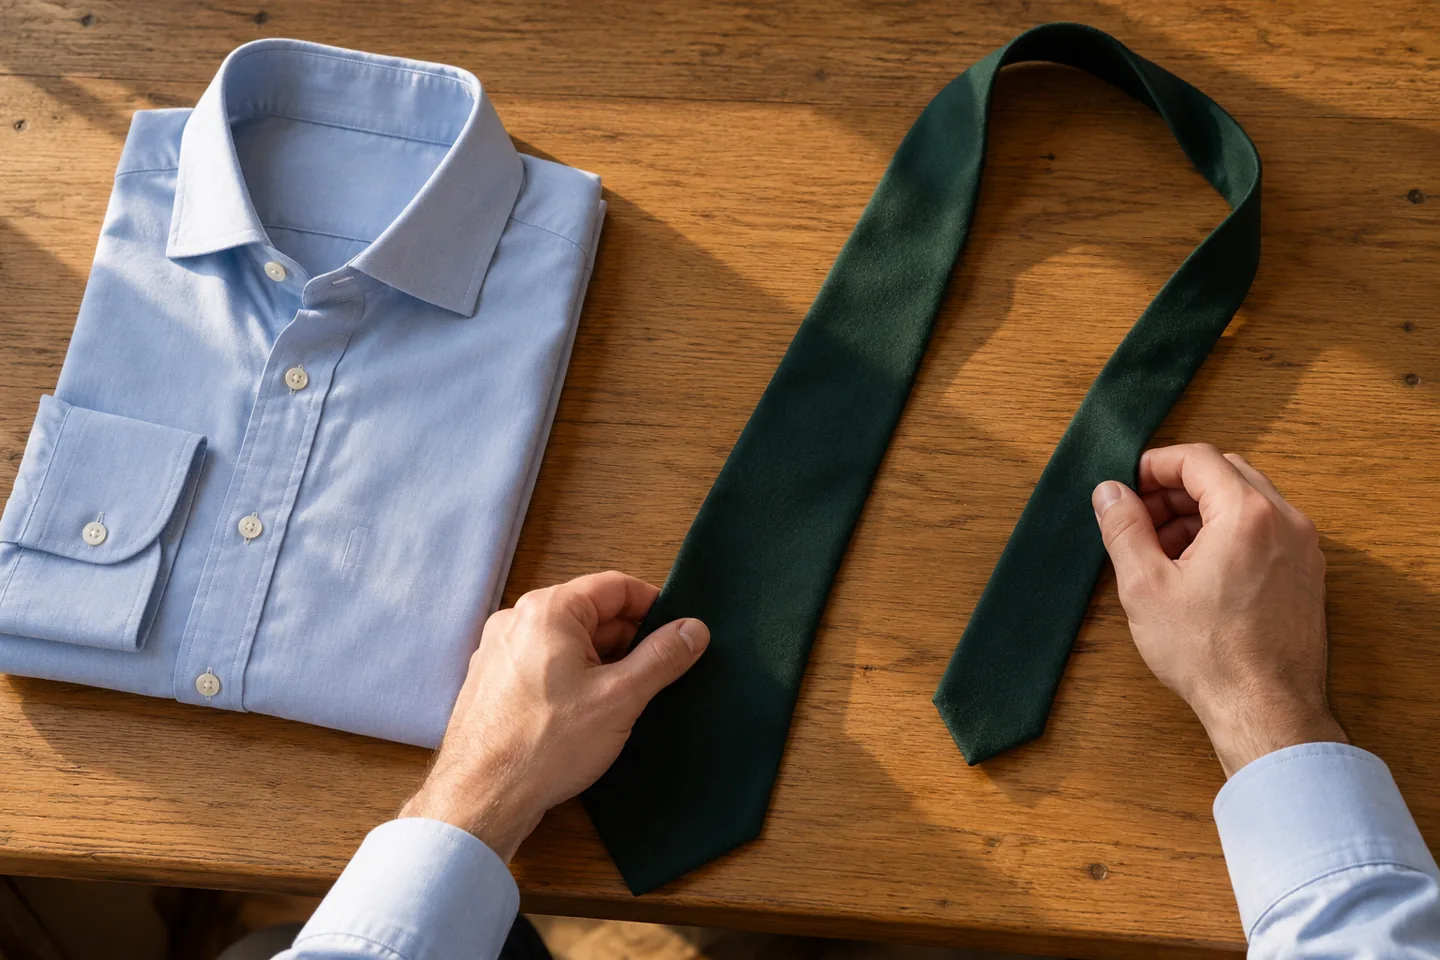
Drape the tie with its main outer face showing and its seam facing your shirt. Let the wide blade hang longer than the narrow tail. There is no universal starting distance that works for every torso, tie length and fabric thickness; the first attempt will tell you what this combination needs.
For the directions below, start with the wide blade on your right and the narrow tail on your left, as you are wearing them. These are your sides, not the sides of a person facing you. Keep that reference even if the mirror reverses what you think you see. If you already tie comfortably in the opposite direction, use the mirrored route consistently rather than switching halfway.
Notice where the narrow tip begins relative to a shirt button. Treat this as a temporary reference, not a measurement to copy onto every tie. You can return to it after seeing the finished length.

Make the crossing and leave the front open
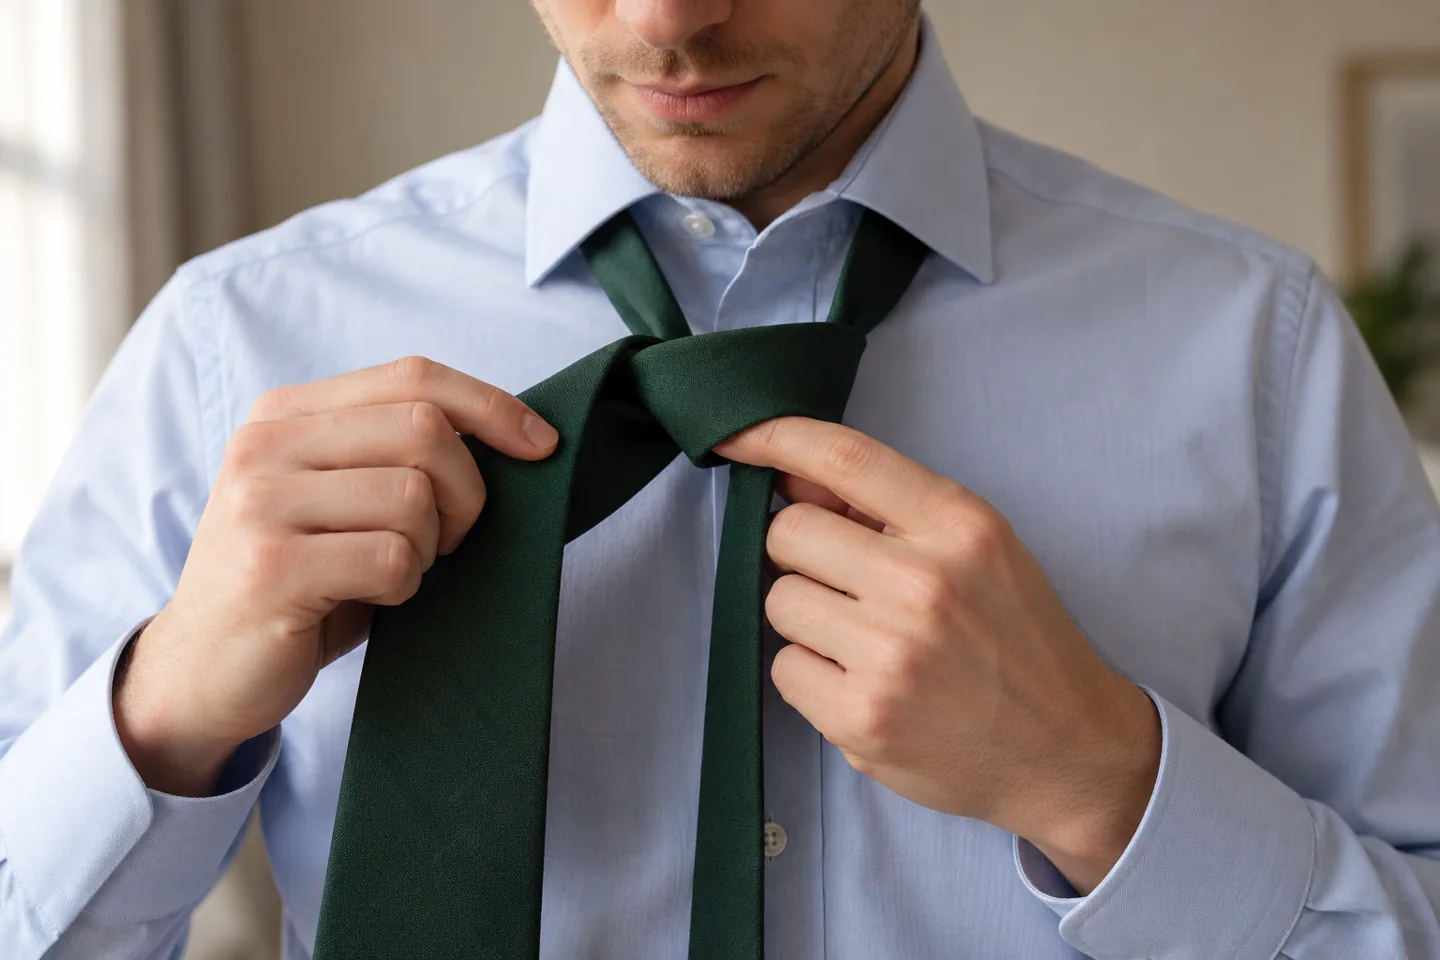
The route is compact: take the wide blade across the front of the narrow tail toward your left, behind it toward your right, then across the front toward your left again. Keep that final front band loose. Bring the wide blade up from behind through the neck opening, then down through the front band. Gently draw it through while holding the knot shape.
That sequence follows the illustrated four-in-hand instructions from Charles Tyrwhitt. Its useful reference is the fabric route and the knot’s slight asymmetry; you do not need its product recommendations or claims about universal suitability.
Pause before making the knot firm. Look for a flat front band and fabric that is not rolled into a cord. If the route has disappeared into a tight bundle, loosen it now. Pulling harder usually makes it more difficult to see which opening you used.
Tell the two openings apart
Beginners often confuse the larger opening around the neck with the small band at the front. The wide blade travels upward through the neck opening from behind, then downward through that front band. Those are separate passages. Keeping a finger lightly behind the front band while forming it can help you preserve the second opening.
Take your time with the tip. Feed it through instead of repeatedly dragging the full width against a closed gap. If the cloth catches, stop and open the band a little. Be particularly gentle with delicate fabric, loose threads or a tie you have borrowed; forcing a movement is unnecessary.
Try saying the route quietly in your own words: across, behind, across, up, down. The reminder is a movement cue, not a speed challenge. Once the blade is through, remove the supporting finger and let the fabric settle before deciding whether anything needs correcting.
Adjust the finished length at the starting position
Hold the narrow tail while guiding the knot upward gently. Stop where it sits comfortably beneath the collar, then lower the collar and look at the full outfit. Use the trouser waistband as an approximate visual reference for the wide tip. A workable result matters more than hitting a tiny exact point on the buckle.
If the wide blade finishes too short, undo the knot and start with more length on that side. If it finishes too long, give that side less starting length. Change the initial position while keeping the knot route the same. Do not change the wrap, tie and starting position all together, because you will lose track of which adjustment helped.
For example, a shorter result can be corrected by moving the wide blade a little lower before the first crossing. Make one deliberate correction, retie and check. Avoid yanking the completed knot in an attempt to redistribute a large amount of fabric.
Check the narrow tail without cutting it
Look behind the wide blade. If the narrow tail is visible below it, return to the starting lengths. Do not cut, pin, glue or improvise a permanent alteration just to rescue a hurried first attempt. A borrowed tie should remain exactly as you received it, and a concealed problem is still a problem when you move.
Some ties have a small keeper loop on the back of the wide blade. If yours does, use it gently when the tail reaches it comfortably. Do not force a short tail into the loop or stretch the tie to make it reach. This is a finishing detail, not proof that the knot is correct.
If repeated sensible adjustments cannot give usable lengths at both ends, the particular tie may not suit the combination you are trying. Ask a clothing professional or someone experienced with ties to look at the actual garment. That is more useful than blaming your body proportions.

Lower the collar and make one movement check
Fold the collar back into its ordinary position and check that it has not trapped a twisted section. Turn your head naturally, sit down and stand again. You should not need to hold a stiff pose to make the outfit work. If the collar or knot feels restrictive, loosen it and address the cause rather than accepting discomfort for a photograph.
Now step back to normal conversation distance. This is the view in which the tie belongs to the shirt and trousers. Inspecting the knot from a few centimetres away can make a minor fold seem like the whole outfit. Our guide to tracking style without overthinking offers a useful boundary: make the relevant practical check, then stop checking.
A dimple beneath the knot is optional. If it forms easily and you like it, leave it. If creating one makes the fabric bunch or absorbs all your attention, skip it. The knot does not need decorative perfection to be usable.
Troubleshoot one visible problem at a time
A twisted wide blade calls for checking the route before tightening. A crooked collar calls for lowering and settling the collar again. Incorrect finished length calls for a different starting position. Naming the actual problem prevents you from undoing a successful knot because another part of getting dressed remains unfinished.
Suppose the tip sits where you want it, but the front looks rolled. Keep your remembered starting position and retie with a flatter front band. Suppose the band is flat but the tip is too low. Keep the route and change only the starting length. These are different corrections, even though both involve another attempt.
If you are frustrated, take the tie off and put it down. A short pause is a reasonable part of learning. You do not have to finish a practice session with the accessory on, and you do not owe anyone a difficult knot as evidence of effort.
Decide whether this knot suits the occasion
This guide teaches an ordinary four-in-hand, not a replacement for every dress code. If an invitation asks for black tie, a uniform specifies a particular fastening, or an organiser gives detailed clothing instructions, check those requirements directly. Do not assume that any necktie satisfies them.
For an occasion where a conventional necktie is appropriate, try the finished combination with the actual jacket if you will wear one. Look at whether the collar lies normally and the tie remains manageable when you sit. Avoid introducing another accessory simply because you have finished this one.
If preparation regularly becomes rushed, a plan that fits your life can help you reserve a realistic dressing interval. The knot itself is fully usable without an app. A simple reminder on paper is enough if that is what you prefer.
Undo the tie and keep a useful reference
At the end, loosen the knot and reverse its route gently instead of pulling the narrow tail forcefully through a tight knot. Lay the untied fabric down without a hard new fold, and follow the tie’s care instructions for storage or any cleaning it needs. This tutorial does not prescribe ironing, washing or stain treatment.
Remember one practical detail from a successful attempt: which shirt you used and roughly where the narrow tip started. You can keep that information in a brief note. It may help with the same combination later, but it is not a fixed rule for every tie or another person.
Finish with the accessory put away and the preparation task complete. A repeatable movement, a comfortable collar and an acceptable length are enough. There is no reason to turn an occasional clothing skill into daily appearance monitoring.
Frequently asked questions
Why is my four-in-hand slightly uneven?
Some asymmetry belongs to this knot. Check for twists or discomfort, rather than forcing both sides to become identical. If the fabric lies comfortably and the length works, a small difference does not require another attempt.
Can I use the same starting length every time?
It can be a useful reference for the same tie and shirt. Different ties or a different waistband position may need adjustment. Judge the finished result before treating the old reference as correct.
Should I tighten the collar to improve the shape?
No. A knot should not make an uncomfortable shirt wearable. Loosen it, check the collar fit and choose another shirt or ask for help if needed. Comfort takes priority over a sharper-looking triangle.
Do I need a tie clip or a special tool?
Neither is required for this route. Learn it with the tie you already have, your hands and enough room to move. Add an accessory only if it serves your actual outfit and occasion.