

Where to put your hands in photos
If you are wondering where to put your hands in photos, start by letting both arms hang as you stand normally. Take one frame. For a second frame, give one hand a simple place to rest, such as a bench beside you or the handle of a bag you already carry. Keep the camera in the same place. Comparing those two pictures is usually enough to decide whether the extra gesture fits the picture you need.
Choose the purpose before choosing a pose. A chest-up photo for a staff directory can work with both hands outside the frame. A full-length picture for an outfit may need to show where they rest so the outline of the clothes is easy to see. A picture of you at work might already give your hands something to do. There is no single position that answers all three situations.
Let the first frame be simple
Put the camera somewhere stable. Set the timer and walk into the frame rather than freezing while you wait. When you reach your spot, breathe out and let your fingers rest the way they do when you are waiting to cross the road. Your hands may land in different places. That is fine. Let the first picture give you something concrete to compare with the next one.
If you are photographing someone else, give them one instruction at a time. Suggest a place to stand, then wait for them to settle. If you ask them to adjust their wrists, shoulders and feet together, it gets harder to see which change helped. Nikon’s portrait photography guide offers a wider look at the choices that go into a portrait. Here, the experiment is deliberately limited to one hand.
Pick a contact point that belongs in the scene
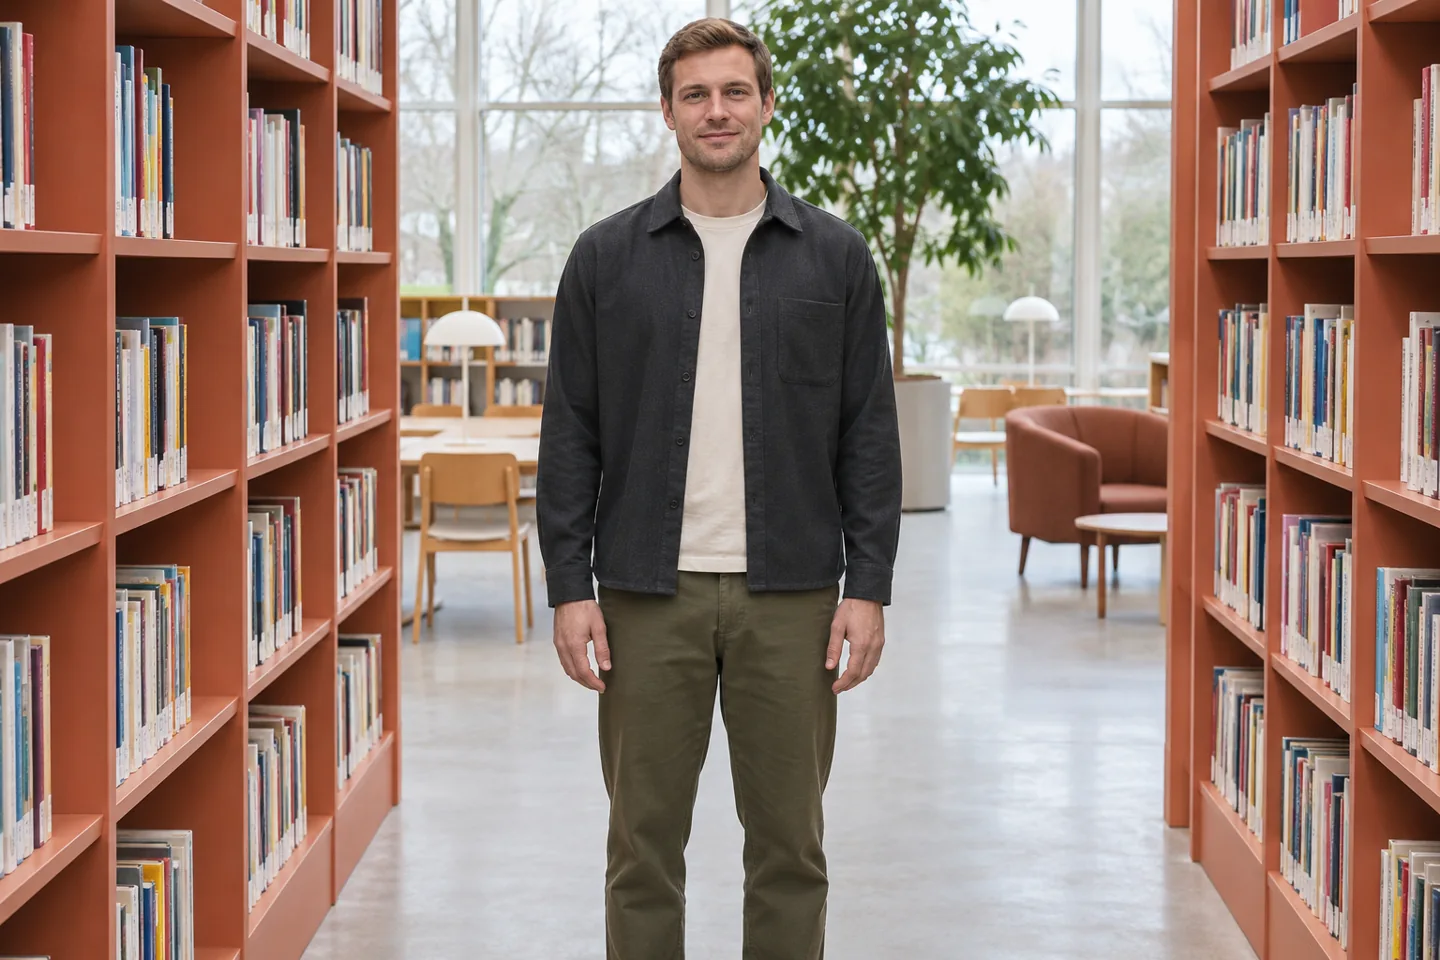
For a standing photo, try resting your fingertips on the back of a chair at your side or letting one hand touch the strap of a bag. The surface should be close enough to reach without leaning. If the chair is too high, you may lift a shoulder to meet it. Move the chair or choose a different resting place instead of holding the position through the photograph.
A pocket can work if you can get your hand in and out easily. A shallow pocket on a jacket may drag the front of the jacket down when you push your whole hand in. Try touching the pocket edge and look at the line of the clothing. If the gesture leaves a sharp pull across a button or hides part of the outfit that matters to the picture, let your hand fall beside you.
When seated, use the chair you have
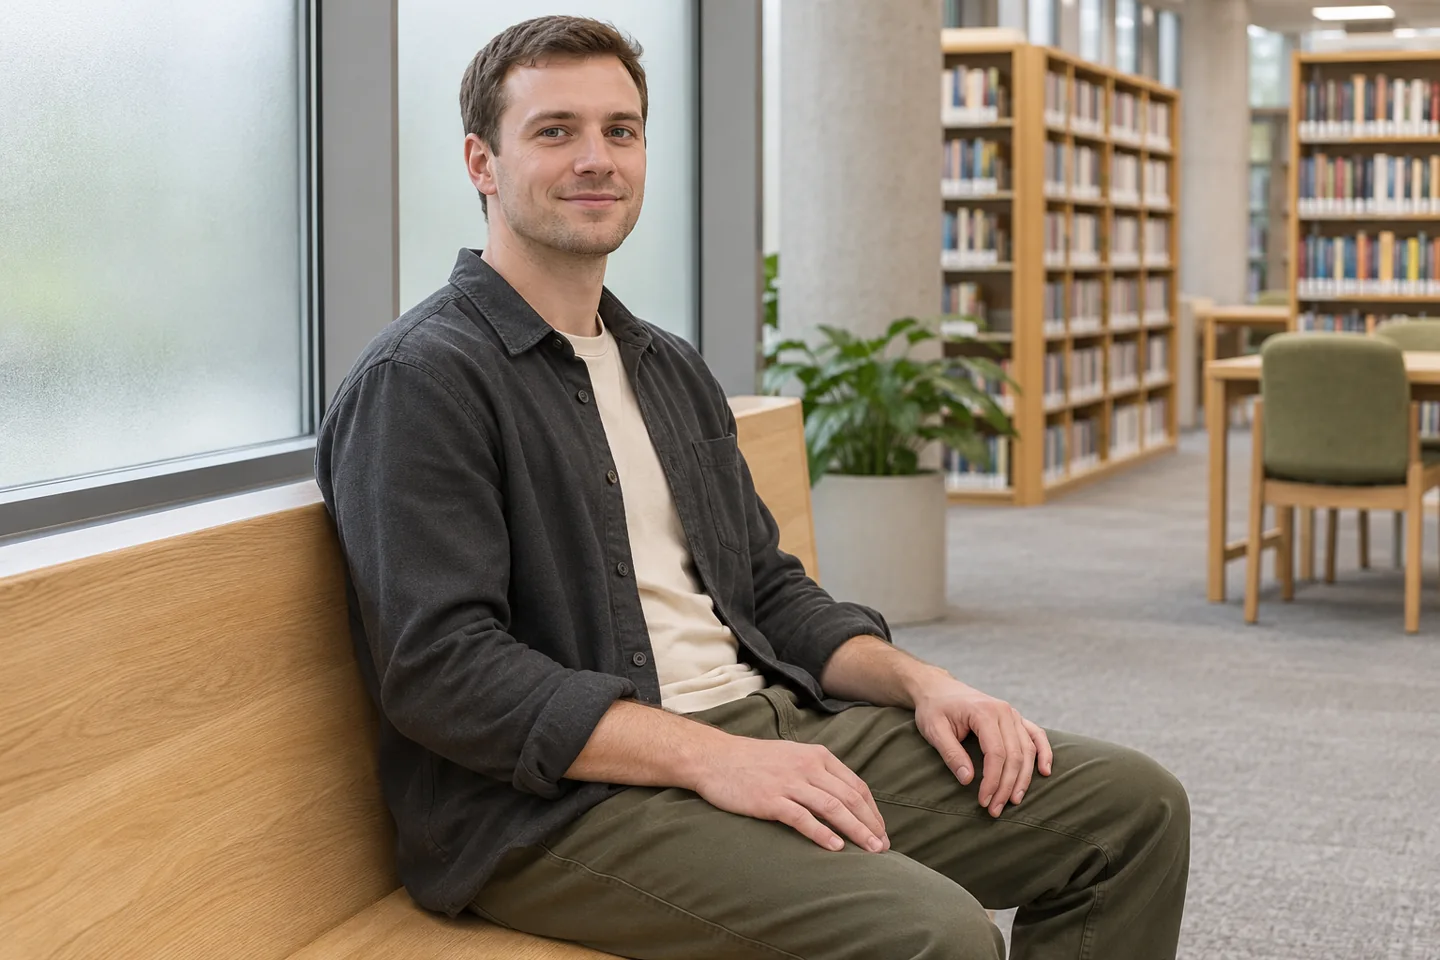
Sit far enough back to feel supported and place your feet where you would put them in an ordinary conversation. Let your hands land on your thighs or put one forearm on the armrest. If the arms of the chair are far apart, one resting hand can be enough. Keeping the other hand on your leg may be easier than trying to reach both armrests at once.
Look at the bottom of the frame before you take the picture. A seated photo that shows only the tops of two knuckles can make a relaxed position look peculiar. Either include enough of the lap to show where the hand rests or frame the photo higher so the gesture stays outside it. Decide based on the final crop, including any crop a profile site will apply.
Hold something only if it has a role
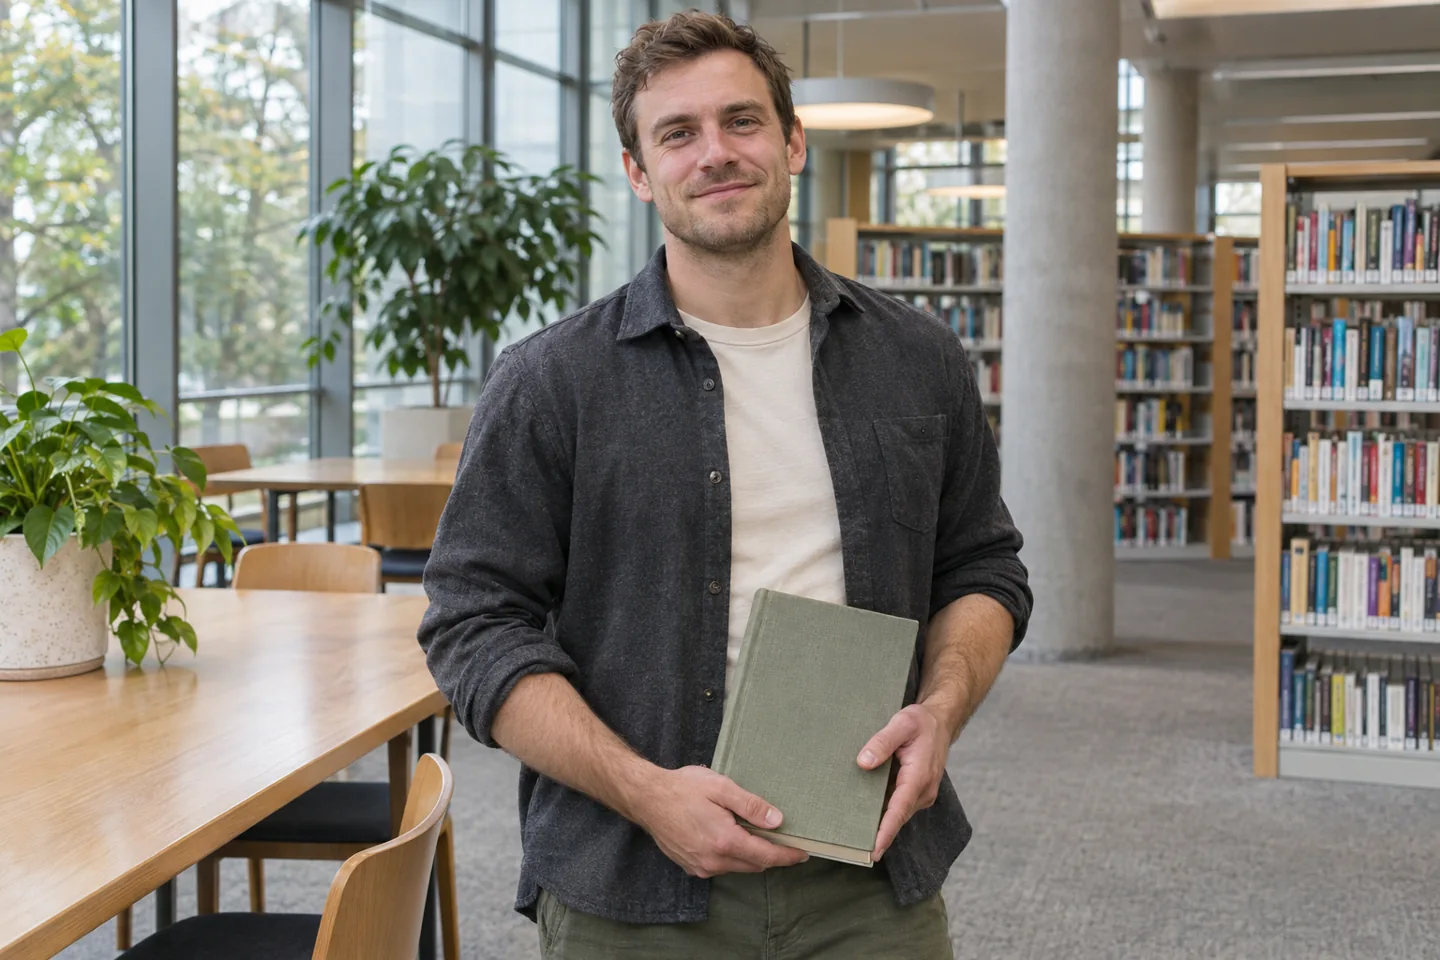
For an environmental portrait, a familiar object can give your fingers something to do. A notebook can make sense at a desk or at a rehearsal. Hold it low enough that it does not become a barrier across the chest. If it feels heavy, set it down and try the empty-handed frame. An object you would never handle in that setting will be harder to hold in a way that feels ordinary.
Watch what the object does to the picture. A pale cup can stand out against a dark shirt, even when you are holding it comfortably. A bag can obscure the pocket or cuff you meant to show. The guide to portrait backgrounds explains how to remove distractions behind you. Apply the same question inside the frame. Does this object give the viewer context, or does it pull attention away from the purpose of the photo?
Compare one change at a time
Use the first frame with your arms at rest and the second with one hand supported. Keep the light, camera height and crop steady. When you review the pictures, ask whether the pose communicates what you need and whether you could comfortably repeat it. If you changed the angle as well, the result can still be a good picture, but it will tell you less about how the hand position affected it.
For an example, imagine a head-to-knees photo in a jacket you wear to work. In the first shot both hands are visible. In the second your right hand touches the back of a chair, without lifting your shoulder. Look at the jacket opening and the space around the hand. If both frames work, choose whichever was easiest to take and finish there.
Use a short plan if it helps you start
MogRise is published by the team behind this site. Its optional personal plans can help organize a bounded task, such as picking a location and setting aside time for two frames. You can put the same task on paper. Write down the purpose of the image, the two positions you will try and your stopping point. That may be as simple as one standing picture and one with a hand on a chair.
Use your own judgment to choose the photo. The app cannot feel whether your wrist is comfortable or know which gesture belongs in a particular setting. For more on setting a stopping point when comparing pictures, see tracking style progress without overthinking. Finish when you have a frame that serves the purpose. You can delete the unused shot or leave it in the camera roll without checking it again.
Fix the crop before correcting your hands
A cropped finger or a palm that looks huge near a phone lens can be a framing problem. Step back a little or adjust the crop rather than twisting your wrist into an awkward angle. For a close portrait, you can let the hands rest below the frame altogether. Preview the image at its intended display size. A detail that you only notice when zoomed in may have no effect at that size.
Leave extra room at the edges if the photo is going to be used in more than one layout. A square profile may cut off space that survives in the original portrait. If a hand or an object gets cut at the edge, decide whether you can adjust the crop while keeping the photo comfortable to look at. You do not have to repeat the shoot if the existing wider frame already gives you the margin you need.
When a photo is for a printed program, ask the person preparing it about the available space before your session. A narrow column may favor a tighter frame, while a wider layout might leave room for a hand on a table. Taking one frame with a little extra room around you gives them flexibility without requiring a second series.

Questions about hands in portraits
Is it fine to leave both hands out of a headshot?
Yes. For a tight portrait, put your hands somewhere comfortable below the frame. Resting one forearm on a nearby table may help you settle, provided it does not push your shoulder up. Look at the whole photo before thinking about what your unseen fingers were doing.
What if I cannot make my hands look symmetrical?
Try letting each hand do something appropriate to where it naturally falls. One might rest on a thigh while the other touches a chair arm. Symmetry is a compositional choice. If both hands feel comfortable and the gesture fits the picture, it does not matter whether they match.
Should I hide a fist or tense fingers?
First give yourself a chance to relax. Lower your arms, move your fingers once and return to a simple resting position. If you still find yourself gripping a prop, set it down. You can also change the crop so that the hands fall outside it. Choose whichever gives you a usable frame in the fewest tries.
How many photos should I take?
Two deliberate frames are a good starting point, with one change between them. Retake one if it is out of focus or someone blinked. Once you have a picture that meets its purpose, use it. You can keep your pose simple next time without trying to reproduce the exact position of every finger.