
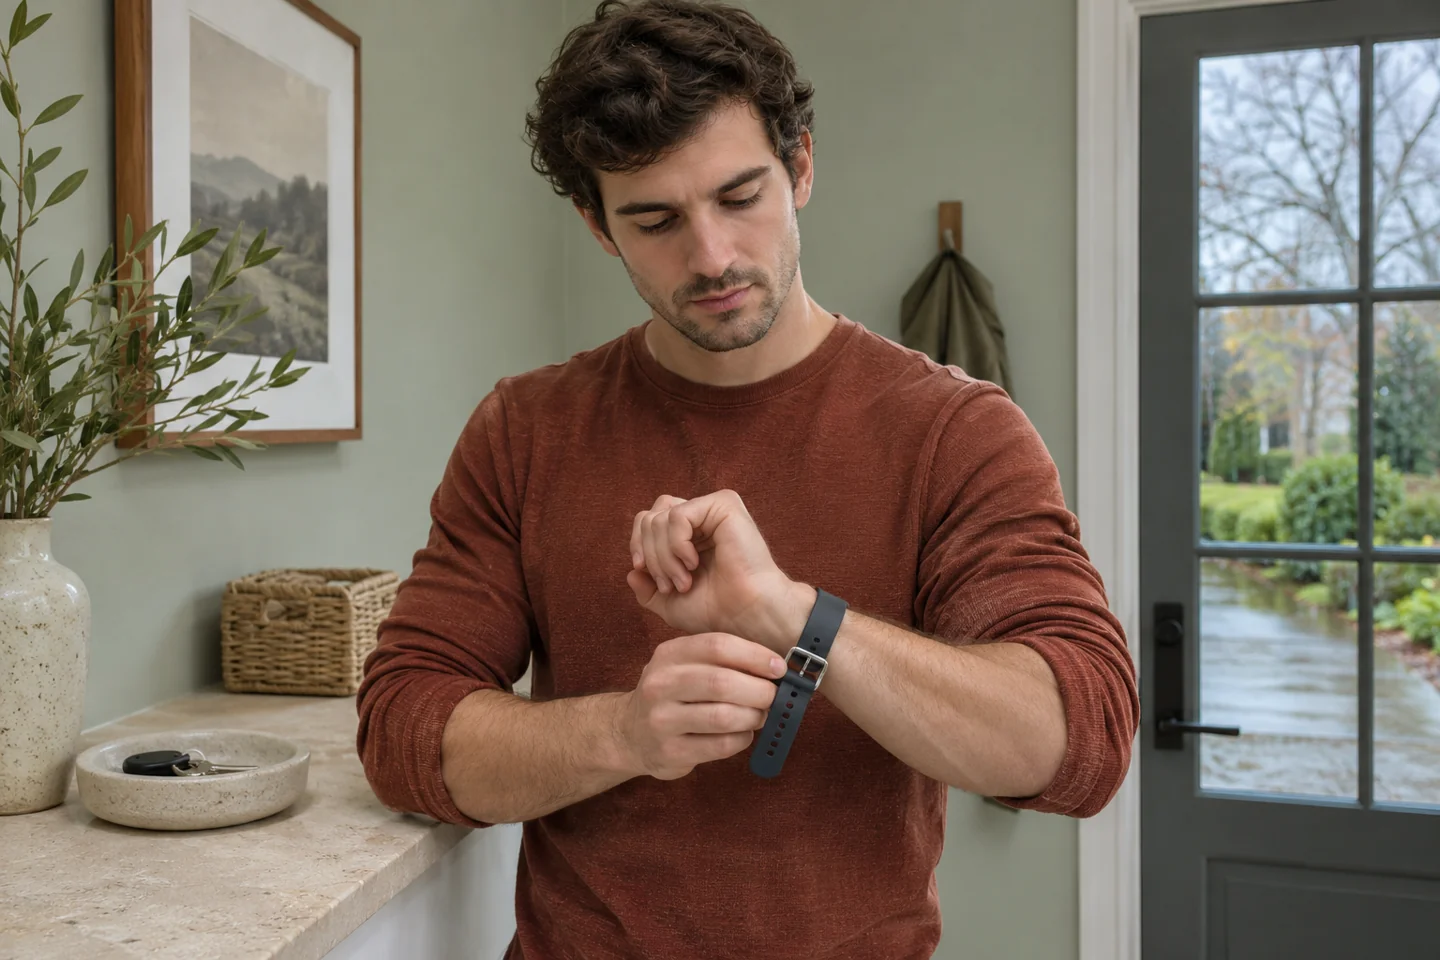
Before you clean a silicone watch band
If you want to clean a silicone watch band after a workout or a long commute, start by identifying the strap and finding its care instructions. If the maker permits it, take off the band, clean it separately with the recommended method, and let it dry fully before you put it back. This guide covers an ordinary removable silicone strap. A similar-looking strap with fabric backing, a fixed attachment or an electronic clasp needs its own instructions.
Set aside enough time to leave the watch off your wrist. A quick rinse five minutes before you leave can create a new problem: you are in a hurry to refit a band that is still wet. Start when the watch can sit on a dry shelf for a while. A simple wipe may be all the maintenance you need, depending on the maker's directions and what you find.
Confirm which part you have
Look up the band itself, especially if you replaced the original. The model name on the watch may tell you nothing about a third-party strap. Use the original packaging, order description or maker's support page to confirm the material and the attachment. Flexible black bands can look much alike even when the care advice is different. A decorative insert or a buckle with extra parts can also change the instructions.
The Garmin guide to band care distinguishes silicone and TPU from leather, nylon and metal. It describes rinsing its silicone or TPU bands with water and letting them dry before wear. Apply the instructions that belong to your band. If the material is unknown or the maker gives no wet cleaning directions, leave out the rinse and ask what is safe rather than experimenting on the strap.
Inspect the underside and the fastening
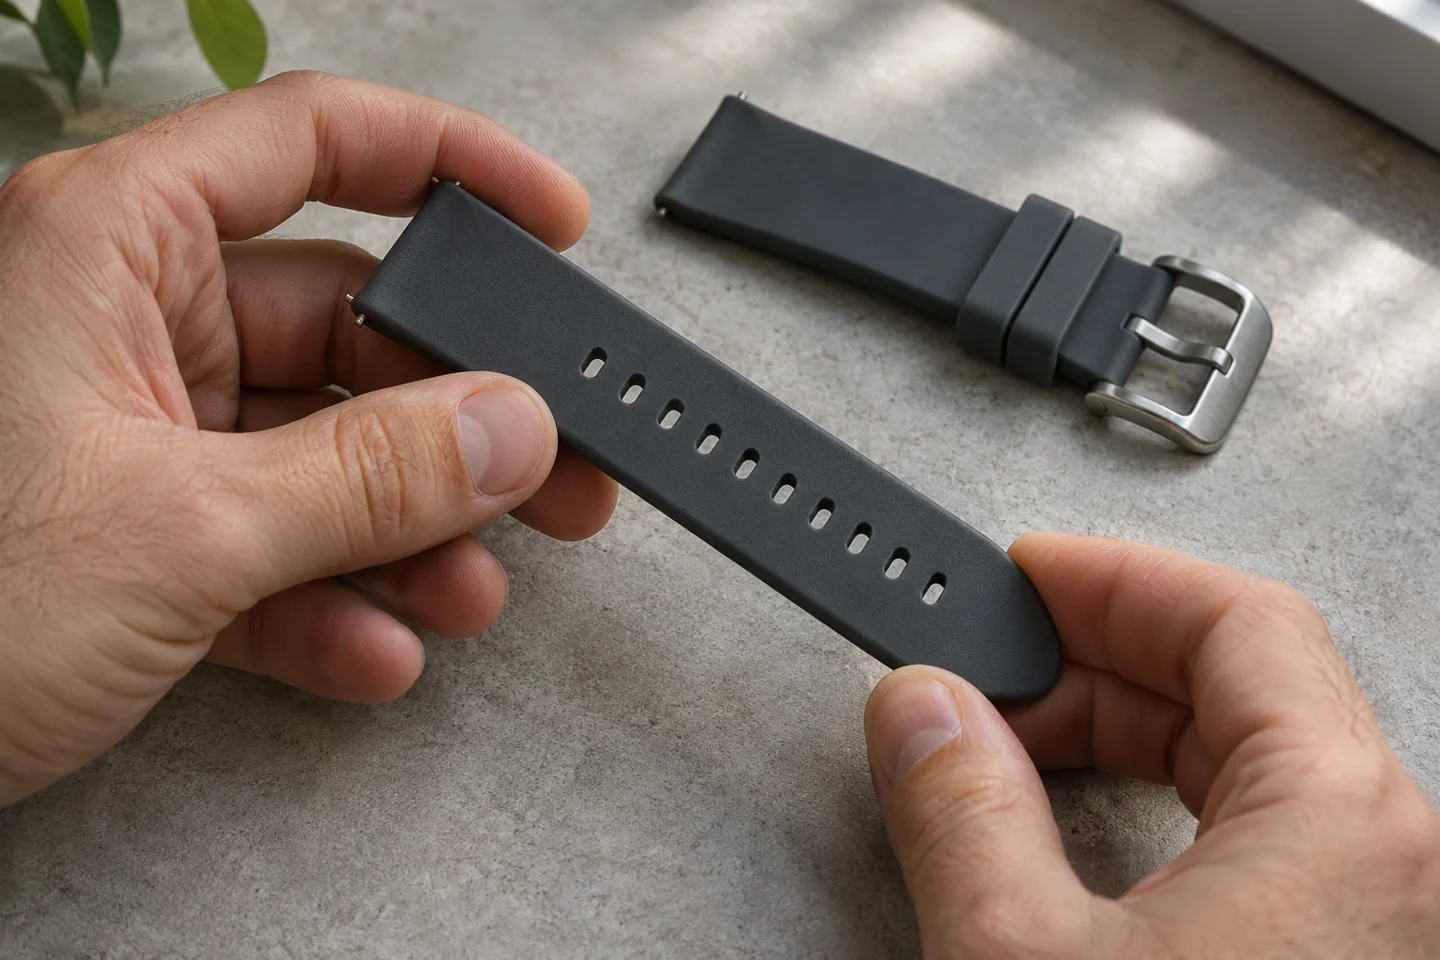
Open the buckle in good light and look at the side that faces your wrist. Check the hole you normally use, the little keeper that holds the tail, and the two ends nearest the watch case. A thin line on the surface can be residue, but a cut at the edge of a hole or a loose connection is a separate problem. If the buckle will not stay closed or an end is torn, set the strap aside.
Notice where the residue collects. If it is along a flat area, a soft cloth may reach it easily. If it sits inside an adjustment hole, open the band out in its natural shape so you can see through the hole. A pin or a knife can damage the edge. You can leave a small mark alone instead of chasing it with a harder tool.
Separate the case from the cleaning area
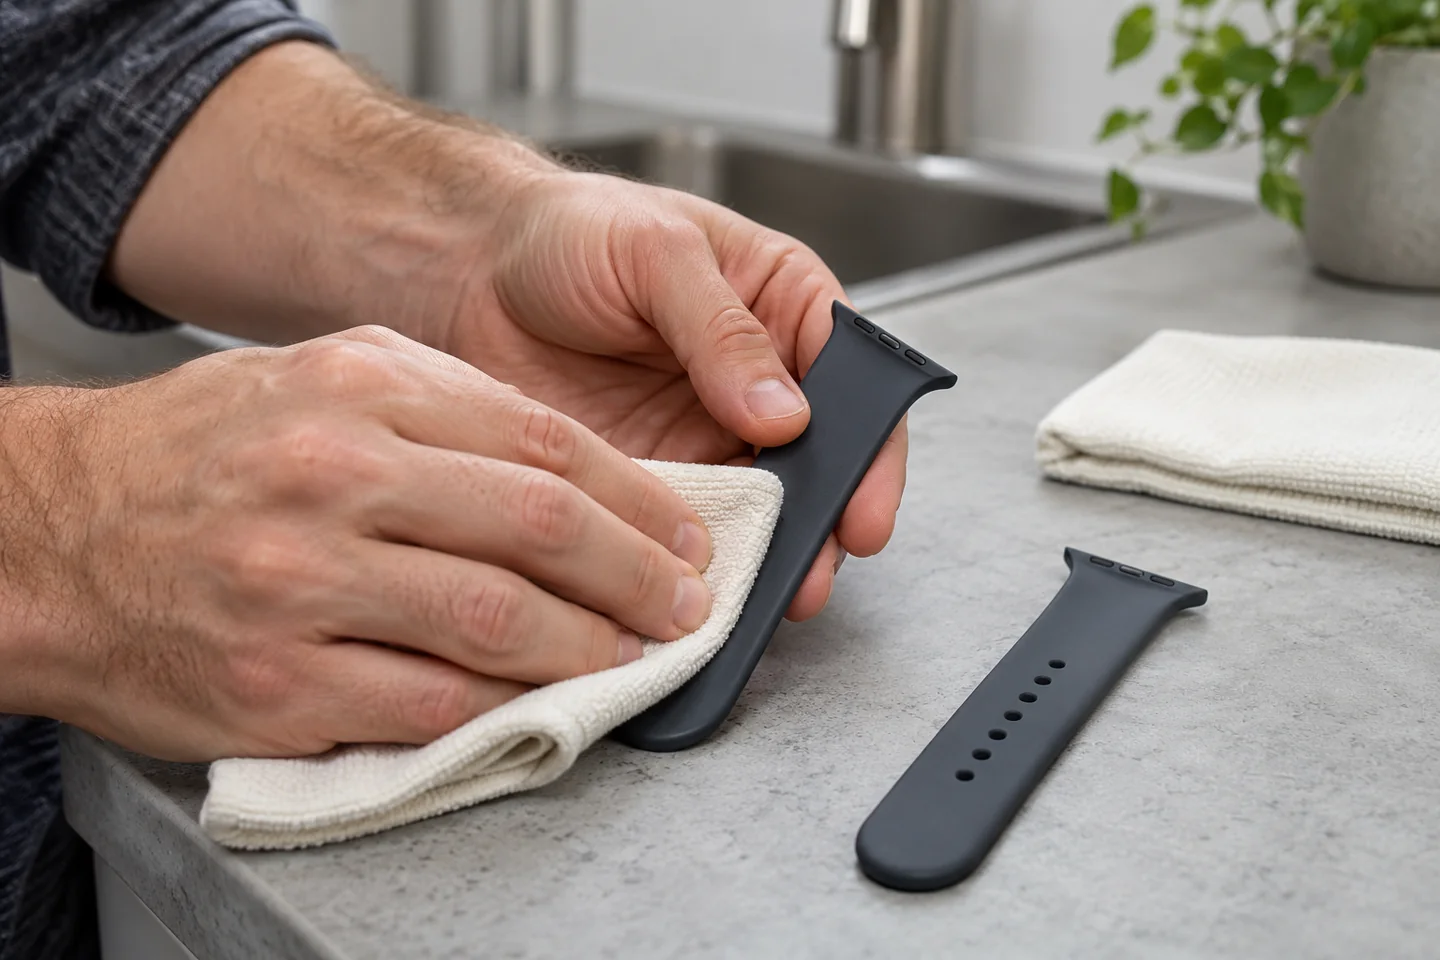
Clear a dry spot first. Put down a soft cloth so the case can rest without sliding, and keep it away from the sink. Remove the band using the directions for your model. If there is a release, follow the indicated direction and support the watch with your other hand. Stop if it takes force or the directions call for a tool you do not have. A strap that is easy to open at the buckle is not necessarily easy to remove at the lugs.
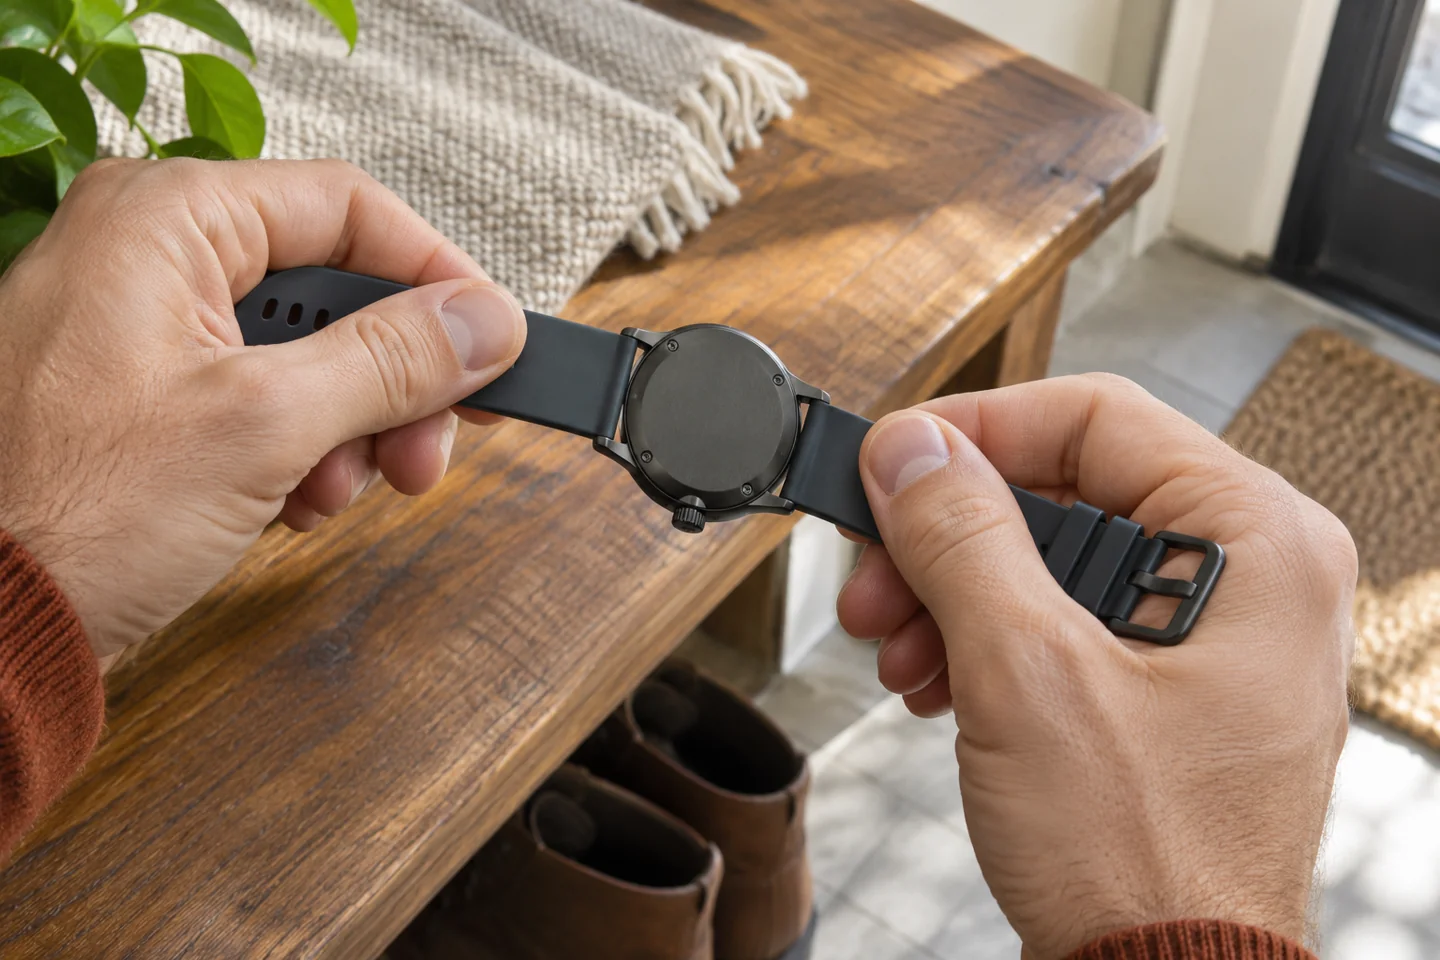
Keep any loose hardware on the dry side, away from the drain. Set the strap halves next to each other in the order you removed them. If the two ends look alike, take a quick reference photo for reassembly. This is a mechanical reference: you only need the attachment and buckle in view.
Clean the places that actually need it
Follow the maker's method. Where a wipe with a damp cloth is specified, use a clean soft cloth and turn it to a fresh part when you move from one patch to the next. For a band approved for rinsing, rinse only the detached strap as directed. The water rating on the case is a separate matter and does not tell you whether to wash a particular band or clasp.
Start on the side that touches the wrist. Open the buckle and move the keeper only as far as it normally travels to reach the area beneath it. Once you have addressed the places you saw during inspection, pause. A faint patch of color from use may remain even though the transferable residue is gone. Scrubbing it over and over makes it harder to tell whether the finish itself has changed. Leave stronger products, abrasives and household stain tricks out of this routine.
Let both sides dry before refitting
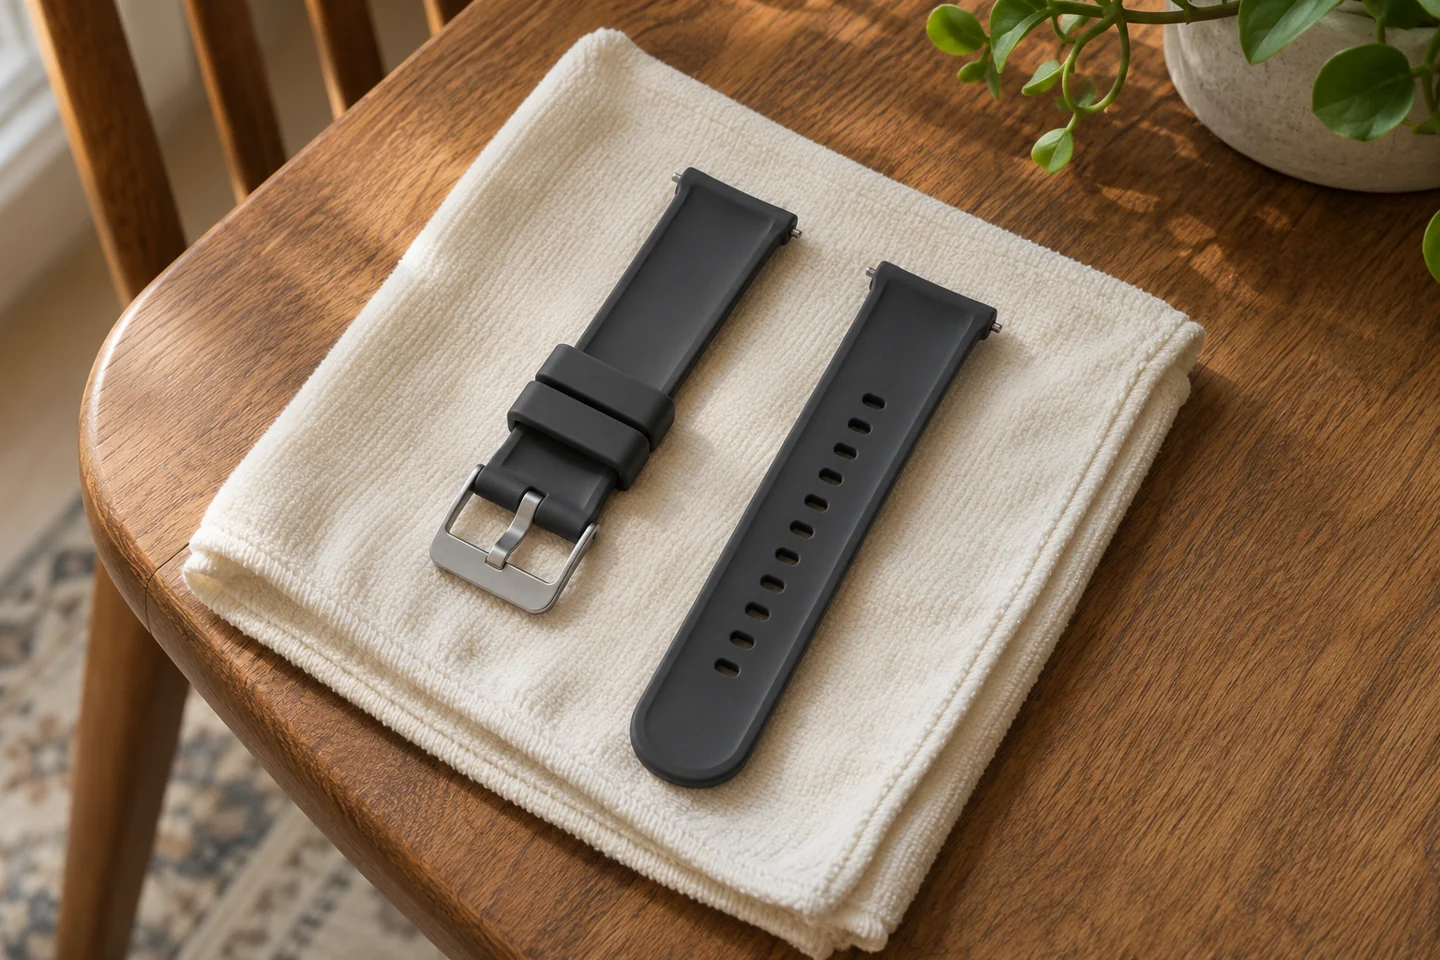
Lay the halves separately on a clean, dry cloth in a place with ordinary airflow. If you see a bead of water at the buckle or inside a hole, touch the edge of the cloth to it. Turn the strap over after the side underneath has had a chance to dry. Look again at the keeper and the strap ends, since those places can look dry from above while a small drop remains underneath.
You do not need to set a universal drying timer. Room conditions and strap design vary, so use what you can see and feel. If the underside feels damp against a clean cloth, give it more time. Choose a spot where no one will knock the pieces off the table. Avoid a hair dryer or a radiator; start earlier if you need the watch at a particular time.
Check the attachment before wearing it
Once the strap is dry, identify which side takes the buckle and which takes the tail. Follow the watch maker's fitting directions and look at both connection points. The band should sit as the instructions show, without an obvious gap or one corner sitting higher. Use the maker's check for engagement. If it allows a gentle tug, check one end at a time over the table before wearing the watch. Do not use your wrist as the first test of a questionable connection.
Close the buckle and move your wrist in the way you usually do. When wearing the watch under a shirt, check the cuff with your arm bent as well as straight. The guide to rolling shirt sleeves gives you ways to move the cuff out of the way when you want the watch accessible. Changing the fold is easier to undo than tightening the strap to hold the sleeve in place.
Choose a useful moment for the next clean
Use a specific event as the cue. After a muddy walk, look at the underside before the watch goes into a drawer. After an ordinary indoor day with no obvious residue, put it in its usual dry place and carry on. If the maker gives a care interval, follow it; otherwise the point of looking is to decide whether there is anything to do. A watch that spends the night on a charging stand also needs a separate dry place for the band if you clean it in the evening.
For a trip, do any wet care while you still have a place to let the parts dry. Packing a damp strap in the same pouch as your accessories makes it harder to check on both. Our guide to packing a tie shows how to give fabric accessories their own space in a bag. Keep the watch parts together in a different dry spot, and don't leave the loose case on the edge of a hotel sink.
If you share a sink with someone else, finish the rinse and move the band to its drying spot before putting the case down nearby. That simple order leaves the sink clear and makes it less likely that a detached part gets swept away with a towel.
Questions about silicone strap care
Can I clean a strap that does not come off?
Use the exact instructions for the assembled watch. This guide assumes you can separate the band and keep the case away from water. If the band is fixed or the release will not move as shown in the manual, do not pry at it. Look for the maker's instructions on which parts can be wiped and which need to stay dry. A watch repairer can identify the attachment if you cannot.
What if a pale mark stays on the surface?
After the band dries, check whether a clean soft cloth picks up anything from the mark without pressure. A patch that does not transfer may be a change in color or finish rather than something you can wipe away. Leave it if the strap is intact and the buckle works. For a mark that matters to you, ask the maker what it permits for that specific band before adding another product.
When should I stop using the strap?
Stop if you find a split near a connector, a stretched or torn fastening hole, or a buckle that opens when it should stay closed. Cleaning does not put material back where it has torn. When the only issue was surface residue, finish by checking dryness and engagement as the maker directs. A band that is clean enough, dry and securely fitted is ready for ordinary use.