

How to clean a comb you already use
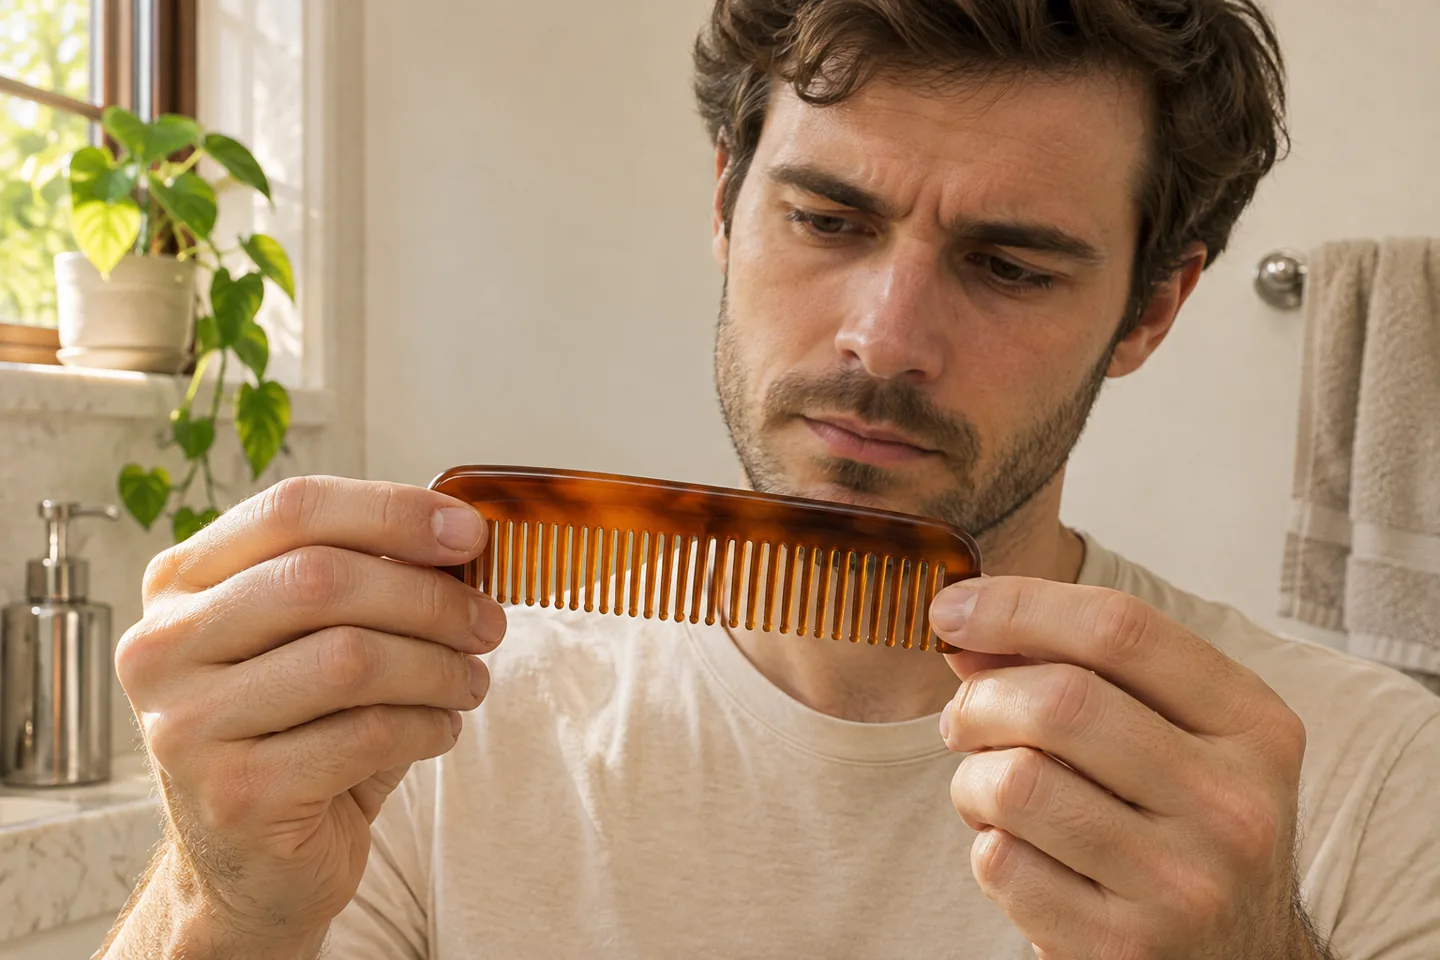
To work out how to clean a comb, first identify the exact tool and its care instructions. Take out loose hair with your fingers, inspect the teeth in good light, and set aside a comb with a rough or broken edge. Then use the cleaning method allowed for that model. A plain plastic-looking comb may have a different finish or construction from another one beside it, so appearance alone is a poor guide to whether it can be soaked.
Give yourself a clean surface and a few minutes when you can leave the comb out to dry if needed. Start with the comb you actually use for your hair. There is no need to gather every brush, beard tool and electrical attachment into the same session. Working on one item makes it easier to follow its instructions and keep it separate from tools that need another method.
Find the material and the care directions
Look for a maker’s name on the back, the original packaging or your order record. Check whether the item is one solid piece or has a hinge, decoration or attached handle. If you cannot identify it, avoid guessing a water temperature or mixing household products. Begin with loose hair that comes away easily and ask the maker or retailer how to clean the remaining surface.
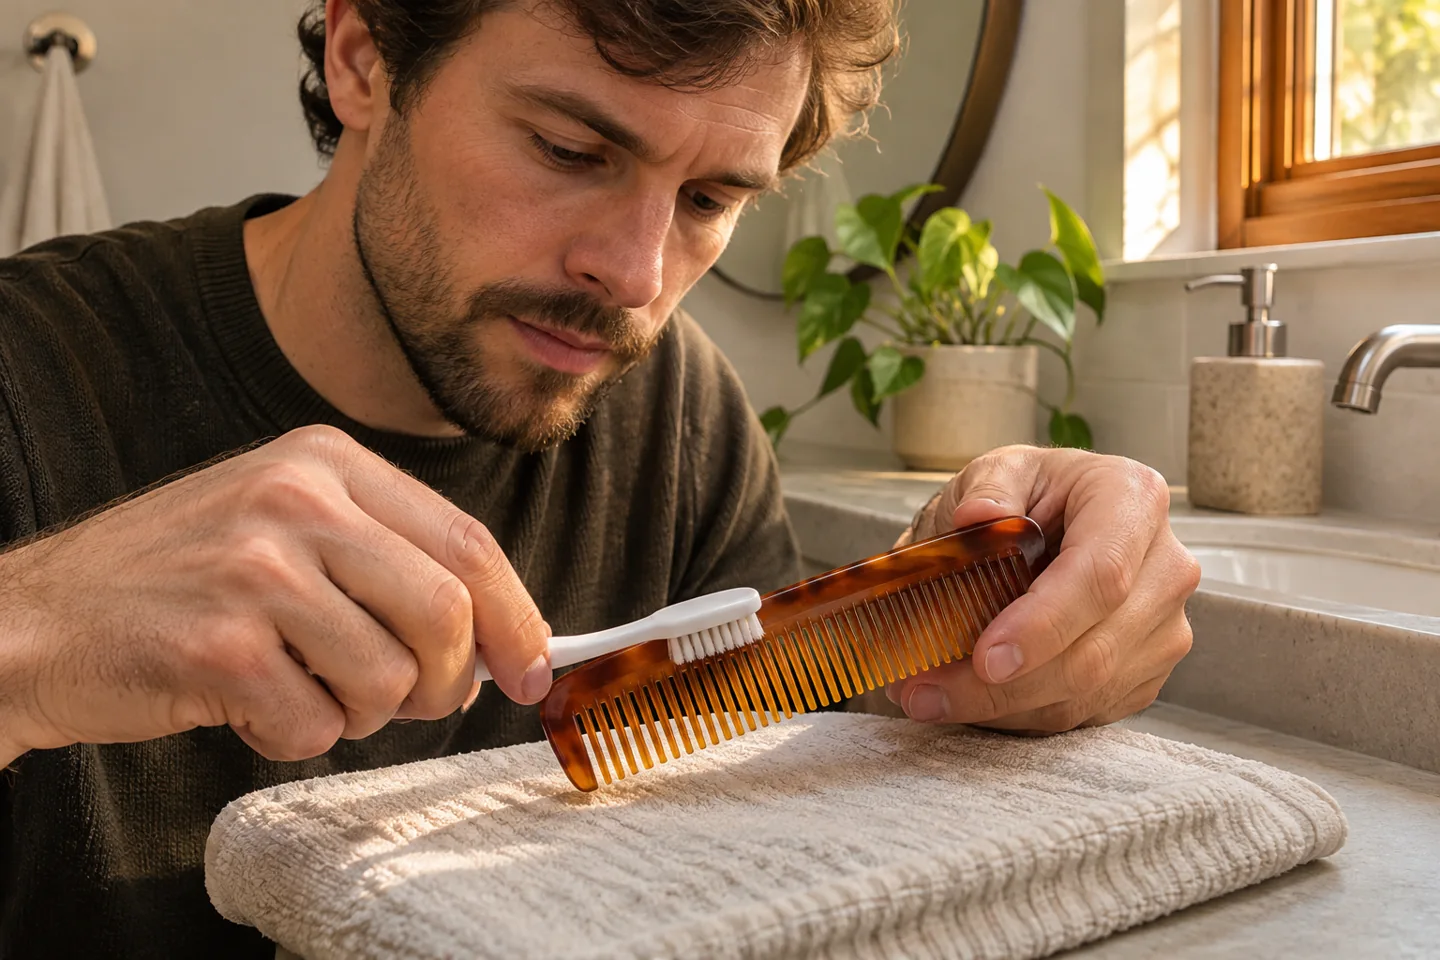
For a specific example, Kent’s instructions for handmade combs describe wiping with a cloth, gently working the teeth with a soft toothbrush and drying away from heat and direct sun. Follow the section that names your tool. The same page gives different instructions for some brushes. That distinction is useful when a drawer contains several materials and you are deciding what can be cleaned together.
Set up the small area where you will work
Lay a pale cloth or towel on the counter so you can see what comes off the comb. Keep the tool away from the open drain. Choose a cleaning brush whose bristles can reach the gaps without needing to be pushed through. Keep that brush with your cleaning supplies afterward so it has an obvious purpose. If you are using water under your model’s directions, clear space for drying before you start.
Put styling products to one side. Picking up a comb with product on your fingers can leave another mark while you clean it. If your counter is crowded, work on a small tray that holds the cloth, comb and cleaning brush. You can move the tray to a dry place later without laying the comb back among bottles or gathering loose hair from the sink.
Lift out loose hair before brushing
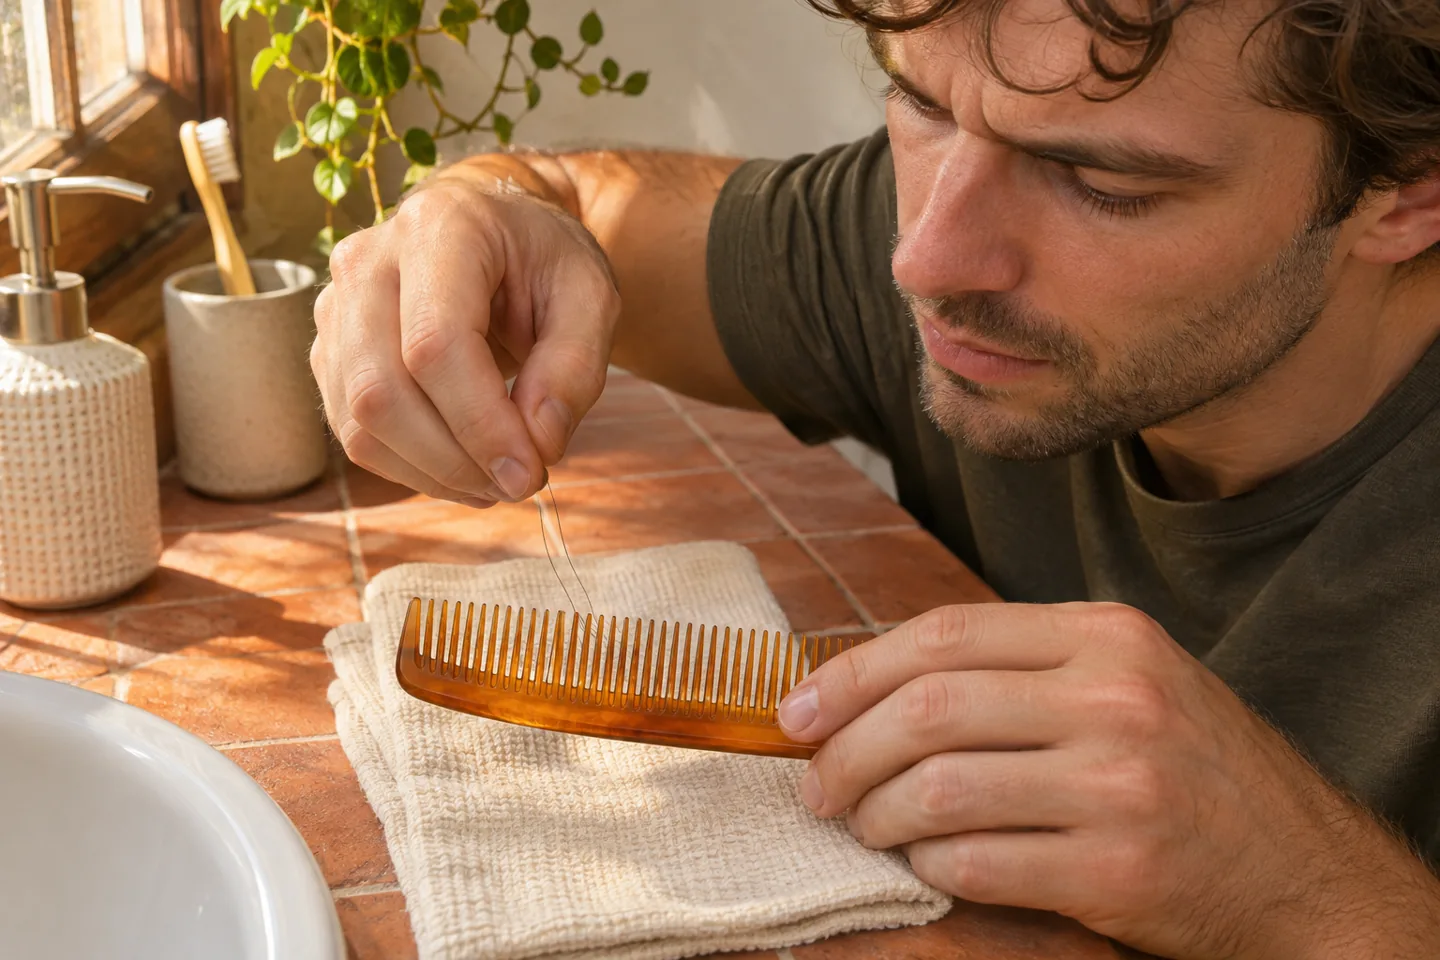
Hold the comb over the cloth and gently lift the strands you can reach. Begin where the hair has a free end. Loosen a loop around a tooth by moving it toward the tip instead of pulling it tight against the base. Work in a few small sections. If the hair does not release, pause and reposition your fingers. Thin comb teeth can be awkward to support while you pull against them.
Keep the tips pointed away from your face. Put the removed strands on the cloth, then collect them for the bin. A second comb can sometimes catch inside narrow gaps, so use a method your tool’s instructions allow instead of forcing two rows of teeth together. Once the loose hair is out, you will be able to see which marks still need attention.
Check the tips and the spaces between them
Turn the comb so the light falls across the tips. Look for a chipped tooth, a split near the base or an edge that feels rough when handled carefully. Set a damaged tool aside while you decide whether it can be repaired by its maker or should be replaced. Extra cleaning does little for a tooth that is already broken.
A remaining pale or dark mark might be styling residue, the material’s own pattern or a mark in the finish. Compare it with a part of the comb that rarely touches hair. If you cannot tell the difference, avoid digging at it with a sharp object. A close photograph can help you ask the maker a question, but repeated zooming will not identify an unknown material more reliably than its product information.
Work gently through the permitted cleaning step
Support the comb near the section you are cleaning. Keep brush strokes light and short so the bristles do the work. Change the angle to reach both sides of a gap rather than pressing the cleaning brush farther through it. Wipe the brush onto the cloth when it collects visible residue. That lets you see whether you are still lifting anything away.
Use water or a cleaning product only when the instructions for that comb permit it, and follow their amount, contact time and finishing steps. If a mark stays put after the permitted method, stop and ask for advice about that tool. Trying a second household mixture adds another unknown. You can leave a cosmetic mark alone if the comb is otherwise intact and the maker confirms that the surface is as intended.
Clean the part you hold and finish the surface
Look along the back of the comb where your fingers rest. A folding tool may also have an outer case. Work on those areas according to the same product instructions, paying attention to any join or mechanism. A cloth can be easier to control on the broad surface than a brush. Use a clean part of it for the final wipe so you do not put removed residue back on the handle.
If your comb is approved for rinsing, complete that step and check for remaining cleaner before drying as directed. If you are following a wiping method, do not add a rinse simply because you are working near a tap. Put the cleaned comb on the prepared surface. Clear the loose hair and used cloth from the counter before you return your other grooming items.
Let it dry before closing the case
Choose a stable place where the comb can remain undisturbed for the required drying period. Leave it out of a closed pouch until the surface and any permitted joins are dry. If you cleaned a folding model, follow its maker’s directions about leaving it open. Keep the cleaning brush and cloth separate while they dry too.
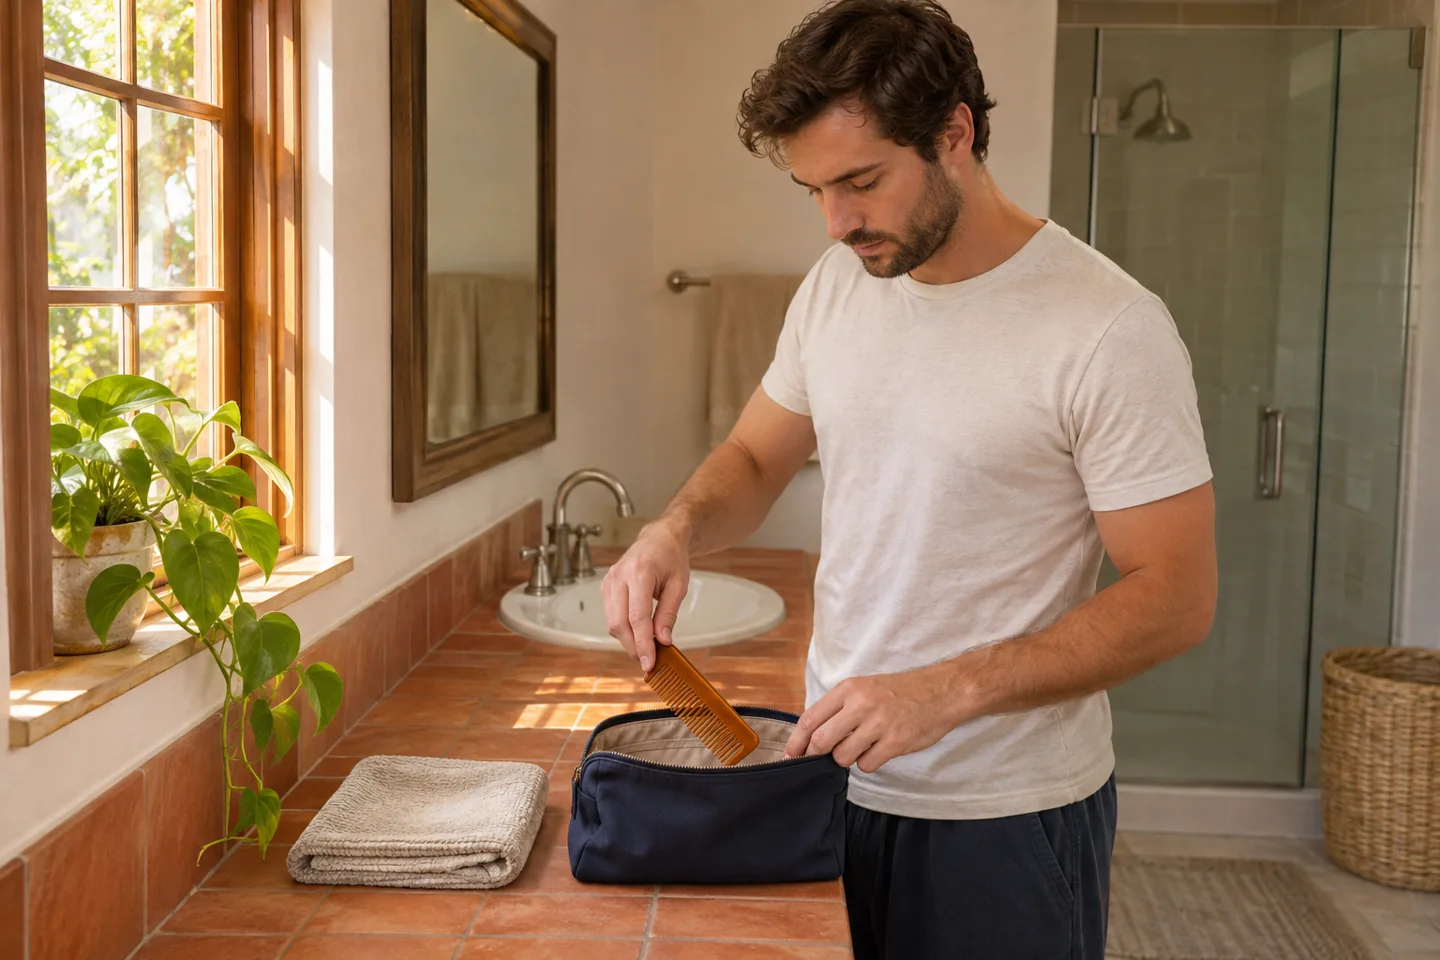
A pocket case is convenient for travel once everything is ready to pack. Empty it first and check for lint or product that could transfer back to the comb. Avoid packing the tool against hard items that press on the tips. The simple morning grooming routine can help you decide where the comb belongs in the few items you actually use, rather than returning it to a crowded drawer by habit.
Make the next cleanup easy
After styling, remove hair that comes away readily and put the comb where it can stay protected. Choose a regular storage spot that is easy to reach with dry hands. If you use hair wax, leave time to clean your hands before handling the comb again. The separate guide to using hair wax covers working with small amounts when styling.
You can decide when a fuller clean is useful by looking at the tool during ordinary use and following any schedule its maker specifies. There is no need to inspect every tooth repeatedly through the day. This is a short maintenance task. Once the comb is intact, cleaned by the approved method and ready to store, put the supplies away and finish.
Questions about comb care
Can I put every comb in soapy water?
Check the model’s care information first. The look of the material does not tell you whether the tool has a coating, joint or glued detail. If the maker gives a wiping method, use that. When directions are missing, identify the comb before deciding on a bath or a cleaning product.
What if the comb still has a stain?
Check whether the mark is in the material or sits on top of it. If the permitted method has removed loose hair and residue but the mark remains, ask the maker before increasing pressure or changing products. A photograph in ordinary light and the model name can make that question easier to answer.
Does it need a special salon process?
This guide concerns maintaining your own everyday comb. A workplace or shared setting may have its own tool hygiene procedure and compatible equipment requirements. Follow those requirements for that setting. Cleaning visible residue at home cannot establish that a particular professional process has been completed.
Should I keep using a comb that catches?
Check for a damaged tooth or rough edge and set the comb aside if you find one. If it appears intact, ask whether it is suited to how you use it. Cleaning is useful when material has built up between the teeth, but pulling harder with a tool that keeps catching is a reason to pause and reassess it.