
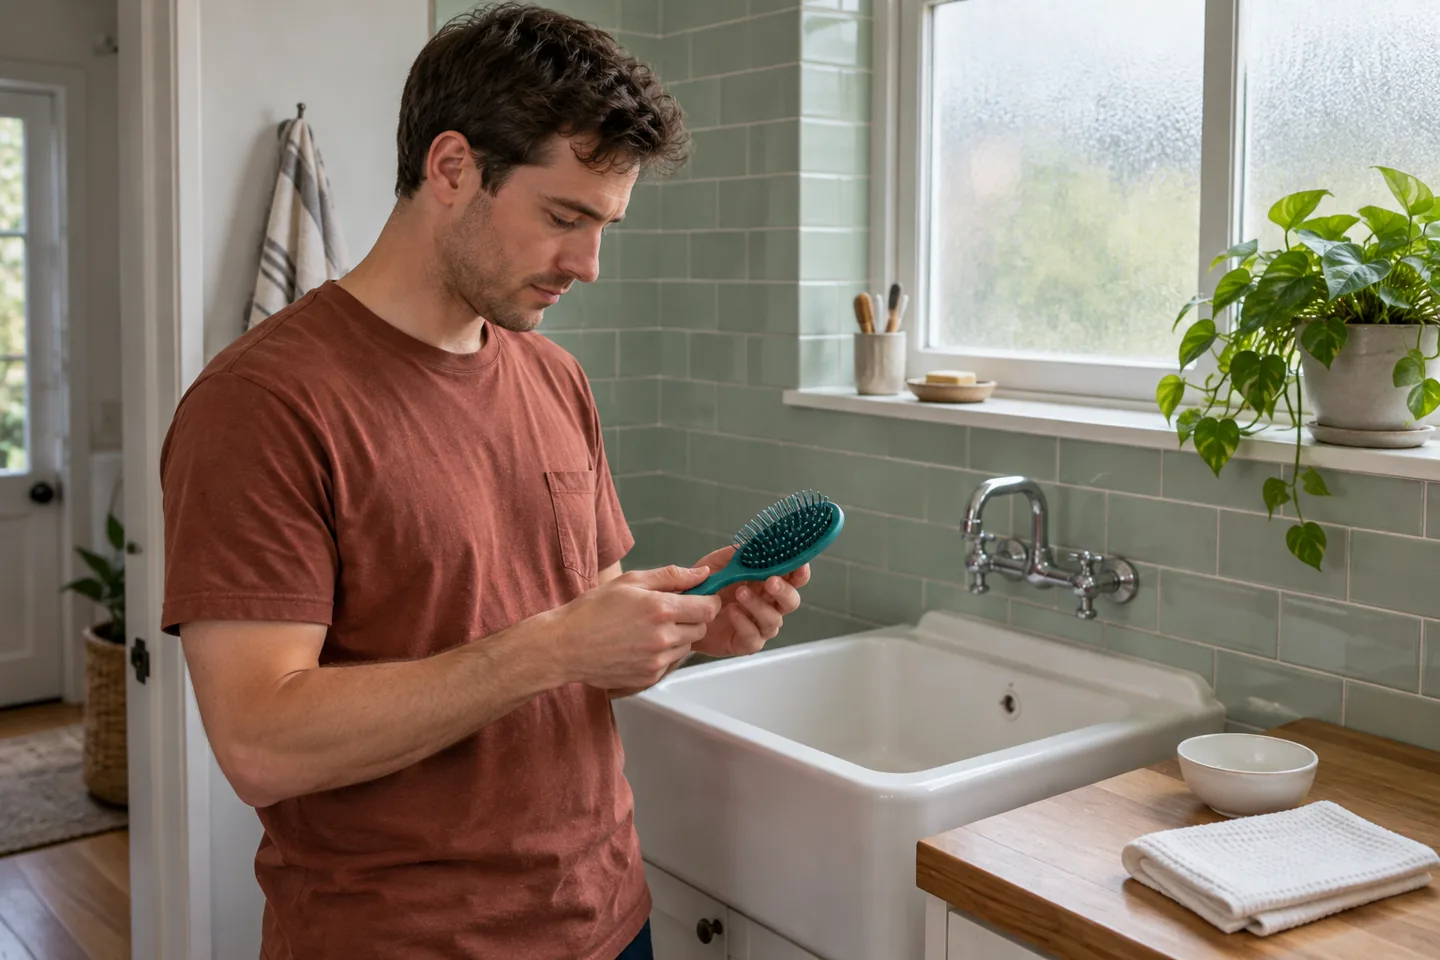
How to clean a hairbrush: identify the task first
How to clean a hairbrush depends on the brush you actually own. Start with its material, construction and care instructions, then choose one manageable cleaning session. This guide concerns an ordinary manual brush, with a washable plastic example where the maker permits it. It does not cover powered brushes, heated tools, salon disinfection or scalp treatment. An optional MogRise planning example can help organize the task; it cannot identify a material or approve a cleaning method.
The useful result is modest: accessible loose hair removed, permitted cleaning completed and the brush dry before storage. You do not need a photograph, a cleanliness score or a new collection of products. A visible mark is a reason to inspect the tool, not a judgement about your appearance. If the maker's instructions contradict an example here, follow those instructions.
Read the construction before choosing water
Find the exact model on the packaging, receipt or manufacturer's website. A familiar-looking plastic handle does not tell you what is inside the brush. Look for a cushioned base, wooden parts, natural bristles, a hollow body or detachable components. Do not assume these can all follow the same washing routine. If the construction remains unclear, ask the maker before wet cleaning.
Set electrical and heated brushes aside entirely. Their dedicated instructions belong to a different task. Also stop if teeth are broken, a pad is separating or an edge feels rough. Cleaning does not repair damage. A short model note is useful when several people share a bathroom: record which brush is yours and where its care guidance lives, rather than trying a method on every tool nearby.
Make room for cleaning and drying
Choose a stable surface with enough room to place the brush down without balancing it on a sink edge. Prepare only the materials the instructions require. For a permitted washable example, this might mean a separate small cleaning brush, a cloth and access to suitable water and soap. Keep the cleaning brush distinct from anything used for teeth or food.
Think about the end of the task before starting. Is there somewhere the brush can dry undisturbed? Will you need it immediately before leaving? If the answer is no drying space or no available time, postpone wet cleaning. The guide to a plan that fits your life can help turn a vague grooming goal into one realistic action. Preparation should make the job easier, not expand it into cleaning the entire bathroom.
Remove accessible loose hair gently
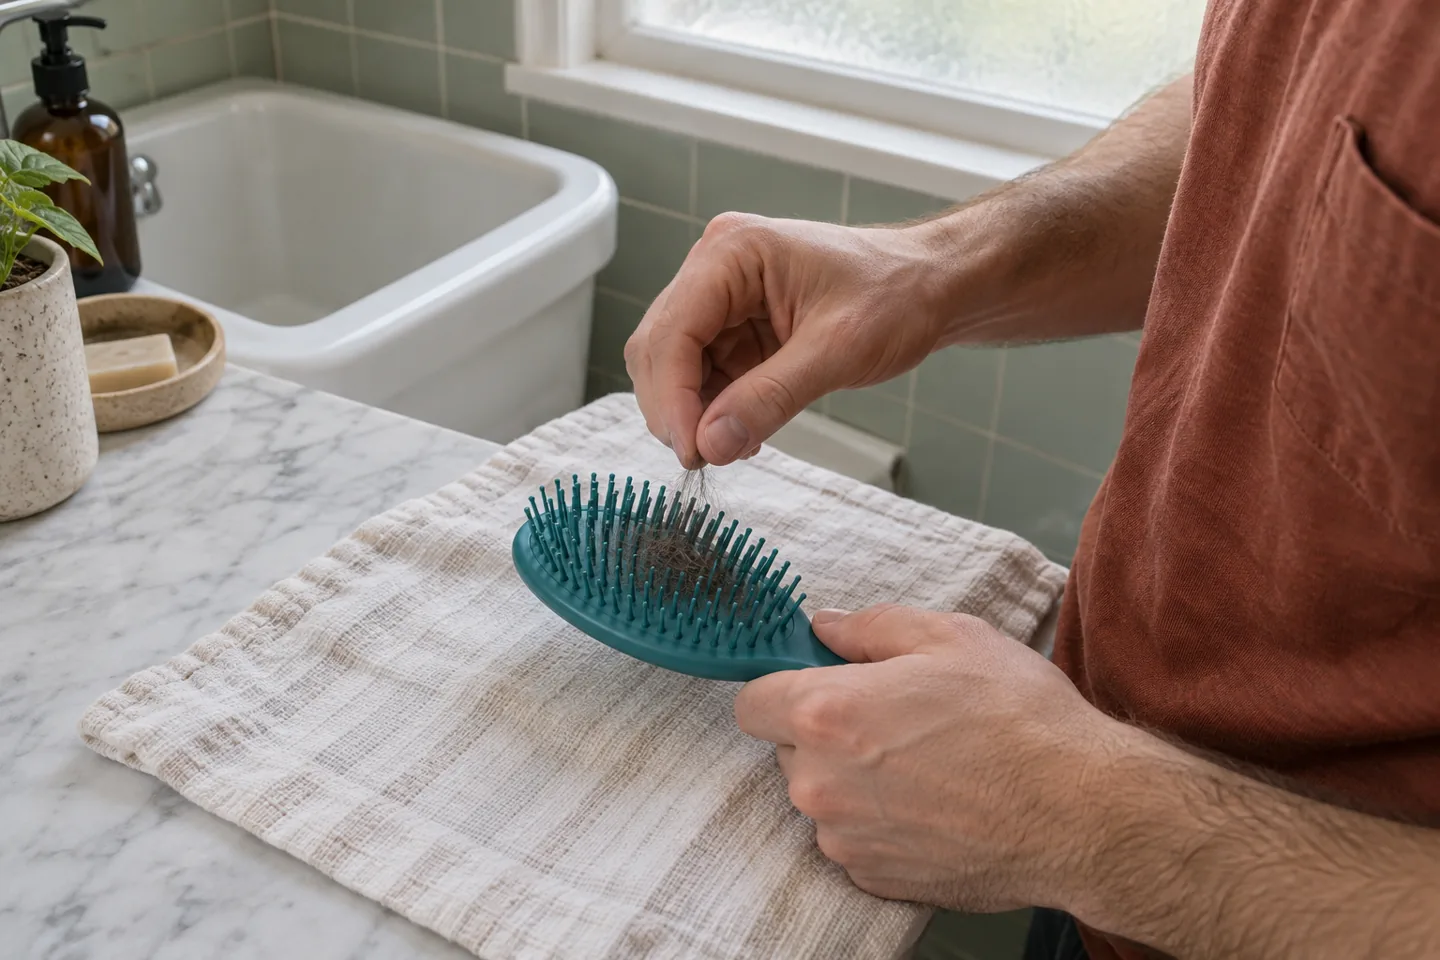
Begin with loose strands you can lift without forcing the teeth apart. Use your fingers where practical, working on a small area at a time. When a strand catches, change your grip rather than pulling harder. Do not cut close to the base with scissors or scrape between teeth with an improvised sharp point. Follow the maker's tool guidance if fingers cannot reach an area.
Place removed strands directly in a bin rather than rinsing them into the sink. This also keeps the work area easier to inspect. A little remaining residue does not mean you failed: removing loose hair and cleaning deposits are separate tasks. If the brush is badly tangled or fragile, stop and request model-specific help. The goal is access to the surface, not a perfectly empty brush achieved by damaging it.
Use the manufacturer's cleaning route
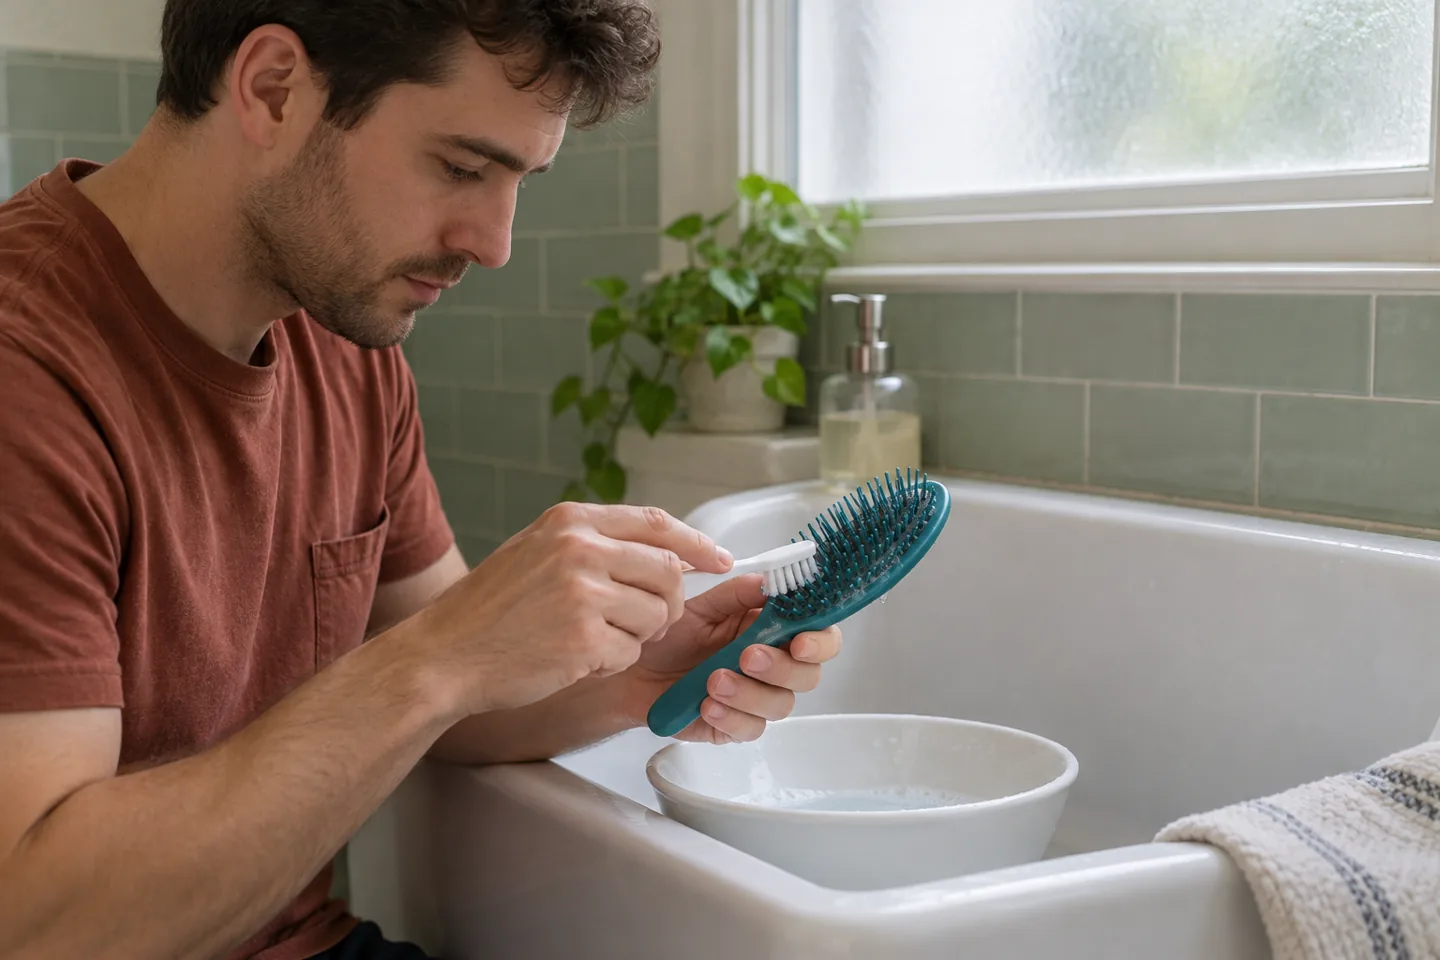
The Tangle Teezer care FAQ gives a specific example: remove loose hair, clean between teeth with a clean toothbrush using soap in warm water, rinse, and air-dry teeth upward. That is guidance for its brushes, not permission to wash every brush this way. Read the current instructions for your own model before following a wet route.
Keep those instructions beside the task if you tend to forget the order. Read one step, put the phone somewhere dry, and carry out that step. Avoid inventing soaking times, stronger mixtures or a second cleaning chemical when the instructions do not require them. More products create more compatibility questions. If a deposit remains after the permitted method, ask the maker rather than escalating to abrasive scrubbing, solvents or heat. Ordinary household care is not a sterilization procedure.
Decide what “finished” means before starting
Write a practical stopping point: “Remove accessible hair, follow the model's care steps and leave the brush to dry.” This is more useful than “make all my grooming equipment perfect.” It tells you when to stop, what must wait and what would need outside advice. A stubborn mark can become a question for support instead of a reason to repeat the whole session.
For example, someone leaving for work soon might complete only identification and dry hair removal today. Someone with an uninterrupted evening might finish the permitted cleaning route and leave drying to continue naturally. Both are valid decisions. Avoid treating a fixed number of minutes as proof that the brush is ready. The task has a waiting stage, and a shorter plan should reduce its scope rather than bypass that stage.
Turn one obstacle into a focused planning question
MogRise is our publisher's app. Its official product text describes personal plans, manageable daily actions and Coach follow-up questions about implementation, alternatives and maintenance. These can support organization around a real task. They do not verify cleaning chemistry, detect damage from a selfie or replace the manufacturer's instructions. You can use the same written plan without an app.
An illustrative Coach prompt is: “I have found my manual brush's care instructions. I can clean it this evening, but I have limited counter space. Help me organize preparation, a safe place to leave it and one final storage check, without adding products or changing the cleaning method.” This is an example request, not a tested response or a promised feature outcome. Keep private photographs and appearance ratings out of a tool-maintenance question. The actual brush remains the object you inspect.
Leave drying as its own stage
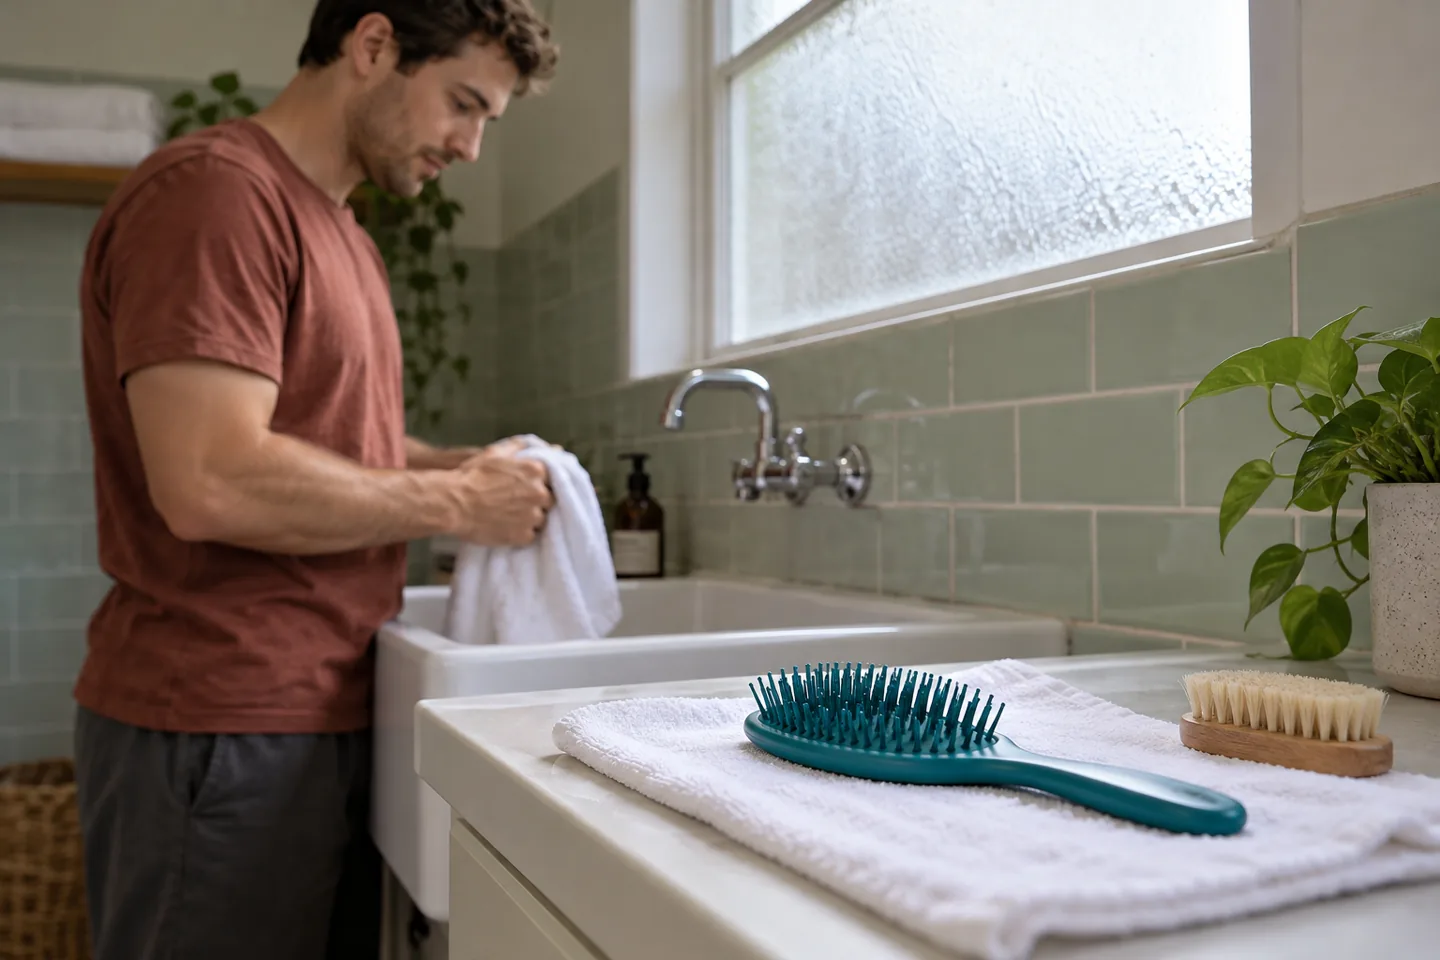
Use the drying position specified by the maker and choose a place where the brush will not be knocked into water. For the cited plastic example, the teeth face upward. Do not replace the instructed drying process with a heater or hair dryer. Avoid putting a damp brush into a closed pouch merely because the counter looks tidier that way.
A useful household arrangement leaves the drying spot separate from the storage spot. That makes the unfinished stage visible without requiring repeated inspection. You do not need to check every few minutes. Return when you would normally need to put the tool away, and let it continue drying if necessary. If water seems trapped inside an unfamiliar hollow body, stop experimenting and ask the manufacturer for its recommended next step.
Solve the ordinary obstacles without adding a project
If you share a sink, agree on a drying location that does not block someone else's routine. If the counter is tiny, clear one stable area before adding bowls and cloths. If you cannot find the brush model, finding the instructions is today's completed action. If you have several different brushes, finish one before deciding whether another needs attention.
A change of hairstyle can create different tool questions. Keep those separate from the cleaning task: the barber-brief guide helps describe the styling result you want, while the maker answers how to care for a specific brush. Cleaning cannot make an unsuitable tool suitable for every hair routine. Nor should a slightly crowded shelf become a reason to buy a full new grooming kit. Start with the constraint you can actually resolve.
Put the dry brush where you will use it
Once the brush is dry as instructed, return it to a clean, accessible place. Keep the teeth from being crushed by other objects and leave the separate cleaning tool identifiable. A pouch is useful only when it suits the brush and the tool is ready to be enclosed. Check the maker's storage advice rather than assuming every travel case is appropriate.
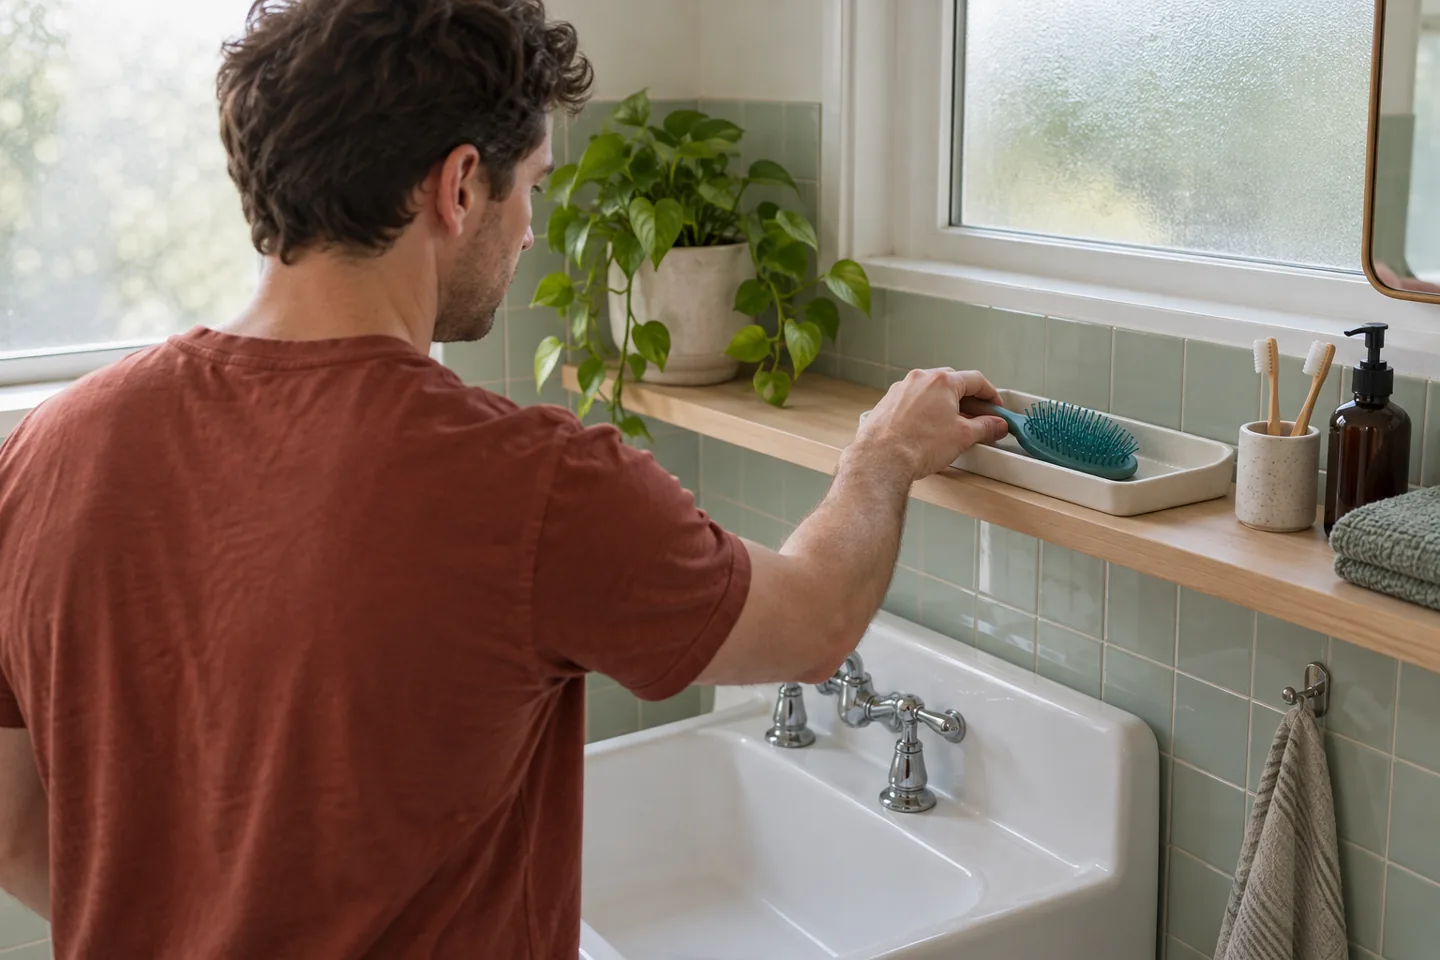
For a morning routine, the useful test is simple: can you retrieve the brush without moving a pile of unrelated items? The morning grooming checklist provides broader preparation context if this is where your routine gets stuck. You do not need to reorganize everything at once. Moving one tray may be enough to make the next use straightforward, while keeping an unfinished drying task away from ready-to-use equipment.
Review use, not your face
At the next ordinary use, ask whether the brush is ready, whether the storage position worked and whether the instructions were easy to find. Keep one useful note if something needs changing. For example: “Start earlier so drying does not overlap with packing.” That is an actionable observation. “My whole routine is bad” is too broad to help with the next cleaning session.
Follow any frequency specified by the maker and adapt your planning to real use. This article does not prescribe daily washing, repeated photo checks or a universal cleaning interval. If the process becomes an excuse for constant appearance inspection, simplify it and step away from scoring. Persistent distress or compulsive checking deserves support from a qualified professional. A maintained tool should help you move through the day, not create another test of personal worth.
Frequently asked questions
Can every plastic brush be washed this way?
No. Similar outer materials can hide different construction. Check the exact model, especially if the brush has cavities, a cushion, mixed materials or powered parts. The cited example is a manufacturer's own care route, not a universal washing authorization.
Does a cleaning session disinfect the brush?
Do not assume so. This guide describes ordinary personal tool care and makes no disinfection or medical claim. Professional salon requirements and treatment of a health concern need their own appropriate guidance. Do not improvise a disinfectant mixture from this article.
What if I cannot finish before packing?
Keep the task in its correct stage. A wet brush should not be packed simply to tick off a plan. Move cleaning earlier next time or postpone the wet stage when appropriate. Use the maker's drying and storage instructions to decide readiness.
Do I need MogRise to follow the routine?
No. A short note can hold the model, permitted method, drying location and stopping point. MogRise is an optional organizational aid from our publisher; it cannot certify a clean brush, diagnose hair problems or decide which materials tolerate water.