
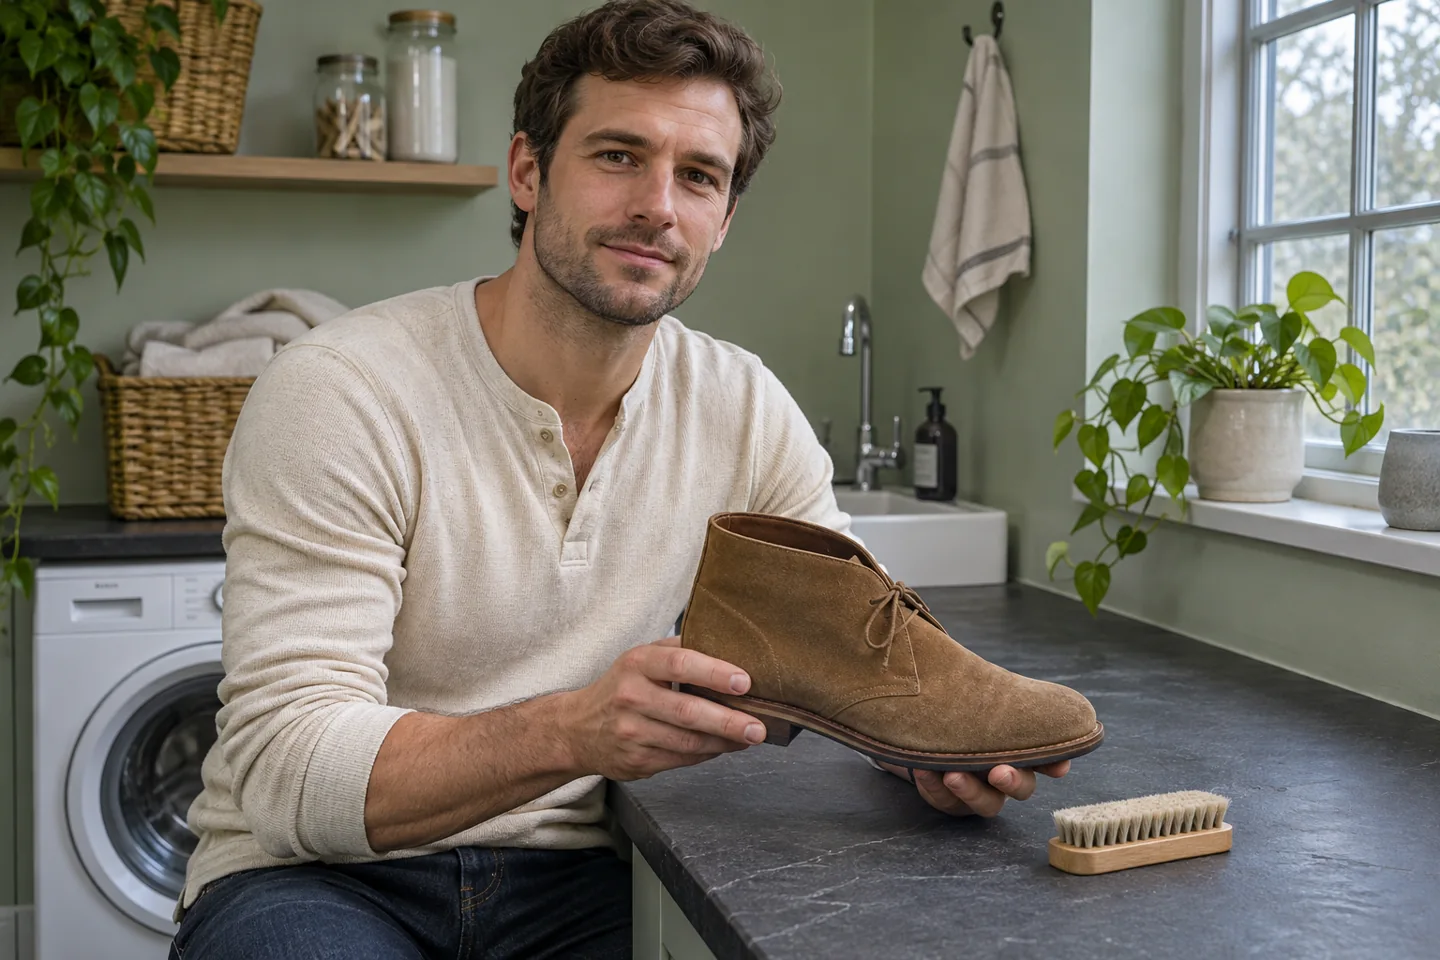
How to clean suede shoes without rushing the finish
To decide how to clean suede shoes, identify the material and check the maker’s care instructions before reaching for a product. Start with a dry pair. Remove loose surface dirt with a suitable suede brush, look again in the same light and stop if the mark needs a treatment you cannot identify. For a small everyday cleanup, the aim is to remove what comes away gently and leave the texture intact.
Put one shoe on a clean work surface and keep its partner nearby as a reference. Suede can look lighter or darker when its fibres lie in different directions, so a change in appearance is not automatically a stain. Give yourself time to examine the shoe after a few light passes. That is more useful than scrubbing one patch until it looks unlike the surrounding material.
Confirm what the upper is made from
Look at the product description, care label or order record. A shoe can combine suede, smooth leather, fabric and a rubber sole. Those areas may need different tools. Even within one pair, a decorative panel can have a finish that changes what you can use on it. If you are unsure about the material, ask the maker before applying a cleaner.
For a dry starting point, Nike’s suede cleaning guide advises letting wet dirt dry before brushing. Use your own model’s instructions to decide the next step. A method meant for smooth polished leather is a separate task, covered in the guide to cleaning leather shoes. Keep the products you use for those shoes apart so you do not pick one up out of habit.
Set up a stable place and inspect the pair
Lay a clean cloth under the shoe to catch loose dust and keep the sole from sliding. Choose light that lets you see the texture without a strong reflection. Hold the shoe with one hand and turn it rather than bending your wrist around the worktop. Have the approved brush within reach and leave liquid products closed while you decide whether they are needed.
Look at the toe, sides, heel and the area beside the laces. Notice whether there is dry dust, a surface scuff, a damp patch or a mark that seems to have soaked into the material. Record a single clear question if you need advice. “A dark patch appeared on the outer heel after a spill” tells a shoe-care professional more than a photograph with no context.
Wait if the shoe is still wet
If the upper or mud is wet, pause the brushing step and follow the maker’s drying directions. Set the pair where you can leave it undisturbed. Keep it away from direct heat. Do not put a damp pair in a closed storage bag just to clear the counter. If you need the shoes soon, choose another pair while these are being assessed or drying.
If your model permits support inside the shoe, use the form recommended for it without stretching the upper. The separate guide to using shoe trees explains checking the fit of a storage insert. A clean support can make handling easier, but it does not turn a wet upper into a surface ready to brush. Return to the cleaning task when the shoe is dry.
Use the brush with a light hand
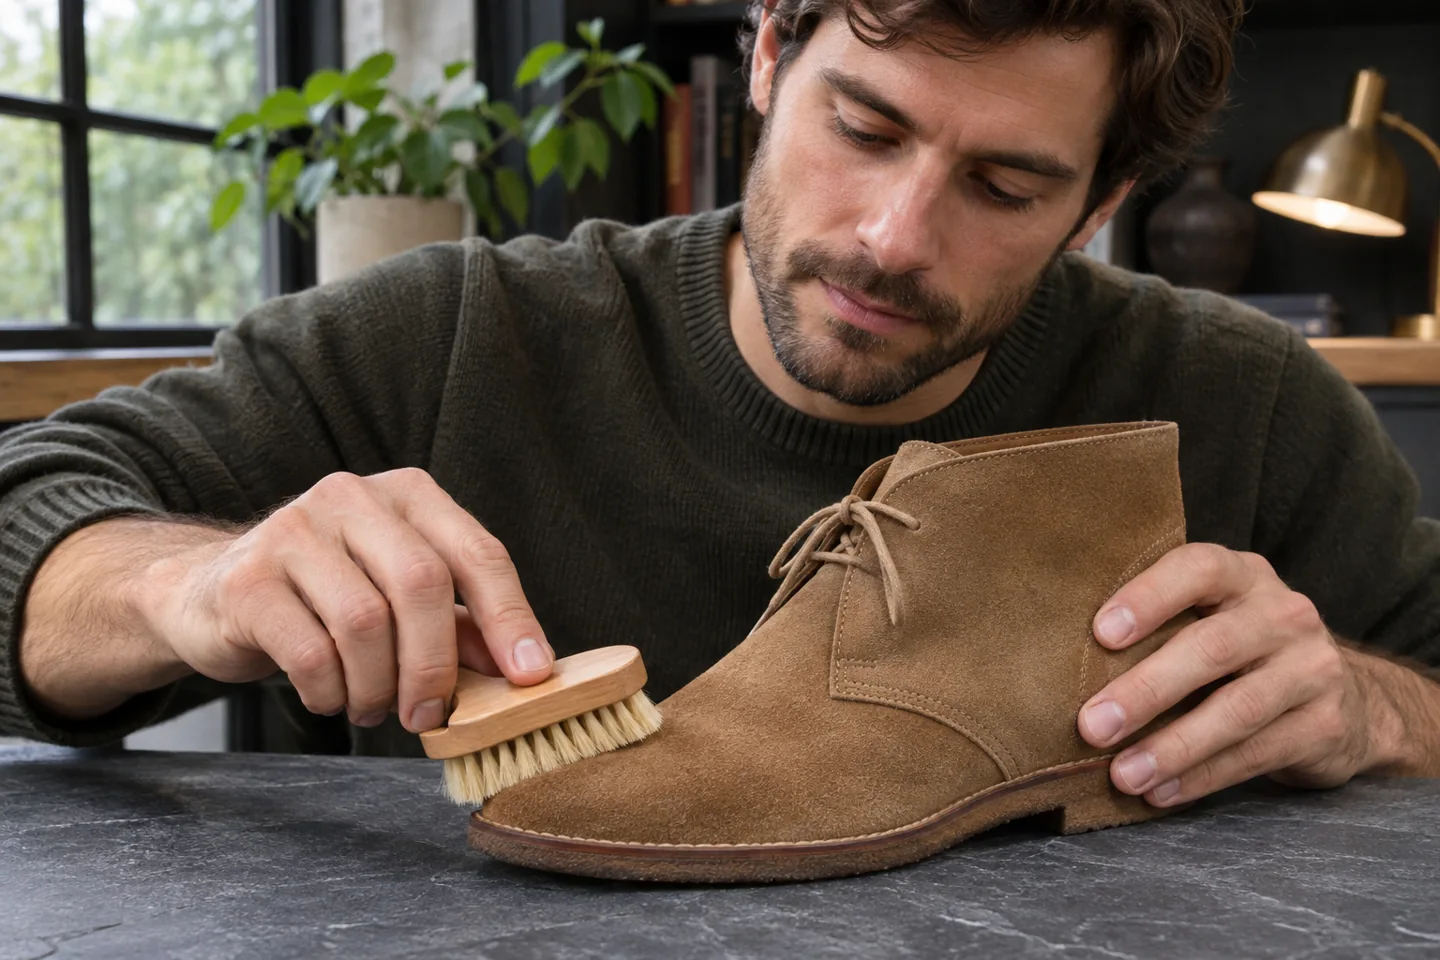
Check that your suede brush is clean and suited to the finish. Work over a small section with gentle strokes, following the directions for the tool and shoe. Lift the brush to remove what it has collected. Avoid increasing pressure just because one spot looks darker from a different angle. First turn the shoe back into the original light and look at the surrounding texture.
The Clarks shoe-care guide describes using a dedicated brush for suede and nubuck and storing the pair in a cool, dry place out of direct sunlight. For your own shoe, keep the method specific to its material. If the brush starts pulling fibres or leaves a surface change you cannot explain, stop and ask for advice before continuing over the rest of the pair.
Decide whether a small surface mark needs more
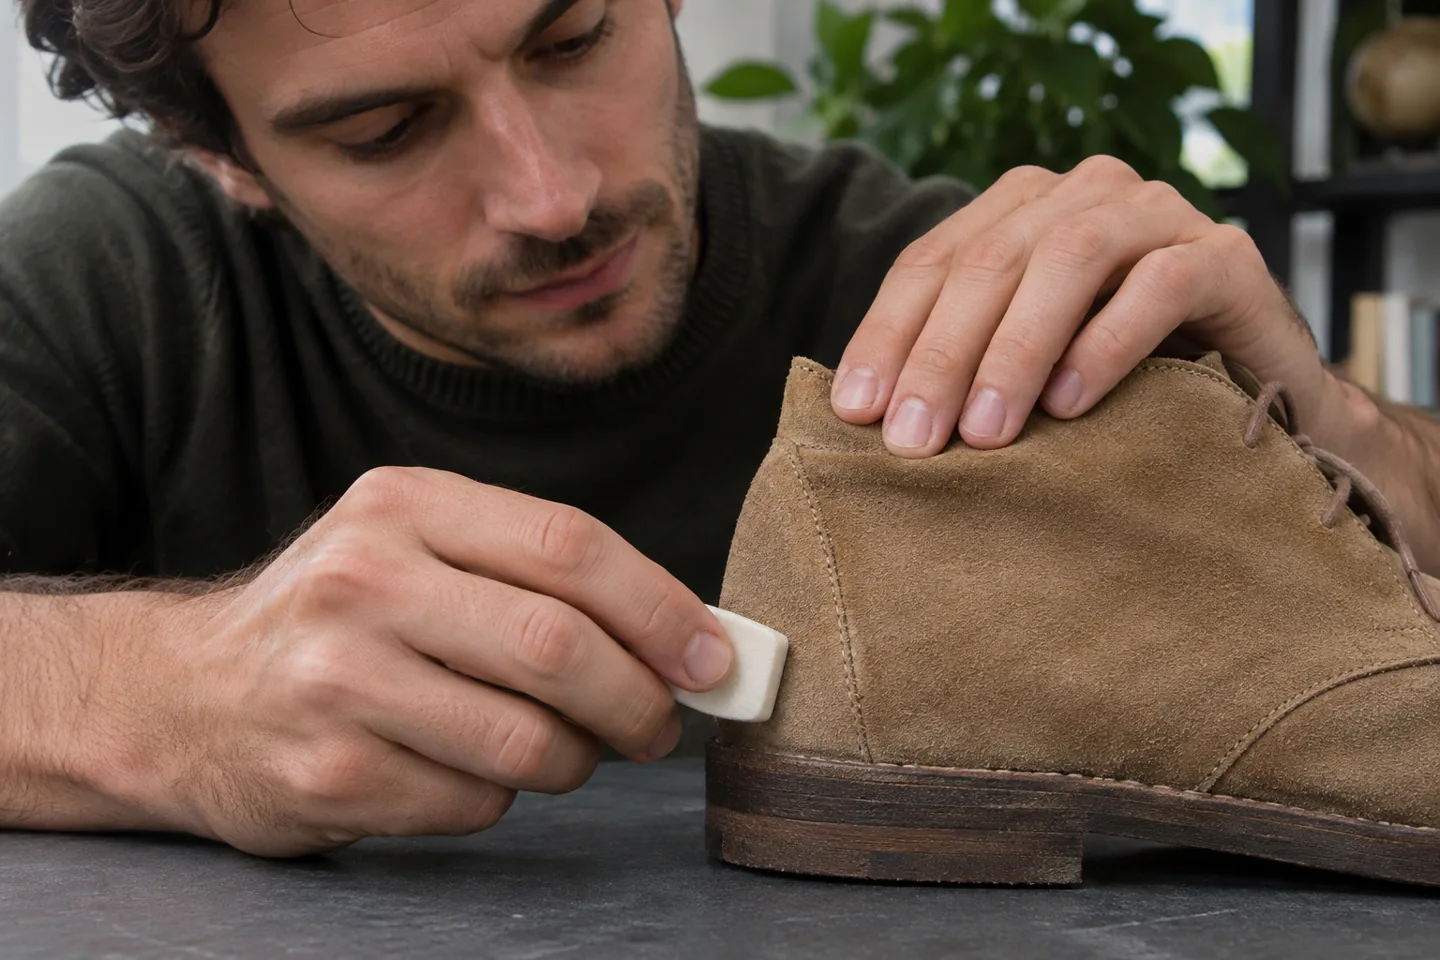
After removing loose dust, examine the mark again. Some light scuffs respond to the shoe maker’s approved suede eraser. If that method is allowed, start in a discreet area and follow the tool’s instructions. Support the shoe near the area you are working on and use a light touch. Brush away the loose eraser crumbs with the compatible brush afterward.
Check the treated area beside untouched material under the same light. A mark that remains is a reason to identify the next appropriate method, not to rub harder indefinitely. A liquid cleaner, protector or colour product needs its own compatibility check and label directions. If you do not know what caused a stain, a professional can assess it before several different substances are added to the same patch.
Keep the sole and upper as separate jobs
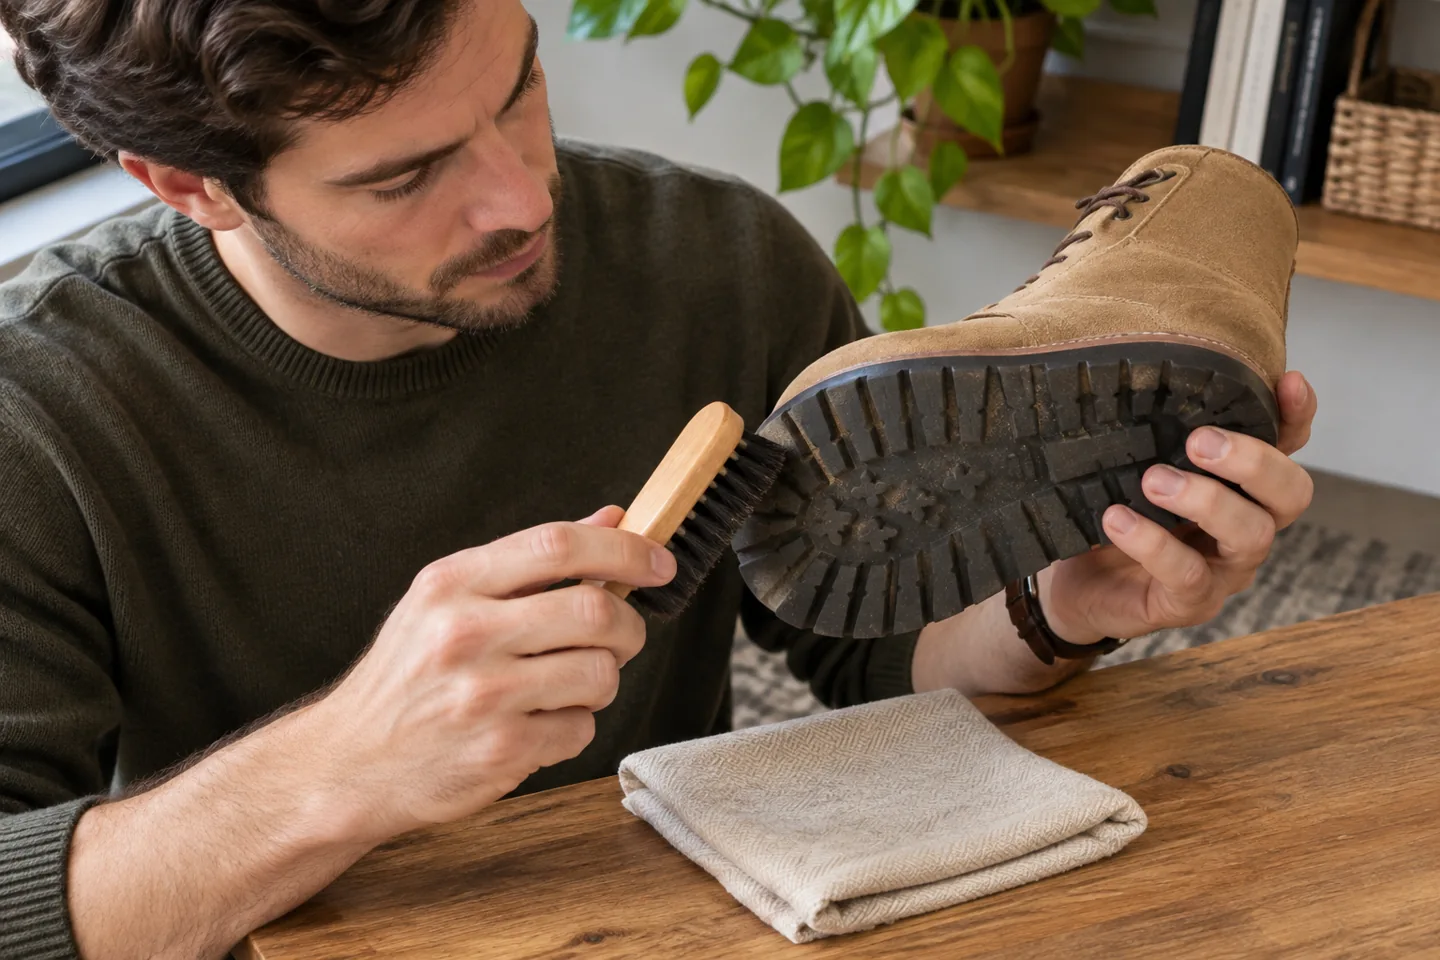
Dry grit around the edge of the sole may need attention even when the suede itself looks clear. Turn the shoe so you can reach the sole without dragging a dirty brush across the upper. Use a separate suitable tool for that area. If the sole requires another cleaning method, follow the model’s instructions and keep the suede away from runoff or residue.
Check the junction between sole and upper before putting the shoe down. A tool used on gritty rubber should be cleaned and stored separately from the soft brush you use on suede. That small separation makes it easier to repeat the task later. It also lets you stop after the upper cleanup if the sole needs more time or a different product.
Let the result settle before deciding on another treatment
Put the shoe beside its partner and look from an ordinary standing distance. Turn both the same way in the light. A close view can make individual fibres look dramatic, whereas the pair may already be suitable to wear. Decide whether the remaining issue is visible in normal use and whether you know what treatment would be appropriate.
If you have followed an approved wet-cleaning method, wait through the full drying step before judging the result or adding a protector. Follow the product label for ventilation, handling and drying time if you use one. There is no need to add a treatment simply because it was included in a kit. Choose it for a specific permitted purpose, and keep the instructions with the product.
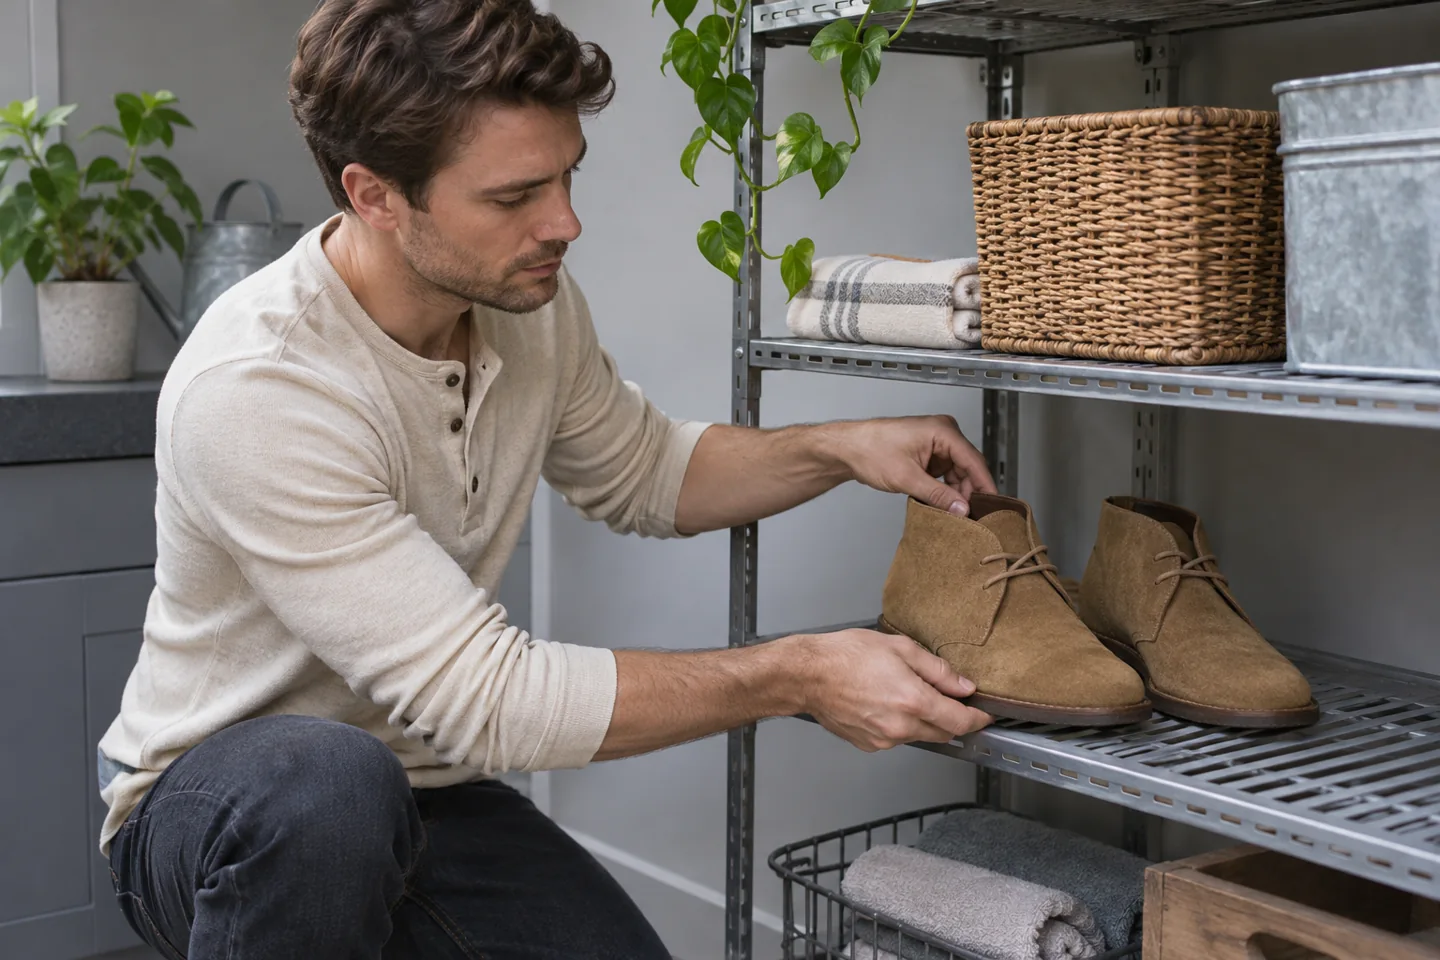
Put the dry pair away with room around it
Choose a dry storage space where other shoes will not rub against the suede. Leave space to lift each shoe without scraping it along a buckle or hard edge. If the pair goes into a bag or box, check that both shoes and the container are dry first. Keep care tools where they are easy to distinguish from brushes used for polishing smooth leather.
Before the next outing, look at the pair as part of the outfit you plan to wear. A short check of dry dust and the usual wear areas is enough. You can leave an unresolved stain for a professional assessment and wear another pair meanwhile. Finish the cleanup once the approved method is complete, rather than returning to the same patch every time you pass the shelf.
If you ask for professional help, take the pair together and bring the product information if you still have it. Say which areas you brushed and whether any product touched the upper. That record makes it easier to discuss the next step without repeating a treatment you have already used.
Questions about suede shoe care
Is a dark patch always dirt?
No. The direction of the surface fibres and the light can change how suede appears. Turn the shoe and compare the patch with nearby material before choosing a treatment. If it still looks different after the permitted gentle brushing, ask about the finish or the likely cause of the mark.
Can I use the polish from my leather shoes?
Check the suede shoe’s instructions. A product intended to make smooth leather shine may change a textured upper. Keep it separate from your suede tools. Use only a product that is compatible with the exact material and follow the maker’s method for applying and testing it.
What if dry brushing does not remove the stain?
Stop and identify what you are dealing with. Tell the maker or shoe-care professional what happened, what the material is and what you have already tried. That information makes it easier to choose a suitable treatment than adding several household products in succession.
How clean should the shoe look before I stop?
Use the instructions and the actual result. If loose dirt has come off and the texture remains intact, you may already have finished the routine task. A remaining stain or damaged area can be a separate professional question. Suede does not need to look newly bought after every wear.