
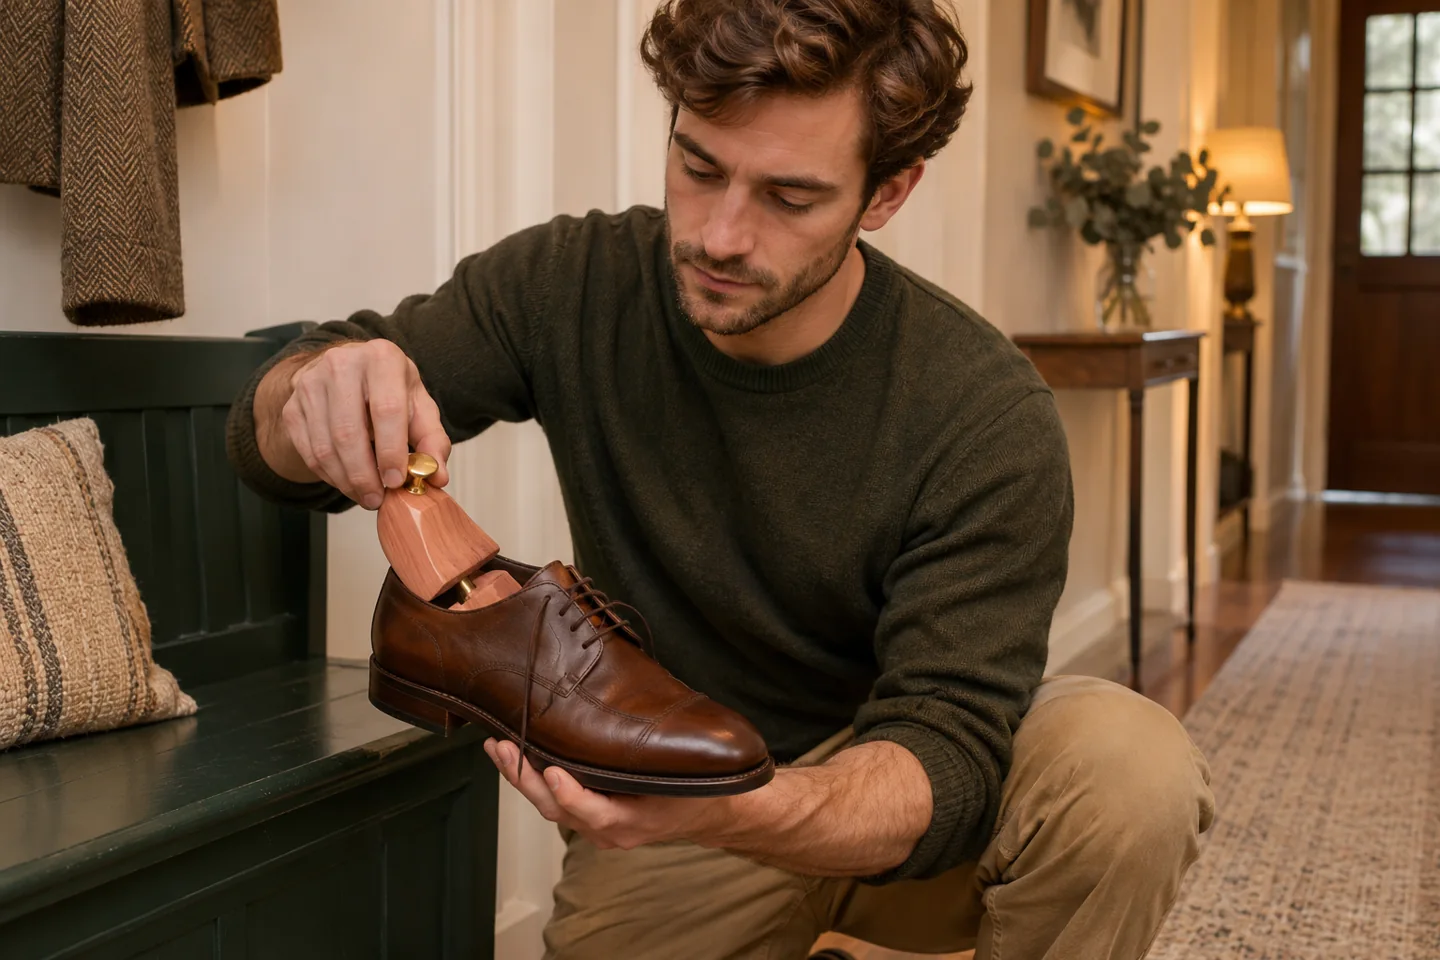
How to use shoe trees on the pair you wear most
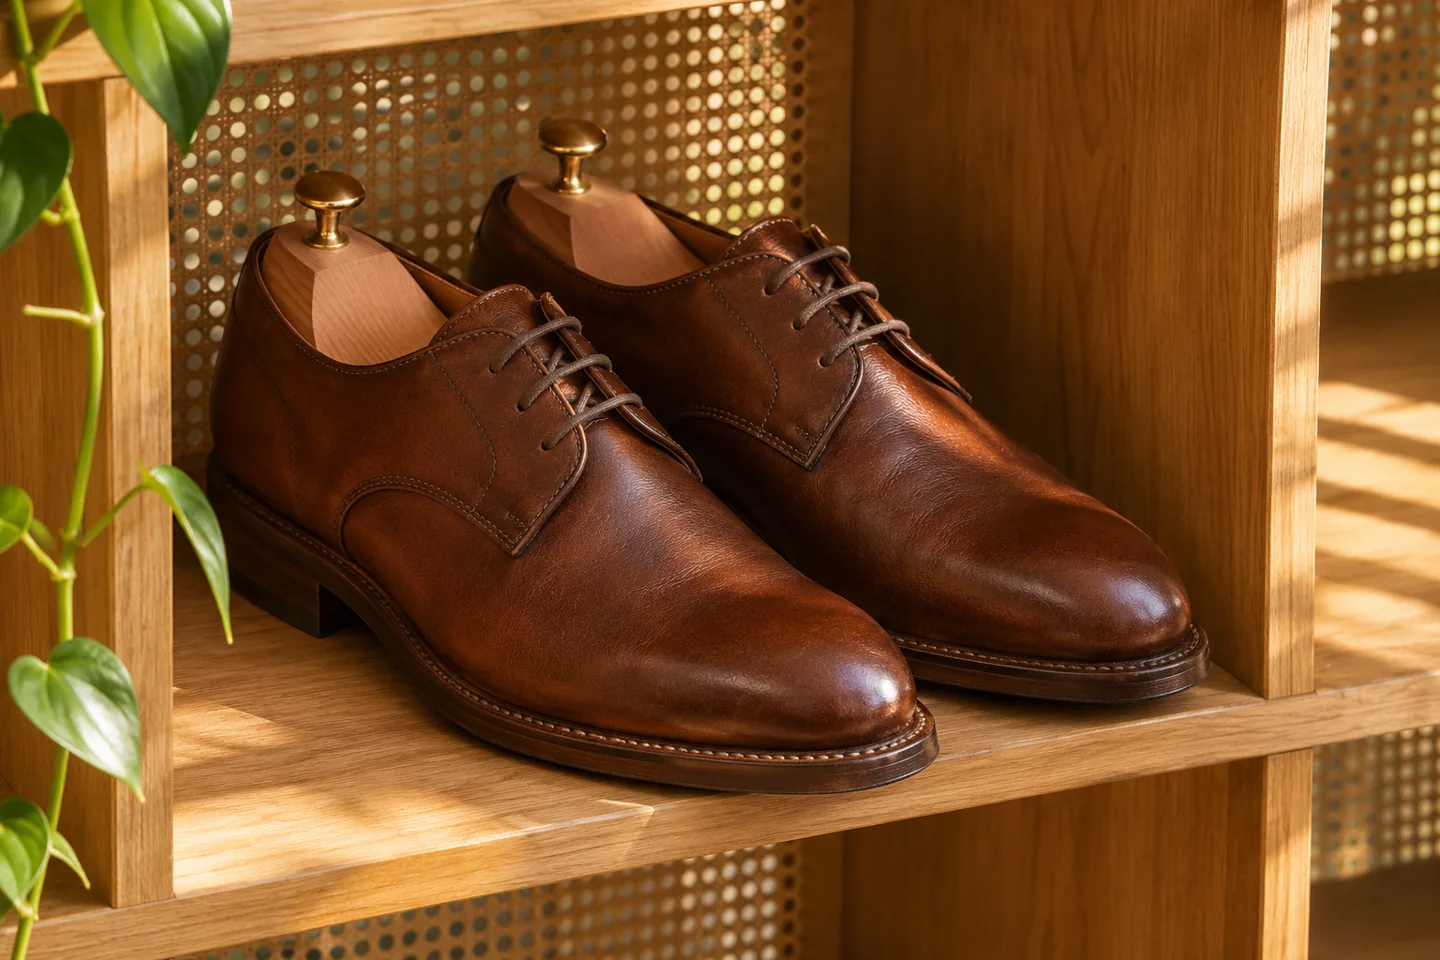
If you want to know how to use shoe trees, start with a dry pair of shoes and check that the insert goes in and comes out without a struggle. Slide the front into the toe, shorten the mechanism as designed, and lower the heel piece gently. Then set both shoes on the shelf and look at them from the side. The leather should be supported in its familiar shape. If the opening spreads or the back bows, take the insert out and check its size and shape.
Choose one pair of lace-up shoes for your first try. Work at a low bench or a table with a cloth underneath so the sole stays put. Loosen the laces down far enough that the tongue lifts easily. This gives your hands space and makes it easier to feel whether resistance is coming from the opening, the front of the shoe or the spring.
Set the other shoe beside it as a reference. Look at the outline of the toe, the stitching beside the laces and the angle of the heel. Ordinary flex lines can stay visible. You are looking for an insert that supports the material between wears, much as a hanger supports a jacket while it waits in the wardrobe.
Check the shape before trusting the size
Start with the maker’s size range, then compare the insert with the shoe in front of you. Two shoes with the same size printed inside can have very different toe shapes. A broad front piece may suit a rounded derby yet meet resistance halfway into a tapered Oxford. A tall insert may push up against the top of a low loafer even if the length looks right.
The heel matters too. A broad, rounded back piece may sit neatly in one pair and catch on the edge of another. If you can, buy where you can compare shapes or ask the shoemaker which insert fits that specific model. Hardrige’s cedar shoe tree page gives a concrete example of a maker publishing size equivalents for its own product. Use the size chart for the insert you actually have.
Put the toe in first
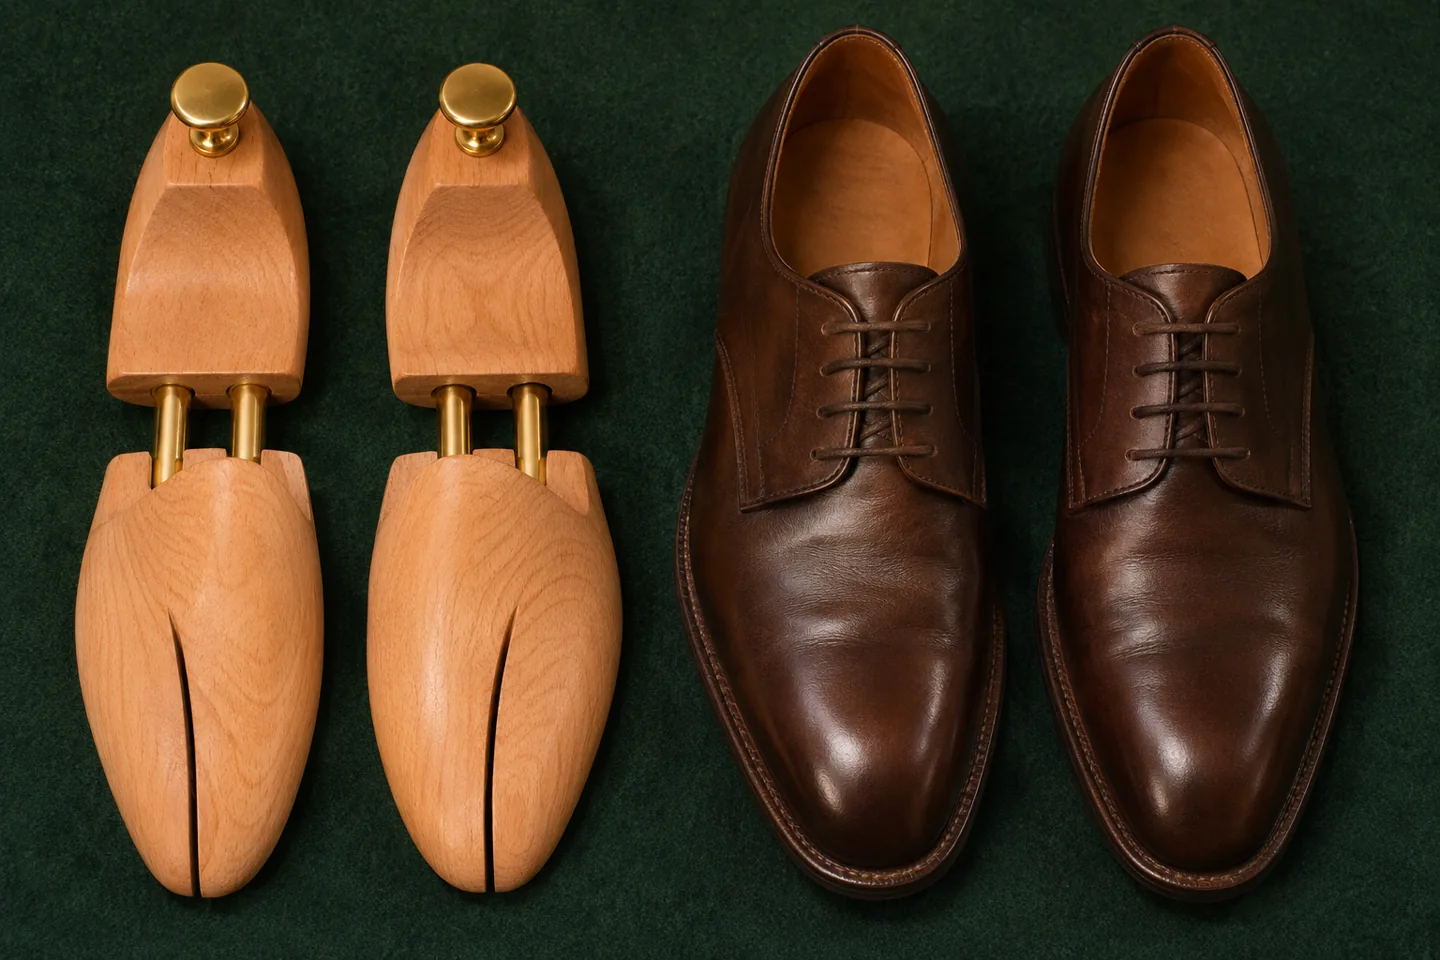
Check the left and right pieces on the table before you start. Hold the shoe around its middle with one hand, leaving the opening clear. Lift the tongue with your thumb and guide the front piece in along the same line your foot follows. Keep the insert aligned with the sole so the tip does not scrape against the upper.
On a spring design with a separate heel block, compress the spring by holding the piece as the maker shows. Lower the heel into the shoe, then ease off the pressure. The last movement should feel controlled. If you need to stand over the shoe and lean on it, stop. Check for a folded tongue, a lace across the opening or a front block that is too broad for the toe.
Read the shoe once the insert is seated
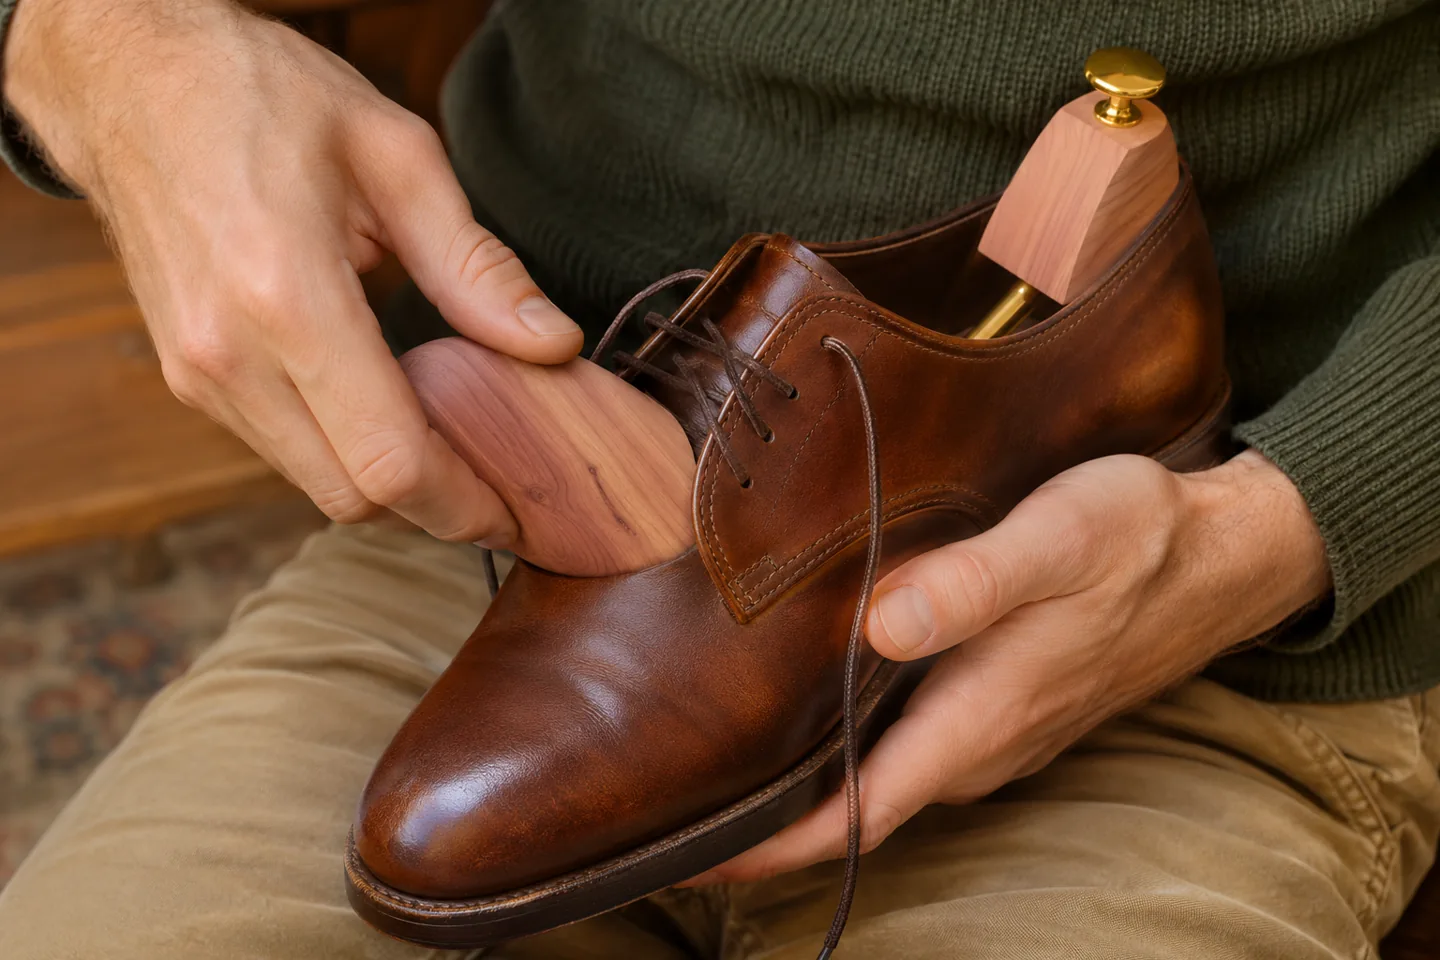
Look from above first. Check whether the sides around the eyelets have been pushed farther apart than on the empty shoe. Then look from the side at the back seam and the top of the toe. A raised ridge, a heel edge pushed outward or a new bulge along the side deserves a second look. Remove the tree to see whether the change disappears, then compare its shape with the inside of the shoe.
A little spring movement while you seat the heel can be normal. Judge what happens after you let go. If the insert rattles, tips onto one edge or moves as you pick up the pair, the support may be too small or in the wrong place. A tree that sits still and releases easily is a better practical fit than one that makes the shoe look perfectly smooth on the shelf.
Remove it with the same care
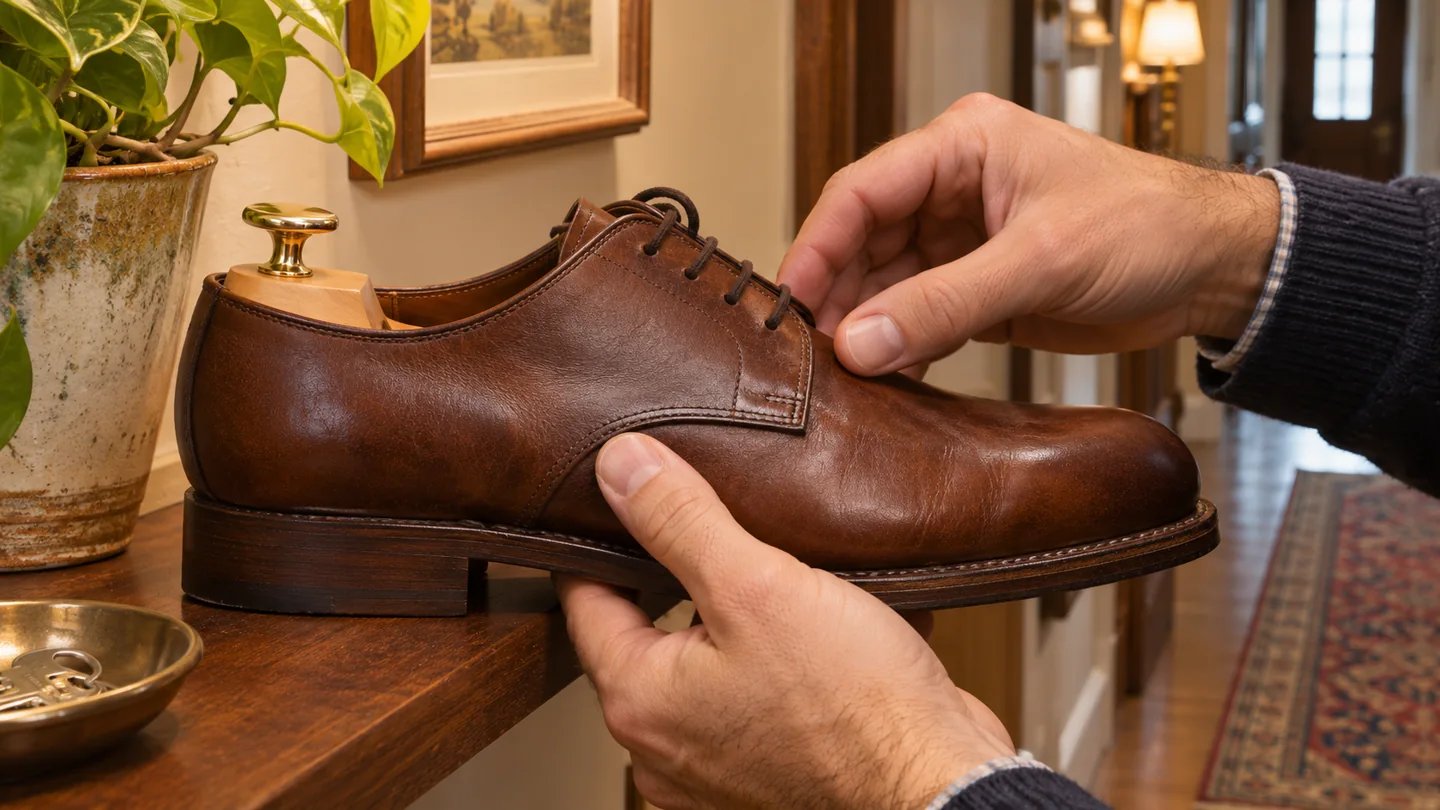
Loosen the laces again if you tied them for storage. Grip the handle or heel block and shorten the insert before lifting its back out. Support the shoe with your free hand. As the back clears the opening, slide the front piece back along the sole. With a hinged design, use the maker’s release movement. Pulling the entire piece straight up can catch the wood against the lip of the lining.
Try this once immediately after the first insertion. That way you find out at the bench whether you can remove it comfortably, while you still remember how it went in. If you need both hands just to operate the insert, put the shoe down on a stable surface before trying again.
Give a wet pair a different routine
A pair worn around the office and a pair soaked on the walk home need different attention. If water has reached the inside, open the shoe, leave it in an airy spot and follow the shoe maker’s drying instructions before adding a rigid insert. Keep it away from direct heat. A damp pair packed tight between other shoes is awkward to check and gives you fewer options if it needs longer to dry.
If the pair is dry but dusty, brush off loose debris before putting it on the shelf. For smooth leather that needs more attention, follow the separate guide on cleaning leather shoes. A tree can hold the shoe steady while you work if the fit has already been tested. Wait until any care product has dried as directed before putting the pair in a bag or box.
Choose the mechanism you will actually use
With a split front block, check how the two halves contact the shoe when you release the spring. A shoe with a narrow toe can show pressure along one edge before the block goes all the way in. A model with a simple joint gives you a different way to shorten it, which may suit a low opening. Compare those movements with the space you have rather than assuming that a more complicated insert always fits better.
If you already have a pair of trees, start there. Take a minute to check for rough edges, a sticking spring or a loose handle. Set aside any insert that catches on a thin lining. If you need another pair, use what you learned from the first test to describe the shape you need, such as a lower front or a narrower heel. That is more useful in a shop than giving your shoe size alone.
Set up a shelf that is easy to use
Leave enough room between pairs to lift one out without dragging it past another. Put the tree’s handles where you can reach them. If you rotate between a work derby and a special-occasion Oxford, choose which pair actually needs the insert you own. You can reserve it for the one you take off at the end of most days and leave the other pair empty if the shapes are too different.
During a wardrobe fit audit, decide which shoes fit the clothes and occasions you already have. That is a separate question from whether a storage accessory fits the shoe. For example, if the black pair rubs every time you wear it, note that issue when you try it on. A shoe tree on the shelf cannot tell you whether that pair is comfortable.
Common questions about shoe trees
Should a shoe tree flatten every crease?
No. Lines across the area that bends as you walk are ordinary. You can often still see them with a correctly fitted insert in place. If the crease only disappears when the tree pushes the front upward or pulls the sides apart, use the gentler fit. The useful comparison is the outline of the shoe at rest before and after you insert the tree.
Can I use one pair of trees for every shoe?
Sometimes two pairs of similar shoes can share the same model. Try each pair individually and check the toe and heel from the outside before leaving it in place. A size that fits a round derby may hit the sides of a loafer long before it reaches the front. Sharing between shoes only makes sense if taking the insert out remains easy each time.
How long do I leave them in?
Follow the recommendations for the shoe and insert. With a dry pair and a fit you have checked, leaving them in until you next wear the shoes is a practical arrangement. If you share the inserts among pairs, move them when you need them. There is no benefit to opening the cupboard repeatedly to check a pair whose outline was already stable at the bench.
Is it a way to make tight shoes bigger?
Use a storage tree for support only. If shoes feel tight when worn, note exactly where you feel it and whether it happens with the socks you normally wear. A cobbler or the maker can assess what is possible for that specific construction. Forcing a larger storage insert into the shoe gives you little control over where the pressure goes and may also leave you struggling to remove it.