
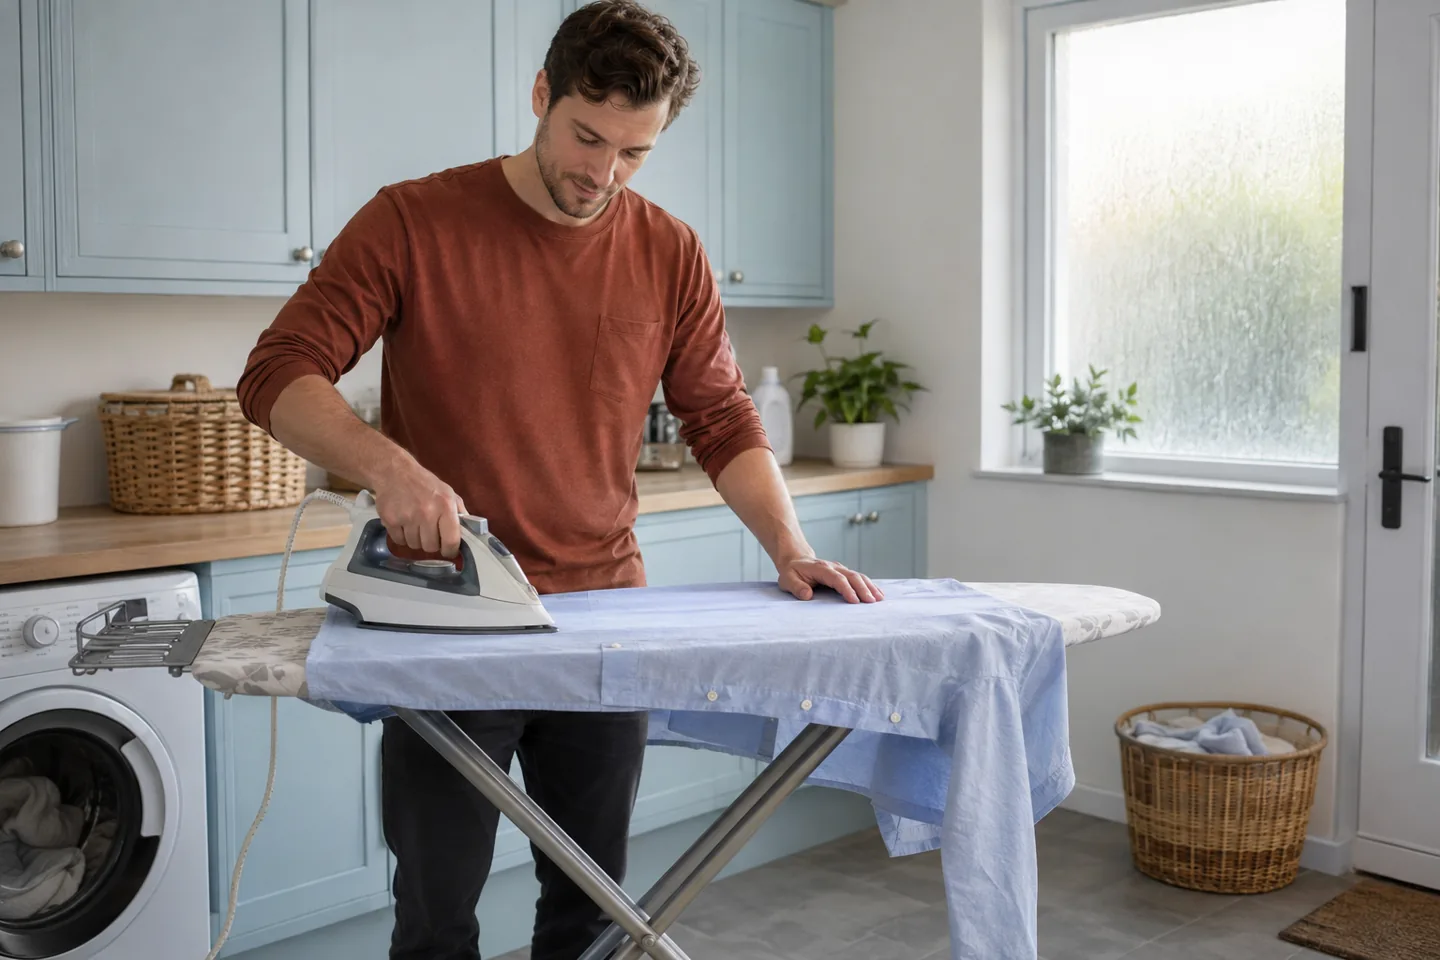
How to iron a shirt starts with the garment
Knowing how to iron a shirt is mostly a matter of preparing the cloth, working in manageable sections and recognising when to stop. This guide is for a clean, ordinary button-front shirt whose care instructions allow ironing. It is not a universal recipe for every fibre, print, finish or appliance. Your shirt's label and your iron's manual take priority over an online sequence.
Choose a shirt you already own and a time when you can finish without rushing away from a hot appliance. The aim is a wearable result, not a perfectly flat object for a photograph. Natural movement will make new folds during the day. A few remaining lines do not justify repeated passes, extra pressure or a higher setting than the garment allows.
Read the care instructions before switching on
Find the care label and check whether ironing is permitted, including any restrictions on heat, steam or the surface to treat. GINETEX's care-symbol reference explains that the label governs the ironing limit rather than fibre content alone. A crossed-out iron means do not iron. Do not choose a setting simply because a shirt looks like cotton.
Read any written instructions as well. A blended fabric, bonded detail, decoration or special finish may need a different approach from the plain fabric beside it. If the label is missing or unreadable, do not improvise a temperature ladder until something changes. Ask the maker or a professional cleaner first.
Check that the shirt is clean and inspect both sides for marks, loose threads, damaged seams or uncertain trims. Set aside anything that needs a separate cleaning or repair decision. Ironing is a finishing task; it is not a substitute for laundering or a method for making a stain disappear.
Set up a stable working area
Open the board fully and confirm that its locking mechanism is engaged according to its instructions. Use an intact, clean cover suitable for the equipment. Keep the area clear, with no trailing cord across a walking route and no unstable pile of clothes beside the iron rest. Children and pets should not enter the working space.
Brabantia's ironing-board guidance distinguishes boards and rests intended for different appliances. Check compatibility rather than assuming any tabletop or improvised padding will do. This is a setup consideration, not a recommendation to buy a particular brand.
Follow your appliance manual for filling, water, heat selection, resting and shutdown. Start with a cool appliance for preparation and inspection. Never touch a hot soleplate or direct steam towards a person. Do not iron a shirt while someone is wearing it. If the cord, plug or appliance is damaged, stop and arrange appropriate service instead of attempting a repair during this task.
Open and arrange the shirt while the iron rests
Undo the front and cuff buttons. Open the collar and lay out the first small area so you can see seams, folds and buttons. Use your hands only while the iron is safely on its designated rest, keeping fingers away from the hot area and steam path. Repositioning cloth and moving the iron are separate actions.
Decide how much finishing the shirt actually needs. A collar, one sleeve and a front panel may show you enough to judge the process before continuing. Do not add starch, fragrance, household cleaning mixtures or other products unless both garment and appliance instructions support that use. Plain preparation makes an unexpected mark easier to investigate.
Leave room for the finished shirt to hang afterwards. A suitable hanger placed within easy reach prevents a last-minute search while the appliance is still hot. If you do not have enough time or clear space, postpone the task and choose another shirt. That is a useful preparation decision rather than a failure.
Start with one small permitted area
Select the allowed setting following the garment label and the appliance instructions, then let the iron reach readiness as specified by its maker. If the shirt's directions call for working inside out or using a suitable pressing cloth, prepare that before the first pass. Do not treat a concealed test as permission to exceed the label.
A small permitted area gives you a manageable first step. Flatten it on the board without stretching, make a controlled pass appropriate to the instructions, and return the iron to its rest before inspecting. Look for a smoother surface, but also for an unexpected shine, colour change, residue or catching. Stop immediately if the result is uncertain.
For example, do not chase a persistent line by moving straight from one pass to maximum heat. Recheck whether the cloth is folded underneath, whether the area is supported and whether the treatment is allowed. If those checks do not resolve the question, leave the line and seek garment-care advice. The shirt does not need to be sacrificed to finish a tutorial.
Handle the collar and cuffs without pressing buttons
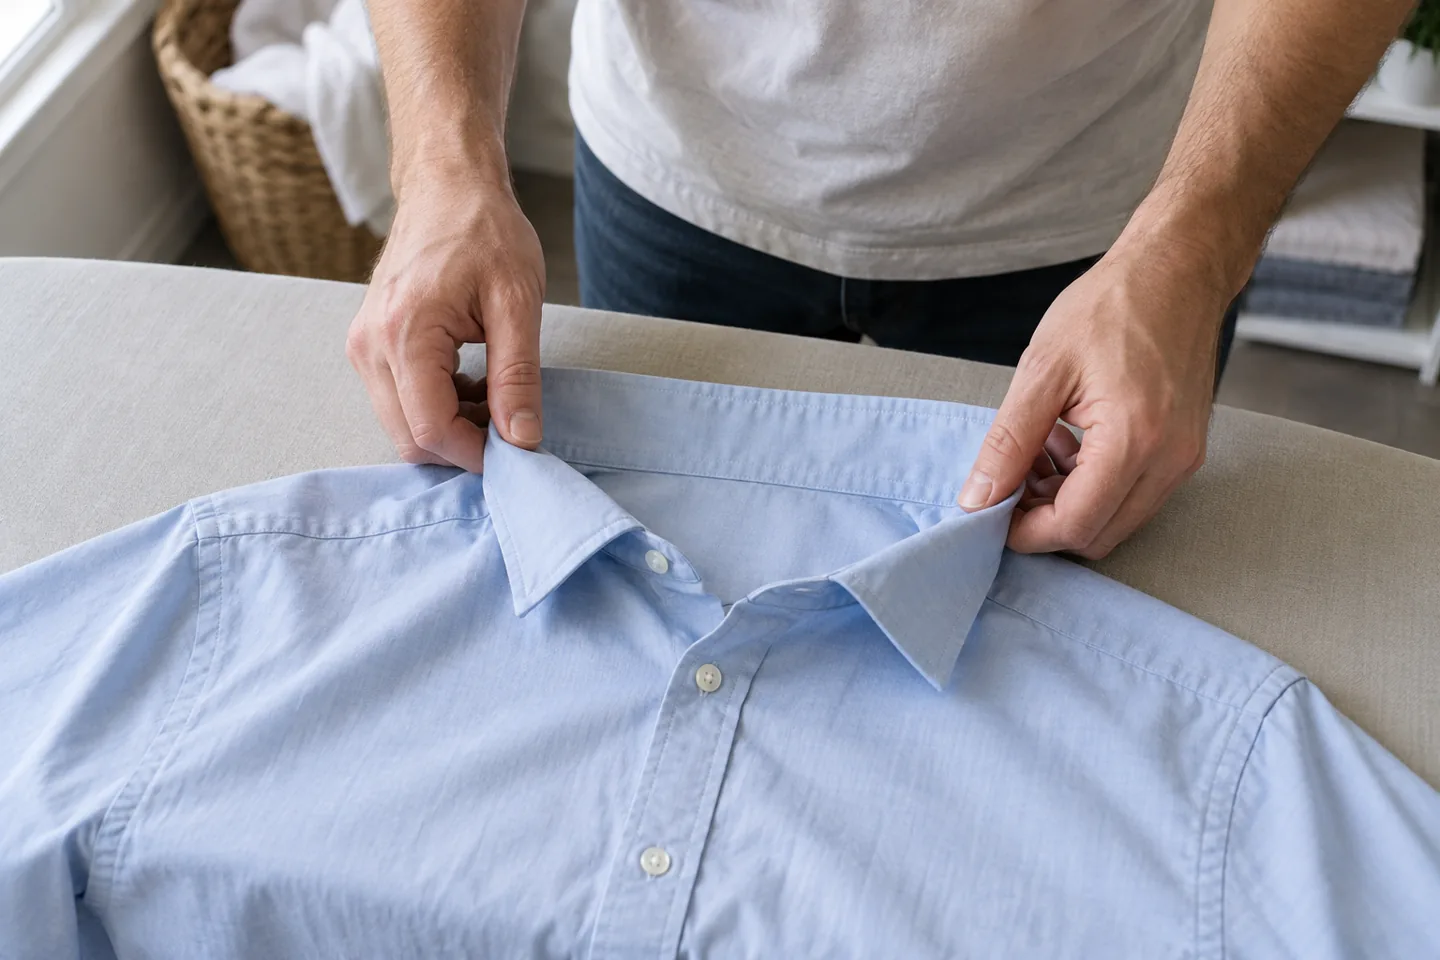
With the iron safely resting, open the collar flat enough to work on the permitted surface. Follow the shirt's construction rather than trying to flatten a shaped collar into a new outline. Keep the iron moving as instructed and lift it to reposition. Do not leave it sitting on the cloth while you decide what comes next.
Open each cuff and work around buttons and raised details, rather than running the soleplate over them. Use the narrow part of the board where helpful, provided the area is stable and the shirt is supported. Return the appliance to its rest whenever you need both hands to open, rotate or inspect a cuff.
This concerns finishing fabric, not changing sleeve length or cuff fit. Our wardrobe fit audit helps separate garment fit from surface presentation. A neat cuff can still be the wrong size, and additional ironing will not alter its intended construction. Keep that distinction before deciding that a new pass is needed.
Lay sleeves flat before making a pass
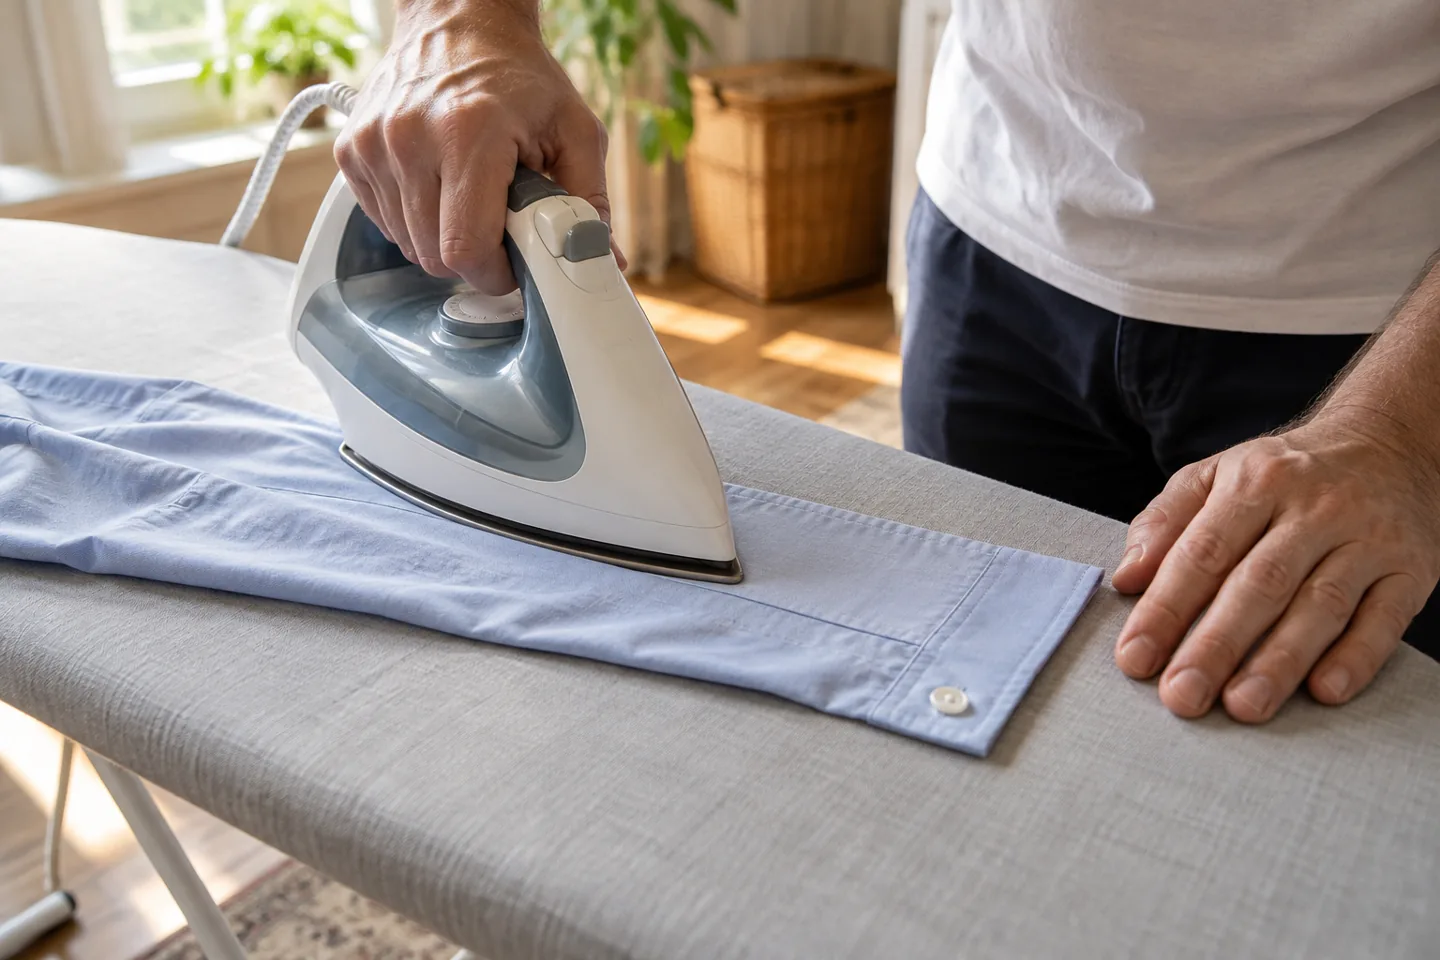
Arrange a sleeve on the board with its layers aligned and the underside checked for folds. Smooth it gently by hand while the iron rests. Decide whether you want an existing sleeve crease preserved, following the garment's directions. Do not create a sharp line by accident and then try to erase it with increasingly aggressive treatment.
Work in sections that fit on the board. Move the shirt between passes rather than stretching a sleeve to cover a larger area. Keep your free hand away from the soleplate route, and never reach under a section while steam or heat is being applied. If a seam catches, stop moving the iron and place it safely before adjusting the cloth.
Check the second sleeve separately. Small differences in how it lies on the board are normal; copy the preparation, not a fixed number of strokes. The endpoint is an acceptable surface under the permitted treatment. You are not trying to produce mathematically identical sleeves or an appearance score.
Work through the body in separate panels
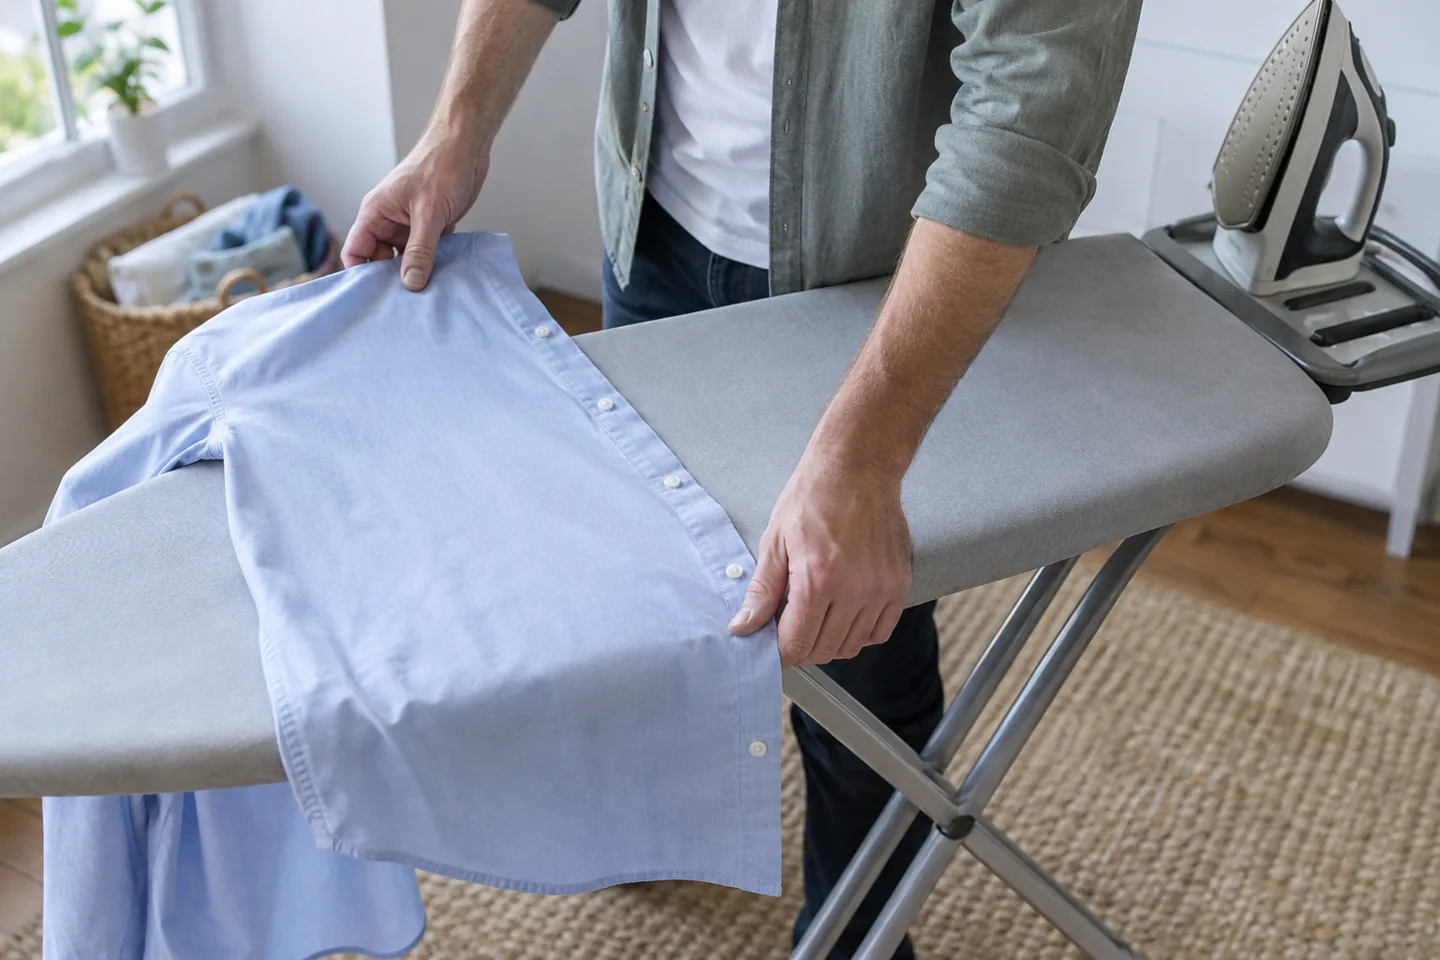
Drape one front panel across the board, leaving the opposite side out of the working area. Check that pockets, seams and the fabric underneath are not folded into a ridge. Work around buttons and trims. When you need to move the shirt, return the iron to its rest first, then lift and rearrange the material.
Continue to the other front and the back in sections your board can support. Avoid dragging a finished area across an untidy surface or letting the shirt bunch up beneath the next panel. This is why a clear workspace matters more than trying to complete every part in a single sweep.
If you notice a new diagonal line, inspect how the cloth is positioned before applying more heat. A fold pressed into the lower layer needs a positioning correction, not automatically a stronger setting. Our simple morning grooming routine provides a useful planning boundary: prepare an outfit earlier when possible instead of adding a hot-appliance task to a rushed departure.
Stop when the cloth gives you a reason
An unexpected smell, deposit, sticking, colour change or glossy patch is a reason to stop. Rest the appliance safely and shut it down as its manual requires. Do not scrape a hot soleplate, add a homemade mixture or keep pressing to hide the mark. Allow the equipment and garment to cool safely before a separate assessment.
A stubborn wrinkle is not proof that the setting is too low. It may involve a seam, layered construction, damage or a treatment that this guide cannot identify. Leave that question to the manufacturer or an appropriate professional. Do not assume that a steamer is a universally safe substitute when ironing is restricted.
You can also stop because the result is already usable. Check the shirt at ordinary viewing distance rather than scrutinising every thread under strong side light. Repeated inspection can turn a small maintenance task into an unnecessary appearance ritual. Finish once the permitted process has produced a result you can comfortably use.
Hang the shirt and shut down properly
Place the shirt on a suitable hanger and allow it to settle without crushing newly finished areas against other garments. Follow any remaining drying or cooling directions. Do not immediately stuff warm or damp fabric into a crowded bag. Check the collar and shoulders once, then leave the garment alone rather than handling it repeatedly.
Switch off, unplug and deal with water or storage exactly as your appliance manual directs. Keep the iron in its safe cooling position, with the cord controlled and the area protected until it is cool. Do not fold the board or store the appliance before the relevant instructions allow it.
The guide to tracking style without overthinking can help keep the endpoint practical: record a care instruction if useful, not a daily judgement of how polished you look. A short note about the garment's permitted care is more useful than collecting repeated photographs of tiny folds.

Make the next session simpler
Keep the shirt's care information accessible and put equipment away only after safe cooling. A clear cover, a working rest and an uncluttered location make the next session easier to begin. If the setup is inconvenient, improve the location or choose another allowed care option after checking instructions; do not remove safeguards to save space.
Next time, start again with the actual label and condition rather than memorising a universal temperature. Another shirt that looks similar may have different care limits. The repeatable method is simple: identify the permitted treatment, prepare the area, work in controlled sections, inspect sensibly and finish with safe shutdown.
Frequently asked questions
Can I use the same setting for every cotton-looking shirt?
No. Appearance and fibre descriptions do not replace the care label. Blends, details and finishes can change the permitted treatment. If you cannot establish the instructions, ask the maker or a garment-care professional before applying heat.
Should I press harder when a line remains?
Not automatically. First check support, hidden folds and the permitted treatment. Repeated force or higher heat can create a separate problem. Stop when the material reacts unexpectedly or the reason for a persistent line is unclear.
Can I iron directly over buttons?
Work around them and follow the garment's construction. Open cuffs and front panels so raised parts stay out of the soleplate path. Rest the iron before repositioning anything that requires both hands.
Do I need a new iron or an app?
Neither follows from this guide. Use suitable, intact equipment according to its manual. The process is independent of an app, and no appliance brand or paid service is required to follow the preparation sequence.