

How to measure belt size with clear reference points
Learning how to measure belt size is useful when a familiar belt feels comfortable but its printed number no longer tells you much. Start with the existing belt and the instructions for the product you are considering. Different manufacturers use different reference points around the buckle, so a number without its method can create confusion. This guide helps you record a practical reference without treating clothing size as a judgment about your body.
Choose an ordinary belt that works with the trousers you actually intend to wear. A belt used with low-rise jeans may not provide the same reference as one worn higher with tailored trousers. Keep that context alongside the measurement. You do not need to tighten a belt to reach a preferred hole, change your body or alter the leather to make a number fit a chart.
MogRise is our publisher’s app. Its optional personal plans and Coach questions can help organize a preparation task. They do not measure a belt, identify its buckle from this article or guarantee a purchase will fit. The physical measurement and the relevant maker’s instructions remain your responsibility, and you can complete the entire task without an app.
Choose the reference before reaching for the tape
Find a belt that is comfortable in normal use with the intended trousers. Check that the strap and buckle are intact and that the regularly used hole can be identified. If the leather is badly stretched, the fastening is damaged or the belt no longer feels suitable, choose another reference or ask the intended manufacturer how to proceed. An unreliable reference does not become reliable merely because you measure it precisely.
Use the wardrobe fit audit if you need to choose which clothes to prepare first. Think about ordinary movement rather than a posed photograph. Sitting down, walking and dressing normally matter more than whether the belt closes at a particular hole. Do not turn the task into repeated tightening or a challenge to reach a smaller number. Once you have chosen a reasonable existing reference, move on to understanding the maker’s method.
Read the intended maker’s diagram
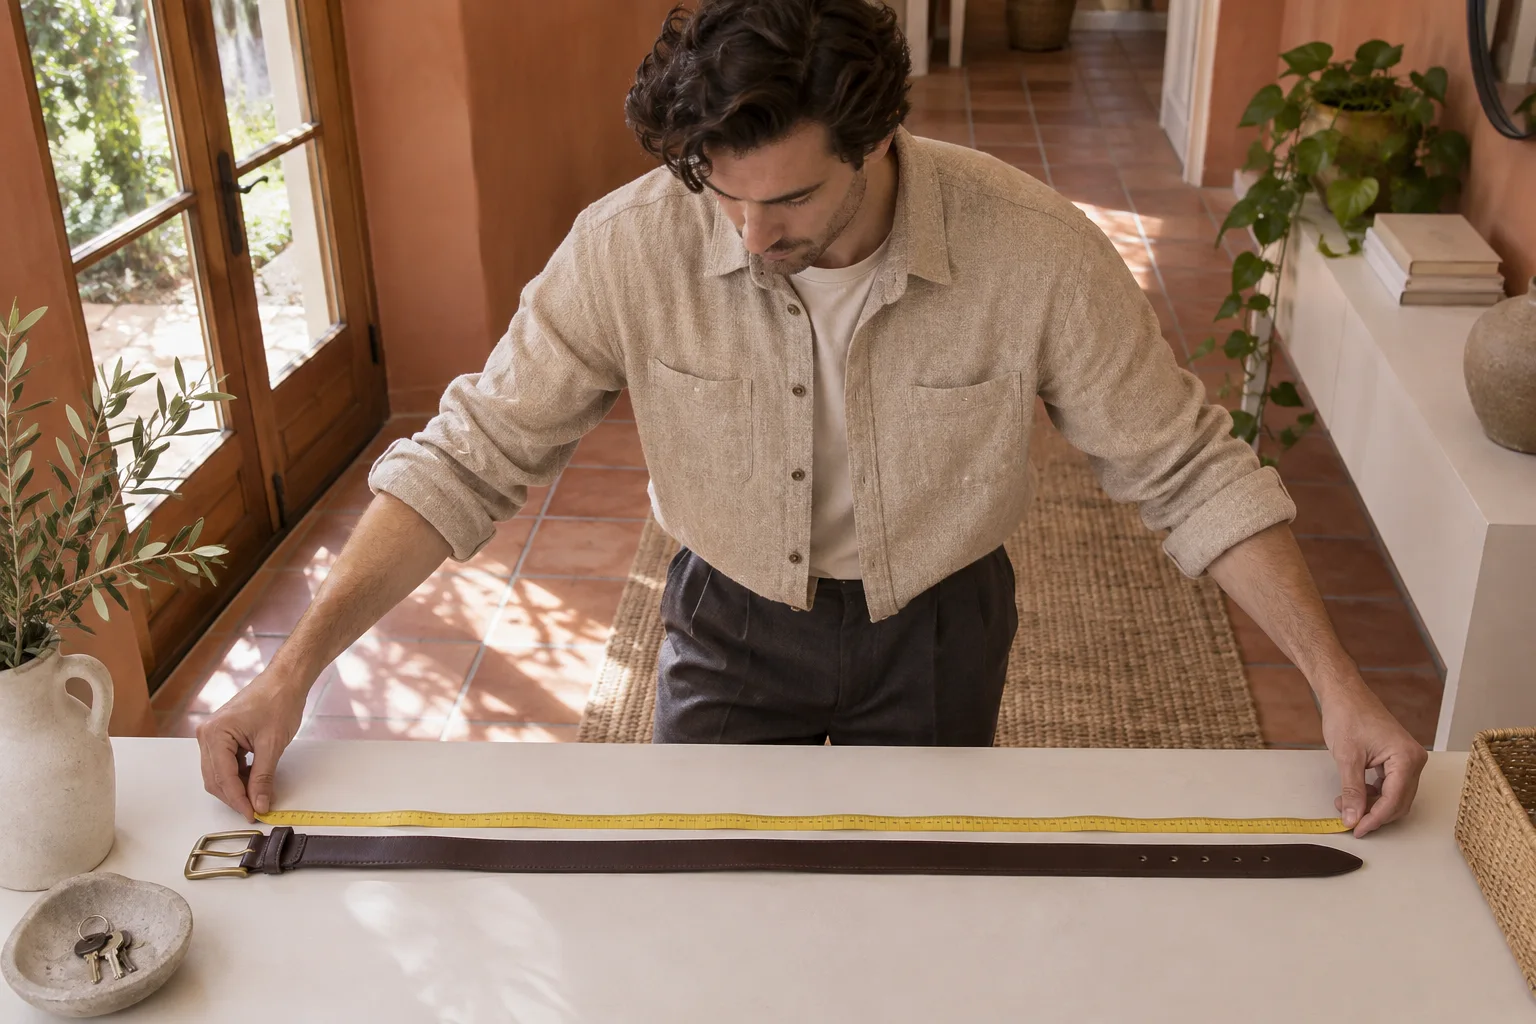
Before placing a tape measure, open the actual sizing instructions for the belt you are considering. Identify where the measurement begins, where it ends and which units the chart uses. Keep those details together. A buckle edge, a leather fold and the contact point of a prong are different locations; substituting one for another can change the number you record.
The Belts.com sizing guide describes an existing-belt method that starts where the leather folds at the buckle and ends at the normally used hole, excluding the buckle. Fronhofer’s guide in German describes a different reference involving the prong contact point. These examples demonstrate why instructions cannot be blended into a universal rule. Use the selected maker’s diagram consistently and ask its customer service if the construction of your existing belt makes the endpoints unclear.
Distinguish overall length from the useful reference
The distance from one end of a strap to the other is not automatically its ordering size. The tail beyond the holes and the buckle construction affect overall length. Writing down that full length without a label may leave you comparing unlike measurements later. Record what you actually measured rather than calling every result a belt size.
Likewise, a trouser label is not a replacement for the specific instructions. Different garments and brands use different sizing systems. Do not add an arbitrary number of centimetres or inches because an unrelated chart does so. A conversion or allowance belongs to a named product’s instructions, not to every belt in your wardrobe.
Prepare a stable surface
Use a clear table long enough to support the belt and the measuring tool. Remove drinks and rough objects. Lay the belt down without pulling the leather under tension to make it look straighter. Support an ordinary curve gently; do not force a worn strap flat or dismantle the buckle merely to create a convenient starting point.
Check the beginning of the measuring tape. Some tools have a blank lead or a movable end, and a damaged or unclear starting mark can confuse the reading. If you cannot identify the scale confidently, use another suitable tool. This is a short clothing-preparation task, not a test of whether you can recover a measurement from unsuitable equipment.
Identify the hole you normally use
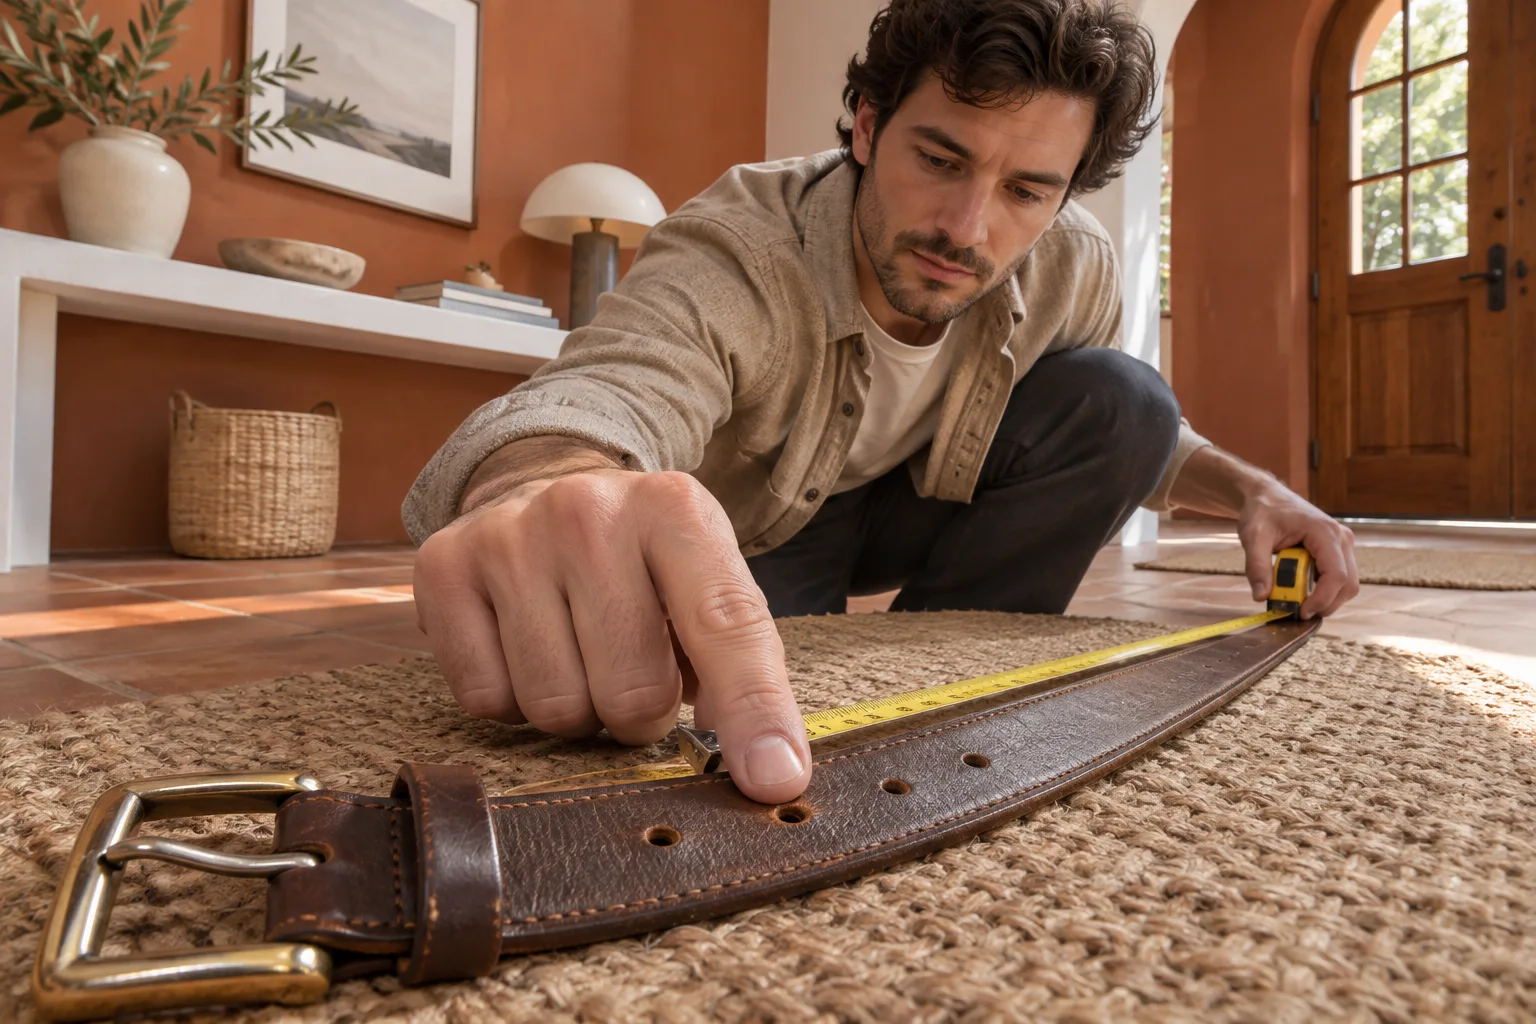
Look for the hole that corresponds to ordinary comfortable wear with the intended trousers. Existing wear may help identify it, but do not assume that the most visibly stretched opening remains the right reference. If you have not worn this belt recently, check it once with the actual trousers before returning it to the table. Avoid repeated try-ons simply to obtain a preferred result.
Keep the purpose clear. You are recording a clothing reference, not creating a body measurement diary. A different pair of trousers, a different rise or an unfamiliar buckle may change the practical comparison. If the reference is uncertain, write down that uncertainty and ask the intended maker how it recommends choosing a size rather than inventing precision.
Align the tool with the selected endpoints
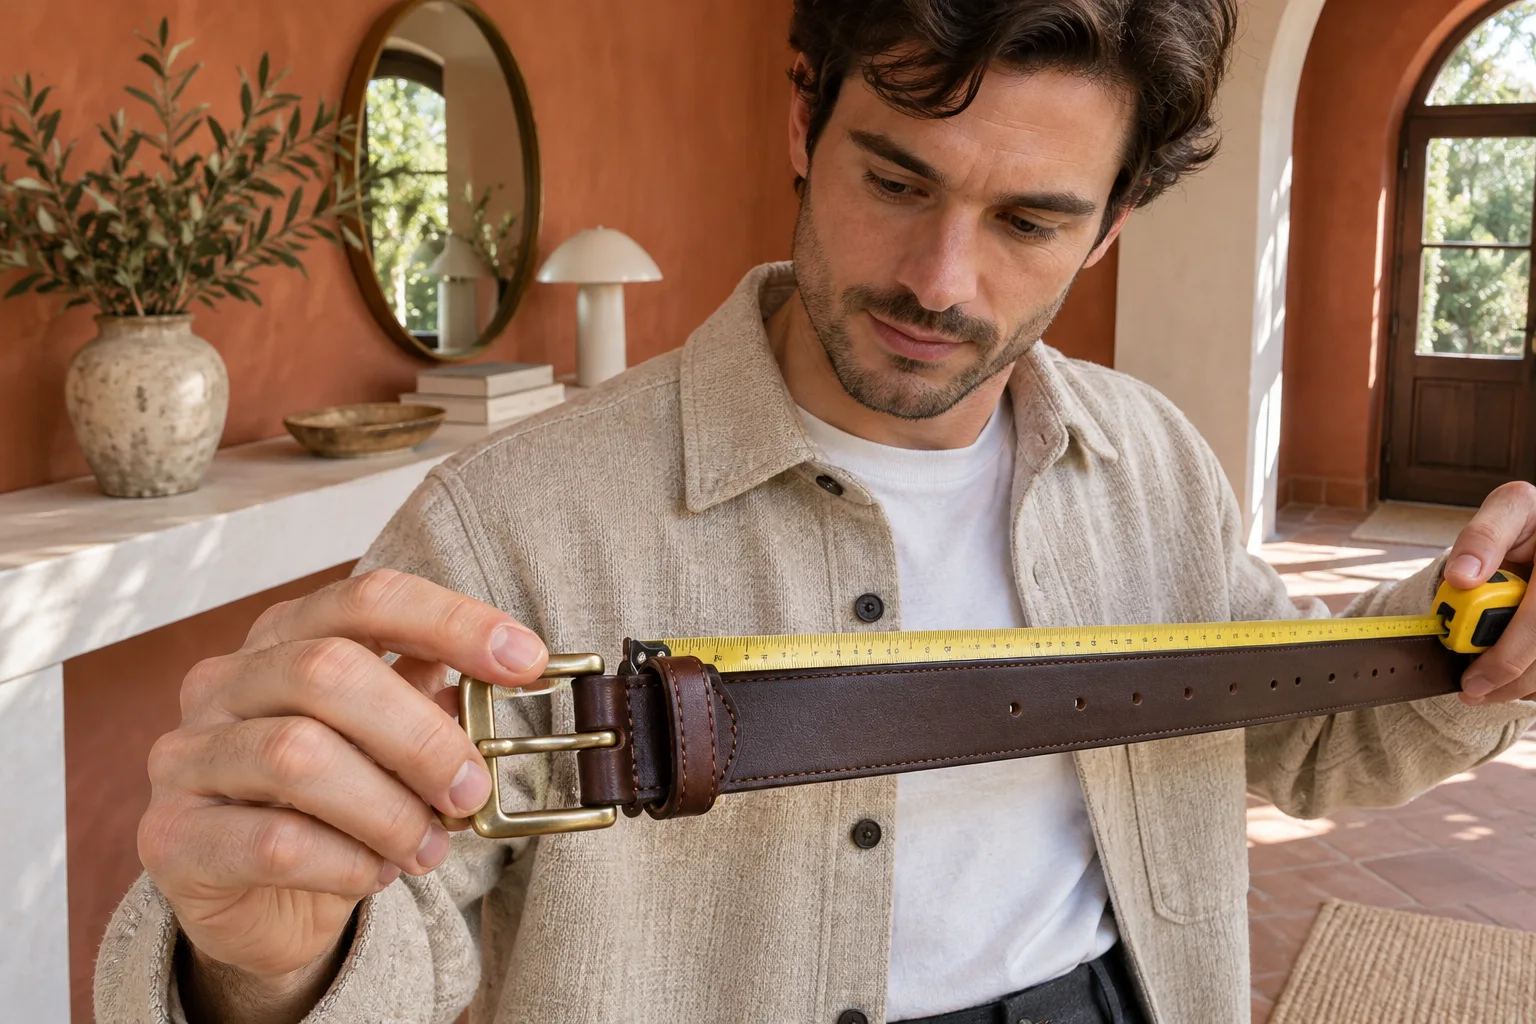
Follow the diagram you chose at the start. Position the tape at its stated buckle reference and read the distance to the relevant hole. Keep the measuring tool supported along the strap without stretching either item. Do not include a decorative tip or the far end of the belt unless the product instructions explicitly require it.
If the buckle makes the start difficult to see, improve the light or reposition the belt. Do not remove rivets, undo unfamiliar hardware or force the fastening apart. A photograph can document which reference you used, but it cannot replace an unclear physical measurement. The practical next step may be a question to the manufacturer, especially for a reversible, braided or ratchet design.
Record the method alongside the number
A useful note includes the units, the starting reference, the ending reference and the trousers associated with the existing belt. You might write that the measurement ran from the leather fold to the used hole according to a particular maker’s instructions. That context is more useful than an isolated number saved under a vague heading.
Read the result once more while the belt is still supported, then put the tool away. If the two readings differ, check the alignment rather than taking a long series and selecting the smallest. A small uncertainty can be stated openly. Ordering instructions may include their own rounding rules, but you should apply only those belonging to the intended product.

Use an optional plan for the preparation task
If you already use MogRise, a personal plan can help organize a single manageable action such as checking the intended maker’s guide before choosing a belt. A Coach question can help you think through the preparation you want to prioritize. These are organizational uses of existing features, not a measurement instrument or a substitute for the product chart.
Keep the task limited. Daily actions in an app do not mean measuring your belt or checking your body every day. Complete the reference when it is useful for a concrete clothing decision, then return to normal activities. A plain written note is equally suitable if that is easier. No paid feature or subscription is required to carry out the physical steps in this guide.
Compare only with the intended product chart
Reopen the sizing information for the particular product before making a decision. Check that the chart uses the same endpoints and units as your note. A result based on one manufacturer’s buckle convention should not be silently transferred into another manufacturer’s table. When the methods differ, remeasure according to the relevant instructions or ask for clarification.
Do not treat the process as a recommendation to buy immediately. You may find that an existing belt already does what you need. If you do order, read the actual exchange conditions rather than assuming that a size chart guarantees a comfortable result. The article does not rank retailers or promise a specific fit from a particular number.
Finish with ordinary comfort
If you are preparing for an event, the simple morning routine can help you leave time to get dressed. When using the belt, check that it works with the intended trousers during ordinary sitting and movement. A suitable fastening should not require a contest to reach a particular hole. If something feels uncomfortable, loosen or remove the belt as appropriate and choose another suitable option. Do not interpret discomfort as a reason to change your body for an accessory.
Avoid cutting a strap, punching new holes or improvising changes to a buckle on the basis of this measurement. Those are separate alterations that may require appropriate professional advice. The task here is complete when you have a usable reference and understand how it relates to the intended maker’s instructions.
Questions about existing belts
Is the printed trouser size enough?
Not reliably on its own. Follow the belt maker’s actual instructions and the relevant garment context. A trouser label is not a universal circumference measurement, and an allowance mentioned on one retailer’s chart should not become an automatic addition for every product.
Should I measure the entire belt?
Only when the intended instructions ask for overall length. Many sizing methods use a functional distance to a particular hole instead. Label your note clearly so you do not confuse strap length, buckle-inclusive length and the reference requested by a product chart.
What if the belt is worn or stretched?
Treat that as a limitation of the reference. Choose another comfortable existing belt if possible, or ask the intended manufacturer how to proceed. Pulling damaged leather taut to produce a neat reading does not establish a trustworthy sizing reference.
Can MogRise calculate the result for me?
This guide does not claim automatic belt measurement or sizing conversion. Optional personal plans and Coach questions can organize preparation. Use the physical tool and the maker’s directions for the actual measurement, and keep any saved note specific to the method you used.