
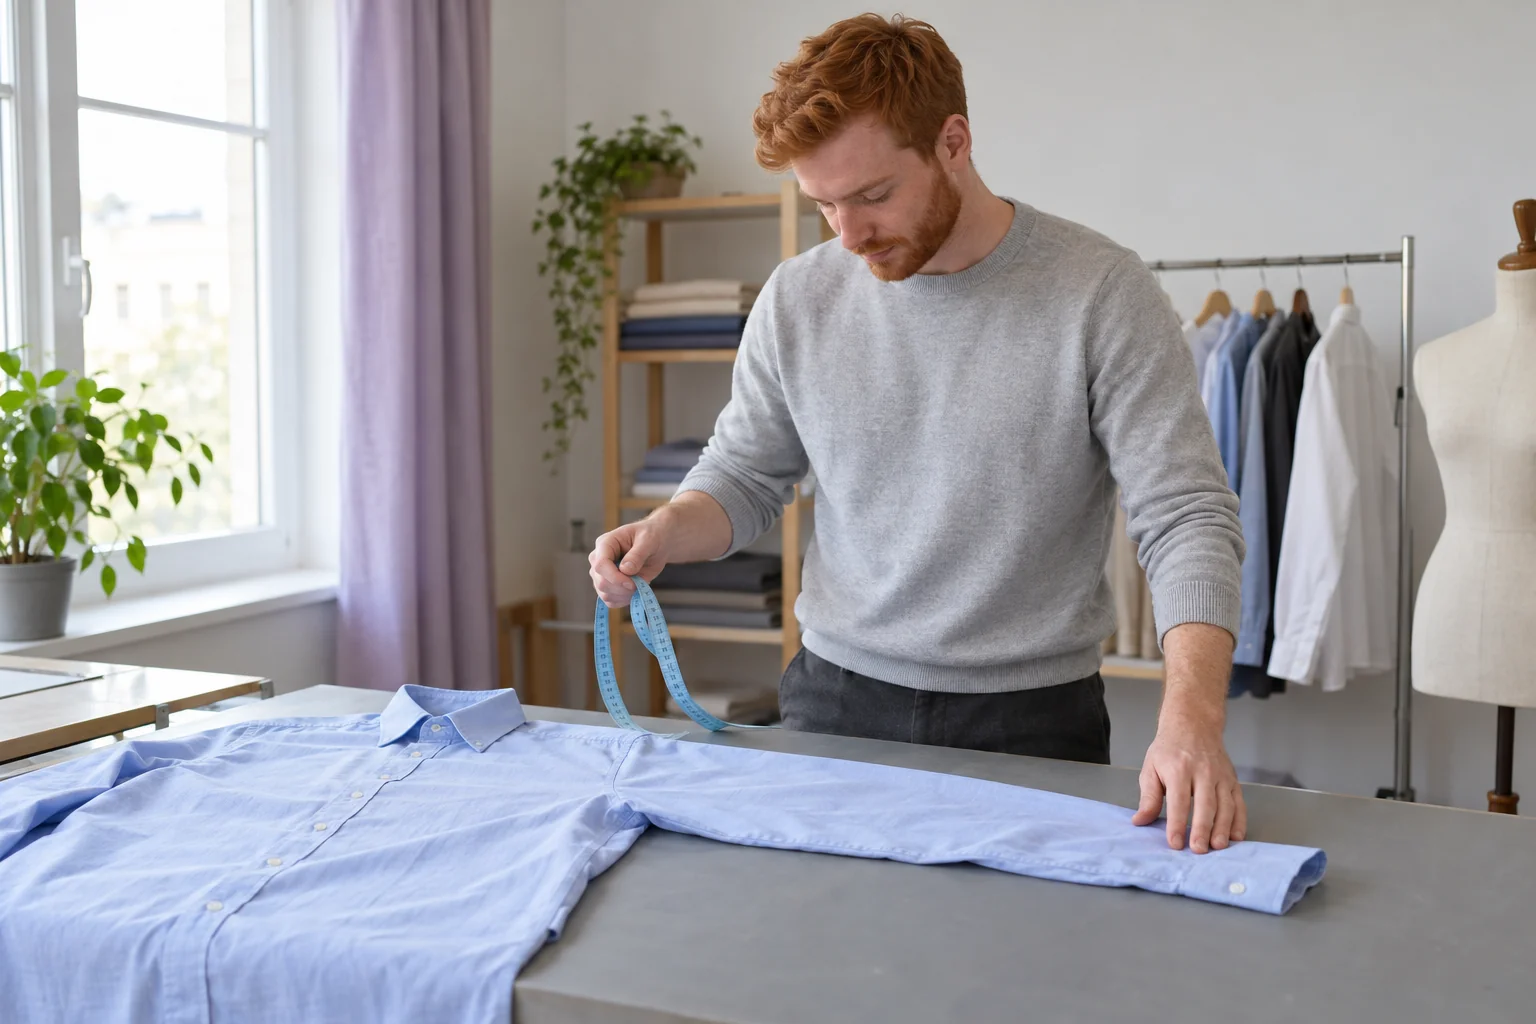
How to measure sleeve length before comparing sizes
Knowing how to measure sleeve length is most useful when you also know what the number describes. A measurement taken from a shirt's shoulder seam is different from one beginning at the centre of the back of the neck. Neither becomes suitable for a size chart simply because it is written beside the word sleeve. Start with the definition used by the particular maker or seller, then choose the matching method.
This guide concentrates on measuring an existing long-sleeved shirt laid flat, from the upper shoulder seam to the outer end of its cuff. It suits an ordinary set-in sleeve with a clear shoulder seam. It does not establish an ideal arm length, a universal cuff position or the size you ought to wear. A tape measure supplies information about a garment; comfort, personal preference and the rest of its construction still matter.
Choose a shirt that answers your actual question
Use a shirt you already own and understand. If its sleeves feel comfortable during ordinary use, it can provide a useful reference. If the shirt is uncomfortable, you can still measure it, but label it as a problem example rather than treating its measurement as a target. A familiar size label alone does not make it a good reference for another brand.
Choose the condition you want to record. For example, you might measure the shirt in its normal clean, dry state rather than straight from a parcel. Note that condition so a later measurement is easier to interpret. Do not stretch damp fabric or press an unfamiliar material merely to make the process look neat. Follow the care label if the garment needs attention first.
The distinction between measurements and overall fit also belongs in a wardrobe fit audit. Sleeve length is one piece of information. It cannot explain every restriction at the shoulder, every tight cuff or every difference between two cuts.
Read the maker's start and end points
Look for a diagram or written measuring instructions beside the size chart. Ask whether the values describe a body, a finished garment or another reference. Also check whether the sleeve measurement includes the cuff and which edge of the sleeve is followed. If these details are absent, asking the seller is more reliable than guessing from the size names.
The Tailor Store shirt measuring guide describes a garment measurement from the top of the shoulder, where sleeve and body meet, to the end of the cuff. That is the specific reference used for the main method here. Its other measurements and commercial sizing promises are separate; this guide does not endorse a made-to-measure service or guarantee an order will fit.
Find the actual stitched junction on your shirt. Do not move the start point along the shoulder because a different position produces a more familiar number. If the construction has no comparable seam, such as a raglan sleeve, use its own maker's instructions instead.
Set up a stable surface and a readable tape
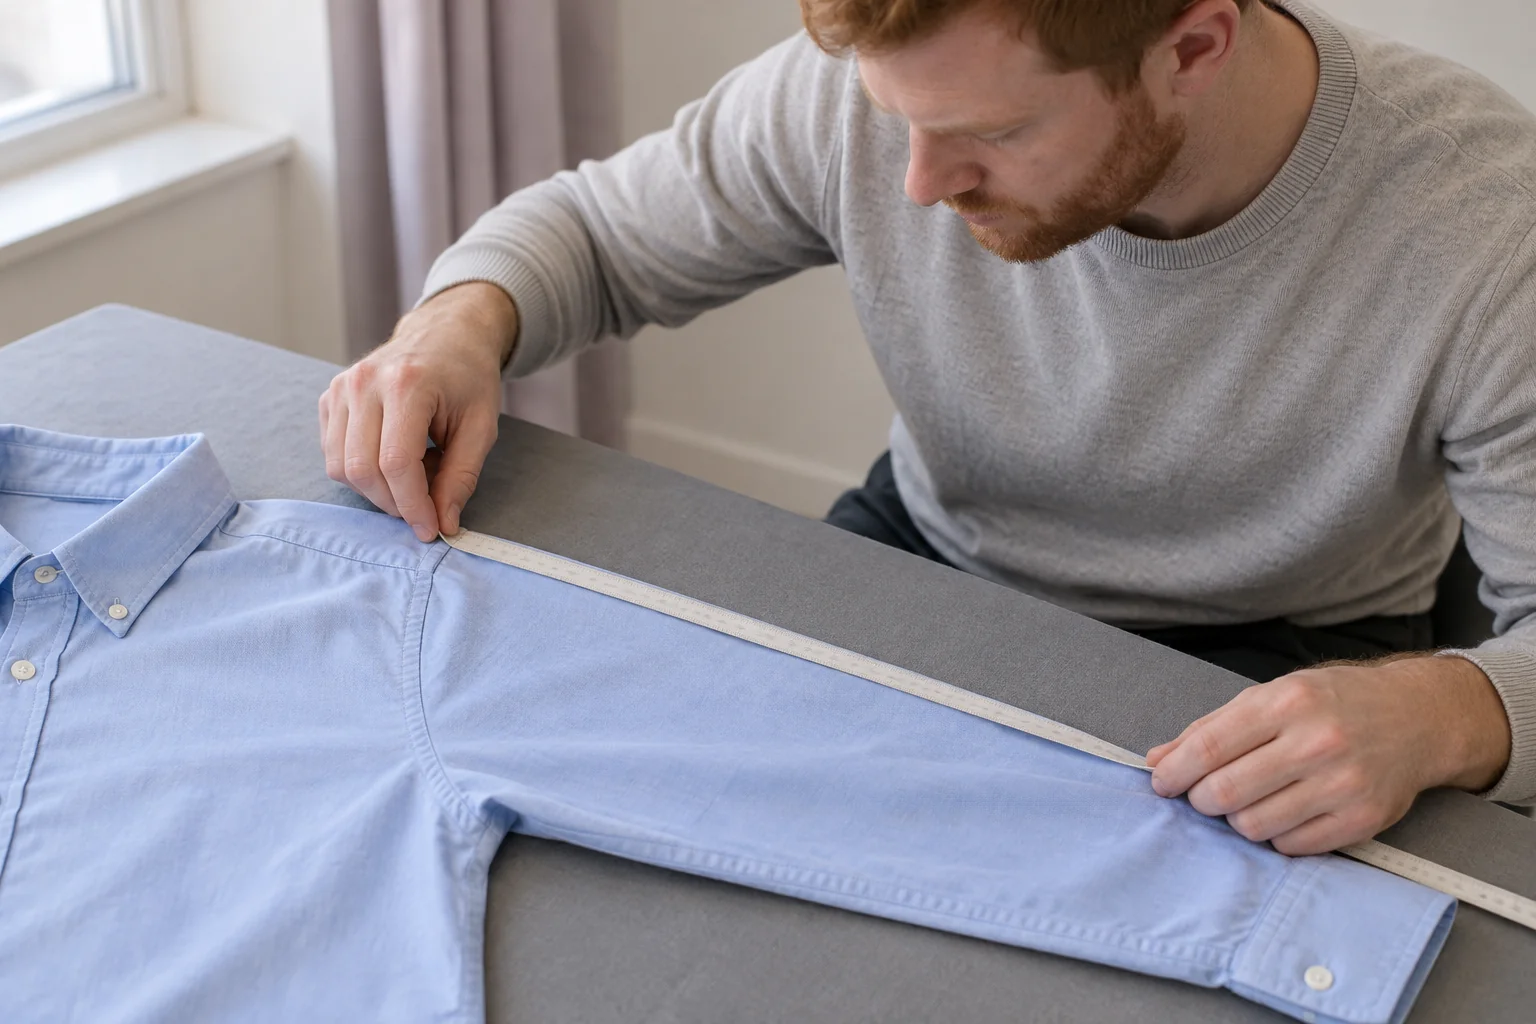
A clear table makes the task easier than balancing the shirt over a chair. You need enough room for the shirt body and the sleeve you are measuring. Remove items that catch the fabric or make the tape change direction. Good ordinary light is enough; you are reading a scale, not inspecting your body under revealing lighting.
Use a flexible measuring tape with a clear zero point and a single unit you can follow. Some tapes show centimetres on one side and inches on the other. Decide which scale you are reading before starting and keep that choice throughout the note. Do not use the beginning of a damaged tape as though it were a trustworthy zero.
Lay the sleeve flat without lengthening it
Arrange the shirt so the shoulder seam is accessible and the sleeve rests naturally on the table. Smooth folds gently with your hand. You are removing accidental bunching, not stretching the cloth or forcing every crease out. Follow the maker's positioning diagram if it shows a particular way to arrange the garment.
The upper sleeve edge should be available from the shoulder junction to the cuff. Keep the cuff in the condition required by the chosen method and include its full intended endpoint. Do not fold the cuff back or measure a rolled sleeve. Those are different configurations and will not answer the same question.
If the shirt keeps sliding, move the whole garment to a more stable place. Avoid pinning it with sharp objects or applying tape to delicate cloth. A slower, steady arrangement is more useful than a quick measurement that changes every time the fabric moves.
Follow one route from seam to cuff
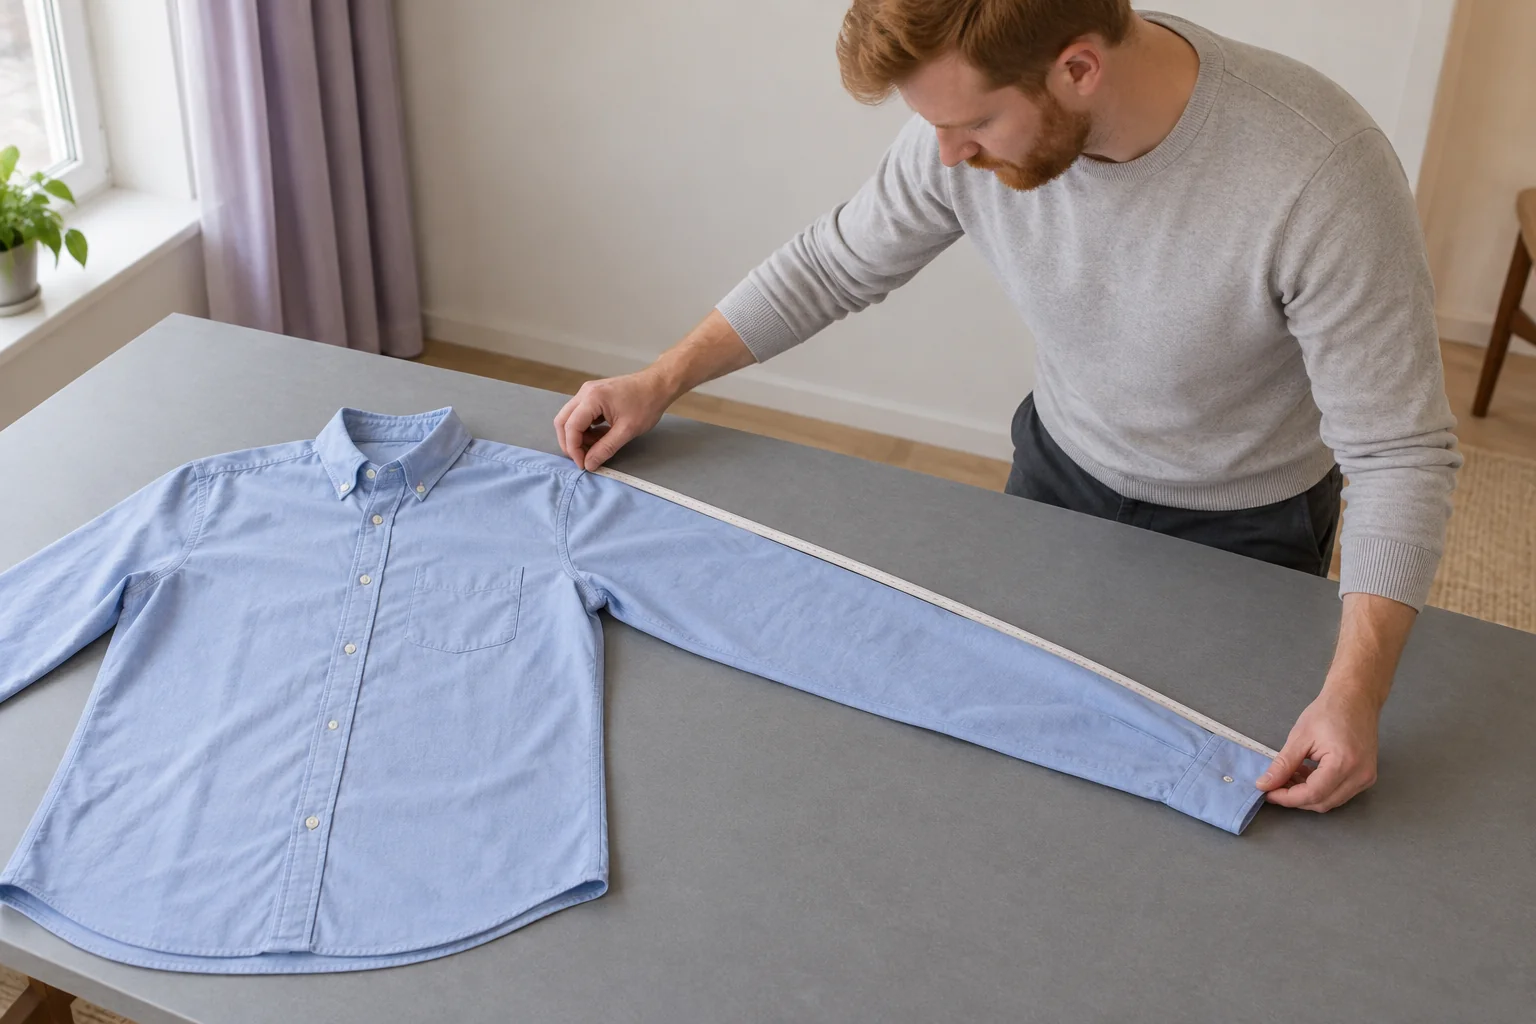
Place the tape's zero at the upper shoulder junction identified earlier. Follow the route described by the maker along the upper sleeve to the cuff end. Keep the tape in contact with the laid-out fabric without pulling the sleeve longer. Check that it has not twisted to the other unit scale or formed a loose loop.
Read at the actual endpoint, not at the cuff button or the seam where the cuff begins. For the method used here, the cuff is included. A measurement ending before it would describe a shorter section of the garment. If another maker excludes the cuff, record that different definition explicitly rather than quietly mixing the two numbers.
Write down the result with its unit and method. For example, a note can identify the shirt, the side measured, shoulder seam to cuff end, and centimetres. Any example number you use for practice is just a reading exercise, not a recommended sleeve length for a man of a certain height.
Confirm the reading once, then record it
Lift the tape away, reset it and make one deliberate second reading. This catches an obvious slipped starting point or a cuff that was folded under. If the results differ, first check the setup: same seam, same edge, same endpoint and no fabric tension. Do not keep repeating until you obtain the number you wanted.
If the difference remains meaningful for your decision, note the uncertainty or ask the maker how it measures. Extra decimal places do not create accuracy when the starting point is unclear. A simple practical note is more useful than an impressive-looking number without a method.
Keep the record attached to the decision it supports, such as comparing an existing shirt with one particular chart. You do not need an ongoing measurement log for every garment in the wardrobe. Once you have a usable reference, put the tape aside and continue with the actual clothing choice.
Compare only measurements with the same definition
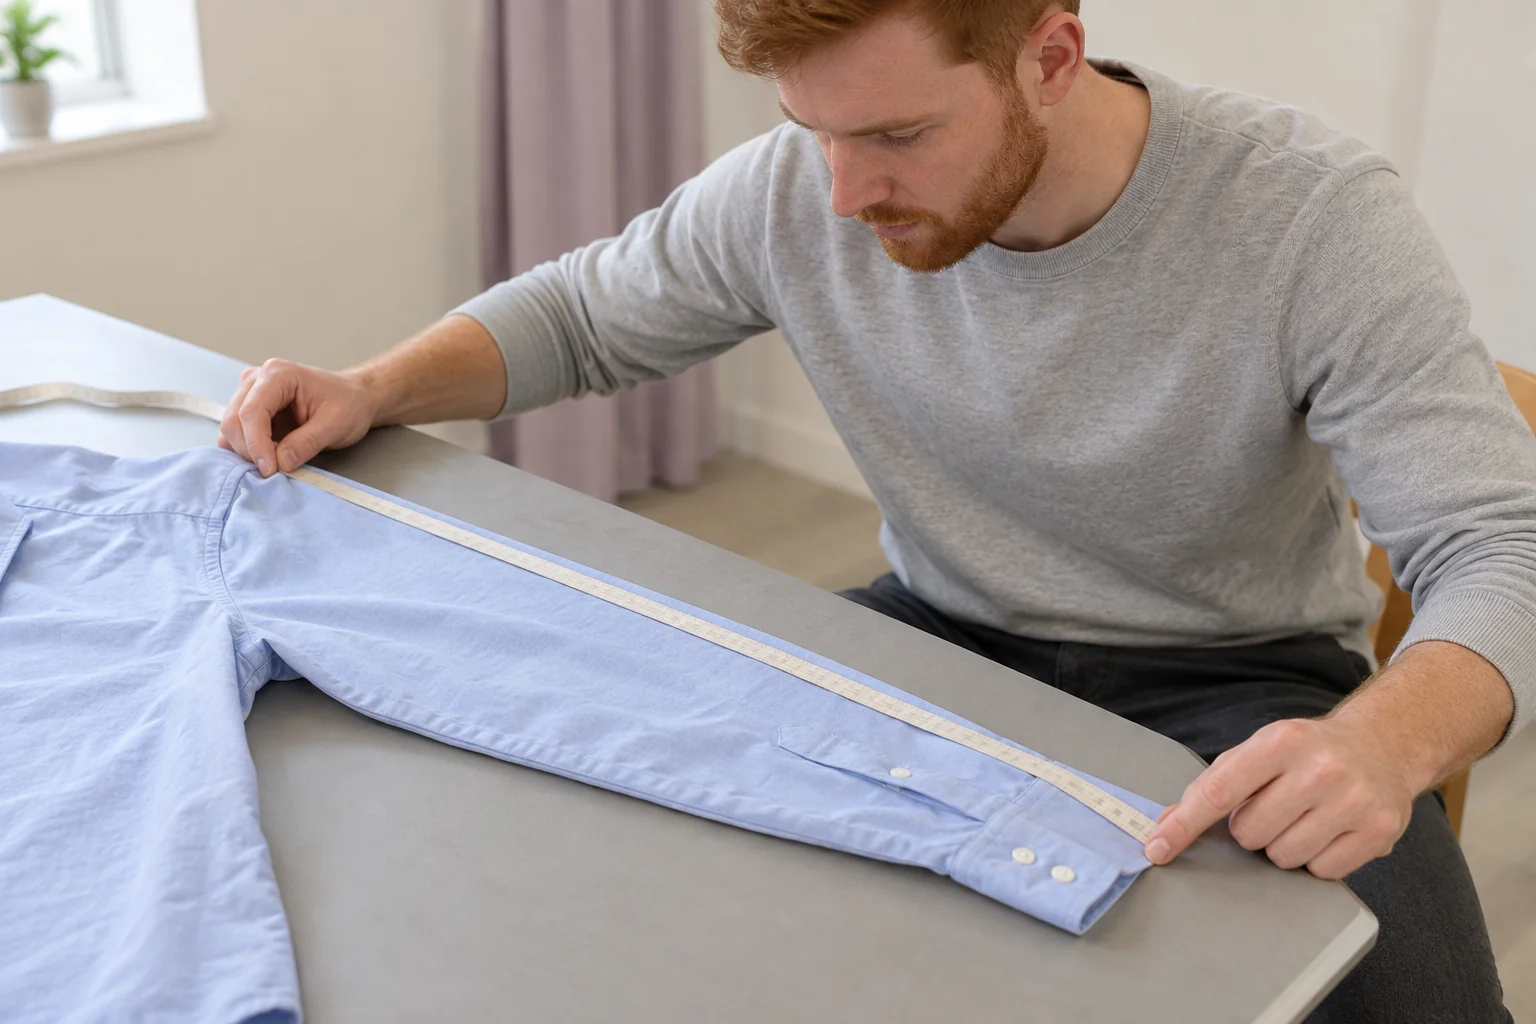
Before using the result, check the chart's units and measuring diagram again. A garment value from shoulder seam to cuff can only be compared directly with a value using that same route and endpoint. Converting centimetres to inches does not fix a mismatch between two different methods.
If your concern is simply keeping an existing cuff clear during a task, that is another question. Our guide to rolling shirt sleeves covers a reversible styling action. Rolling a sleeve does not alter its underlying measurement and should not be used to disguise an unclear size-chart comparison.
Understand why another guide begins at the neck
Some shirt body measurements include a route across the shoulder before continuing down the arm. The Dickies measuring guide describes a start at the base of the collar in the centre of the back, continuing around the elbow to the wrist with the arm slightly bent. It illustrates why a body measurement and a shoulder-seam garment measurement are different definitions.
Do not compare that longer route directly with the shoulder-seam garment measurement described above. Do not add an estimated shoulder distance to make your existing number look like a body measurement. If the shop needs a body measurement, follow its own full instructions, with suitable help if needed, or ask its support team.
Check movement separately from the tape
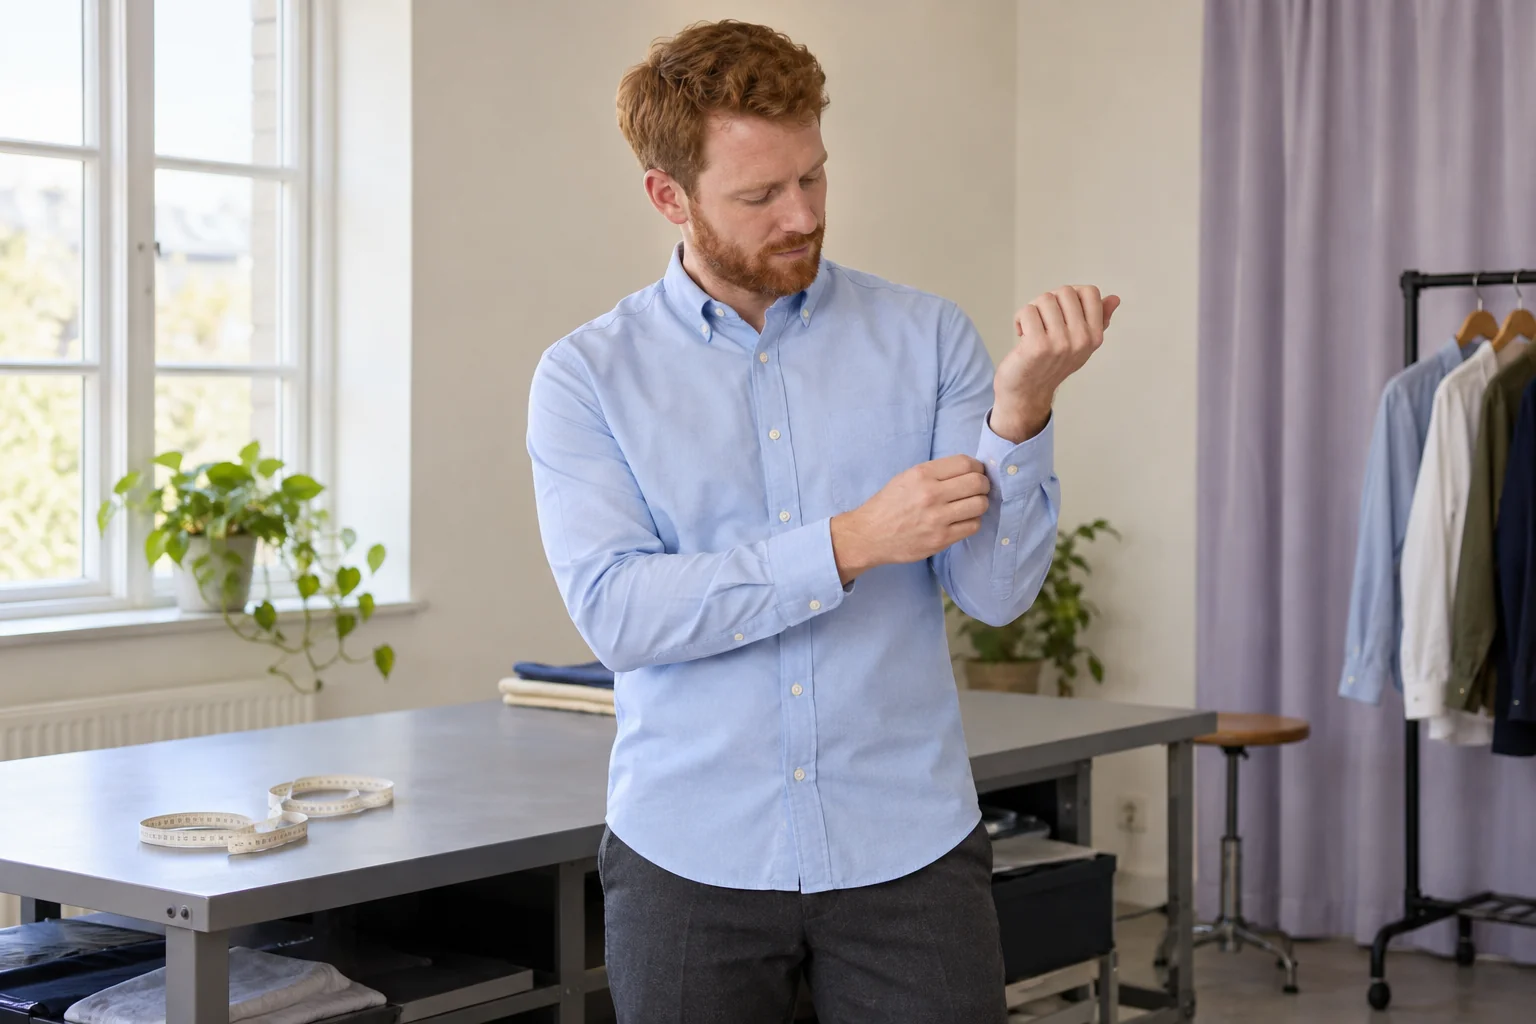
Put the reference shirt on normally and fasten the cuffs as you usually wear them. Bend an elbow and reach in an ordinary way. Notice whether you can move comfortably and whether the cuff behaves acceptably for your preferences. This is a functional check, not a search for a prescribed amount of exposed wrist.
A shirt may have the sleeve measurement you expected while still feeling restrictive elsewhere. The cuff opening, shoulder position and cut can all affect your experience. The tape cannot diagnose which adjustment is needed. If an alteration is being considered, speak with a competent clothing professional about the actual garment rather than cutting or sewing from a number alone.
Make the number useful without making it a rule
A good record tells your future self what was measured. It might say that the clean blue shirt was laid flat, its right sleeve was measured from the upper shoulder seam to the cuff end, and the result was recorded in centimetres. Store that note wherever it helps with the immediate comparison; no particular app is required.
Keep personal preference visible alongside the number. You may like how one shirt feels while preferring another for a different occasion. There is no need to transform a useful reference into a standard every future shirt must meet. Our guide to tracking style without overthinking helps keep observation practical rather than repetitive.
If thoughts about appearance or repeated checking become distressing or hard to interrupt, qualified support is more helpful than collecting more measurements. This task should make a clothing decision simpler and then end.
Three common situations and the next sensible step
If the shop provides a shoulder-to-cuff garment diagram, measure your reference shirt in the same configuration and compare the matching figures. If it provides a centre-back body diagram, set the garment figure aside and follow that separate method. If it provides only a size label, ask for clarification before treating a guess as a measurement.
When two readings of your own sleeve differ, check the endpoints and fabric arrangement before taking further action. When two shirts differ, record the difference without deciding that either garment or your body is wrong. These are decision examples, not promises of a perfect fit or a universal purchasing formula.
Questions about measuring a shirt sleeve
Is the cuff included?
In the shoulder-seam-to-cuff-end method described here, yes. Another maker may define its measurement differently. Check its diagram before using your number for a comparison.
Can I use a rigid ruler?
A flexible tape is easier to follow along the route without moving the shirt repeatedly. Whatever tool is used must have a clear starting point and scale. Do not invent missing sections by eye.
Must both sleeves be identical?
Do not assume a cause from a quick difference. Measure each with the same method if the comparison matters, record the result and ask the maker or an alteration professional about a persistent discrepancy.
Does the measurement tell me the ideal size?
No. It describes one garment dimension using one method. A size decision also involves the seller's chart, other parts of the cut, comfort and your preferences. You can stop after obtaining that limited useful information.