
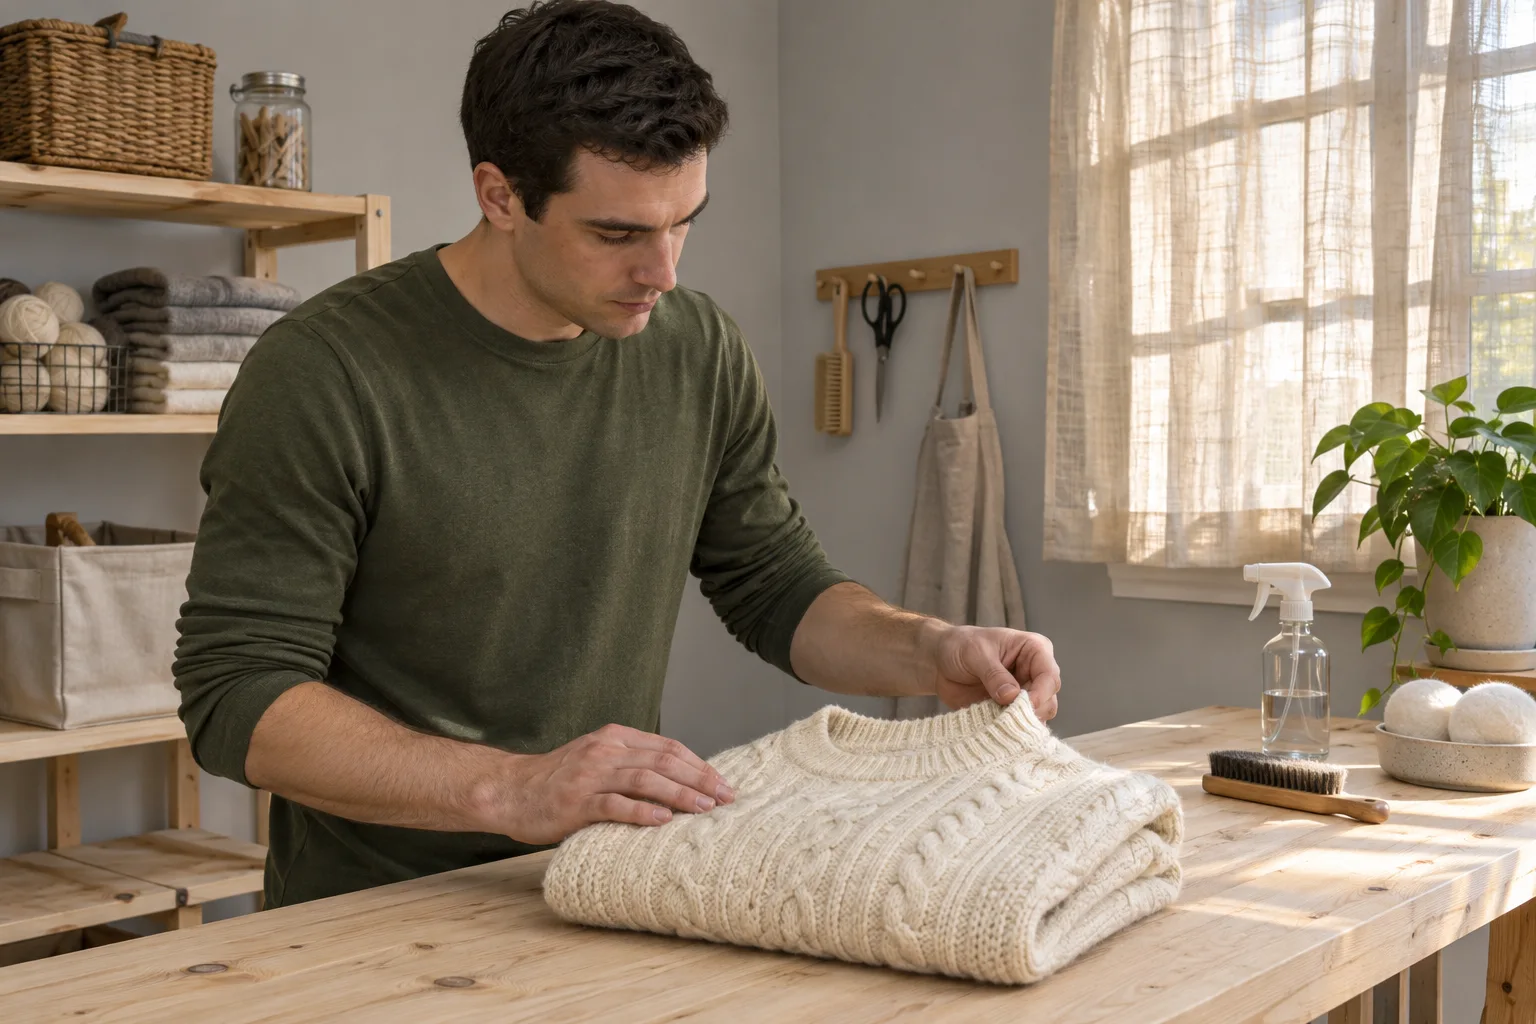
How to remove pilling from a sweater with gentle care
Learning how to remove pilling from a sweater starts with deciding what you are looking at. A little ball attached to the surface is different from a loose hair or a thread pulled into a loop. A tool intended for one can be unhelpful for the others. Look at the area in good light and read the care guidance before touching it with a comb. The goal is to keep an existing sweater useful and comfortable.
You do not need to remove every visible trace of wear. A few pills on the inside of a sleeve may make little difference to how you use the garment. This guide covers a small test with a suitable sweater comb on an intact knit, only where the maker permits that method. If you see damage or cannot identify an appropriate care method, stop at inspection.
Tell loose lint, pills and pulled loops apart
Lay the sweater on a table and look at one affected patch. Loose lint sits on the surface and may move without resistance. A pill looks like a small cluster of fibres attached to the fabric. A pulled loop can lead into the knit itself. Do not tug on an attached thread to find out which one it is. Change the angle of the light so you can see the base of the cluster more clearly.
The Patagonia guide to removing pilling explains that pills can appear in areas exposed to friction and describes gentle combing as one option for suitable fabrics. Use that information to choose a conservative approach. An individual sweater’s construction and care directions determine whether the method is suitable.
If you see a hole, a long loop or a weak seam, avoid working over it. Those are reasons to consider repair advice instead of treating the whole area as surface pilling. The process below is for an intact panel. It does not teach cutting loose yarn, opening seams or repairing the structure of a knit.
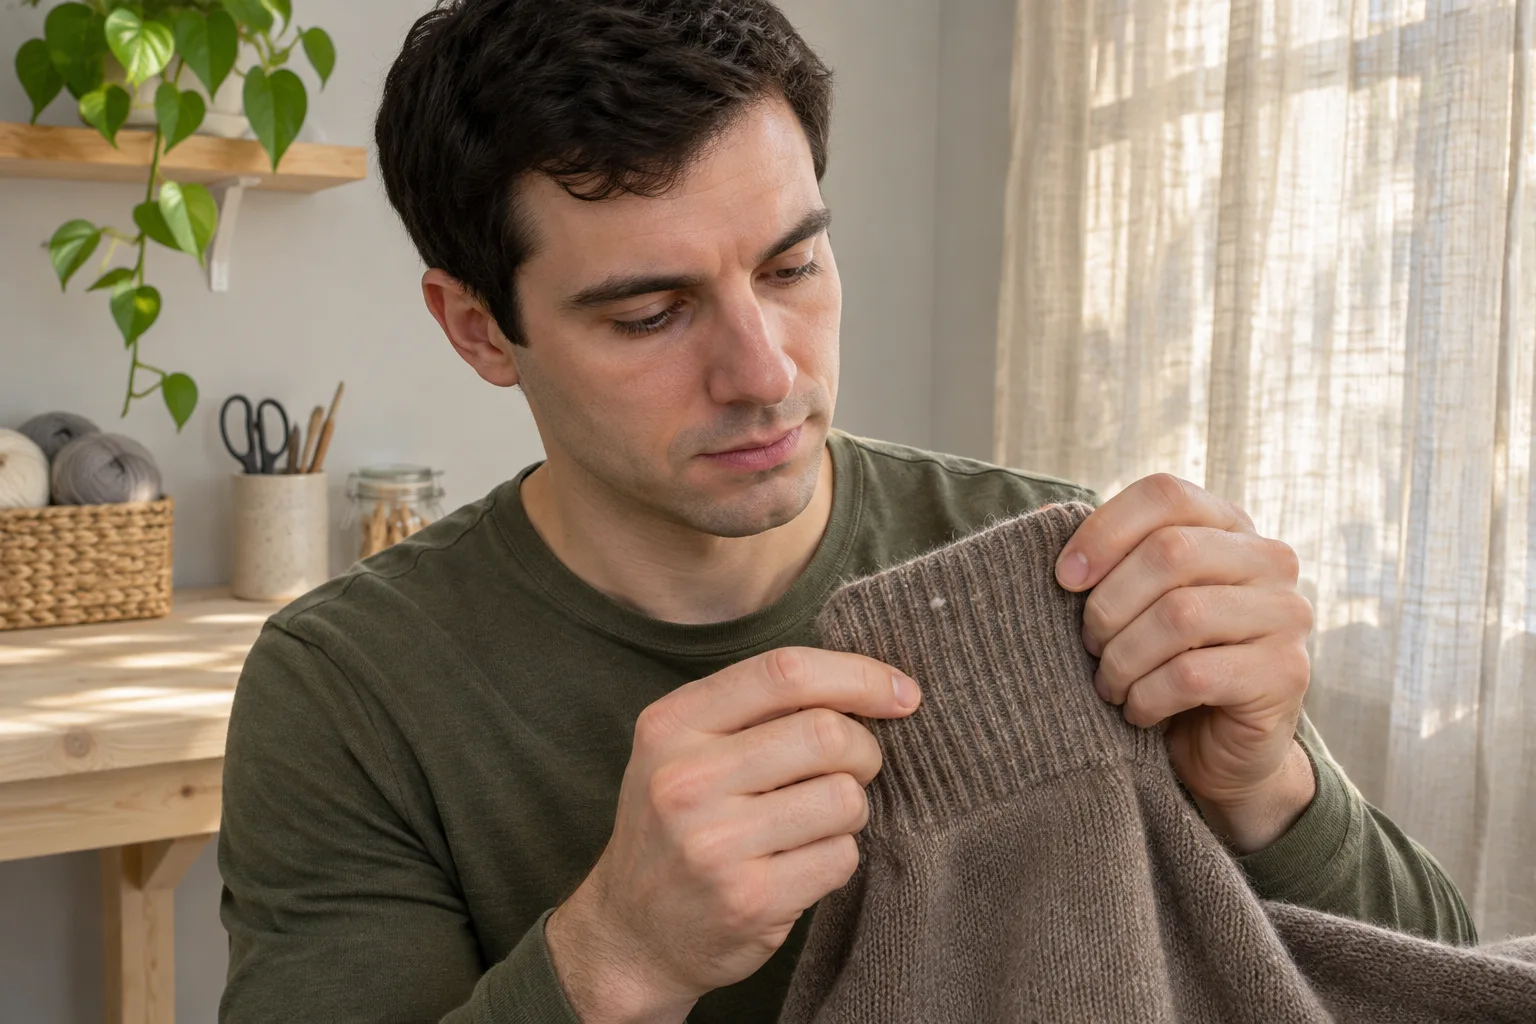
Read the guidance for the exact garment
Check the label and any care page for the model. The fibre name is a starting point, but it does not describe everything about the knit. A loose, textured fabric can react differently from a dense, smooth panel. Raised details, embroidery and trim create edges that can catch. If a method is recommended for a different garment from the same brand, check whether the manufacturer also supports it for yours.
Use only a tool intended for the fabric and the kind of care you want to do. Read the tool instructions as well. A household razor or a pair of scissors can contact yarn that belongs to the knit, so leave them out of this routine. If you cannot confirm a suitable tool, wearing the sweater as it is or consulting the maker are reasonable options.
If the garment is valuable to you or difficult to replace, the benefit of removing a few pills may be small relative to the uncertainty. A clothing repair or care specialist can examine the material directly. It is fine to postpone the task until you know what the sweater can take.
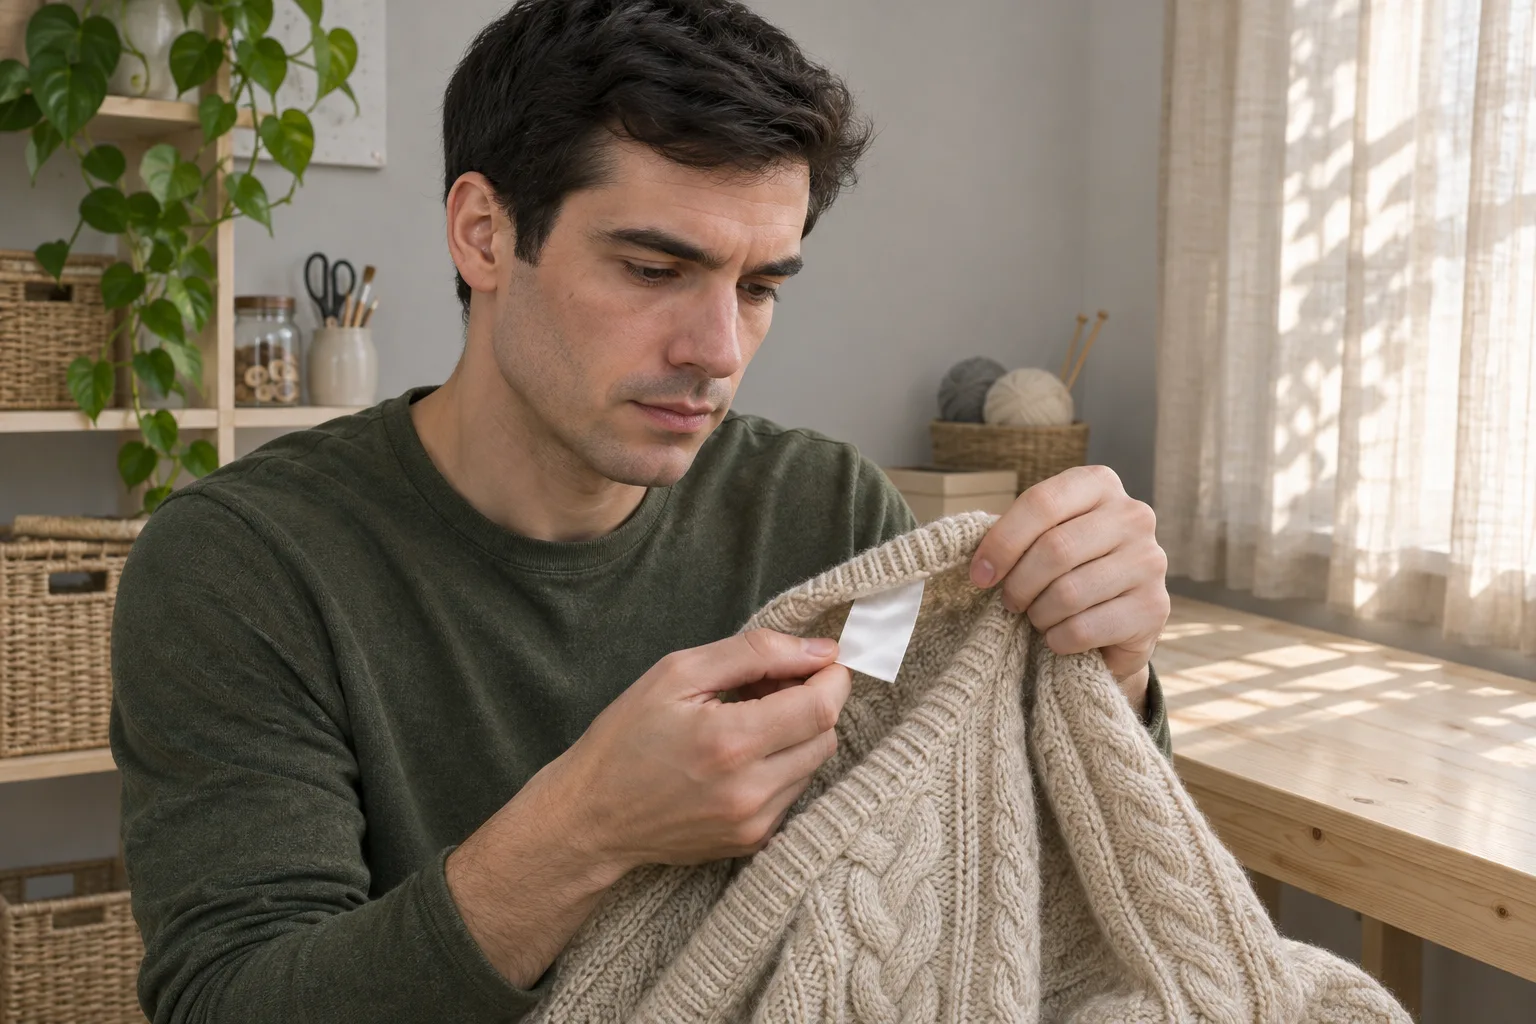
Prepare a flat, well-lit work area
Choose a clean table and put the sweater down without putting it on. You need to see the part that will touch the tool. Remove objects that could snag the knit or spill onto it. If a sleeve hangs over the edge, move the garment so the full area you are working on has support. A desk lamp aimed across the fabric may make raised fibres easier to see.
Place a hand beside the patch to keep the sweater from bunching. Smooth it gently so the surface is steady. Avoid stretching the panel hard enough to change its shape. Pay attention to nearby seams and cuffs. If the area you want to clean is small, you can work with that area facing up while the rest of the garment stays untouched.
Give yourself a place to set down the tool between passes. That lets you check the knit without letting the comb drag across another part of the sweater. A clear surface and adequate light matter more here than working quickly.
Test one small patch first
Pick a small unobtrusive spot with a few pills and no visible damage. Check that the surface is dry and that the material is supported. Follow the comb maker’s instructions on direction and handling. Make a short, gentle pass, then lift the tool and look at the fabric. You should not need to force the teeth through resistance.
Look at what came away. If a thread starts to lift, the fabric pulls with the tool or the surface changes in a way you did not expect, stop. Check the care instructions before trying another technique. A comb that leaves one fabric tidy can catch on a different knit. The test is there to establish whether you should continue with this garment.
Compare the treated spot with the rest of the same panel under ordinary light. If a single pass has taken care of the visible cluster and the knit looks intact, you can move on. If the difference is barely noticeable, consider leaving it alone. Several extra passes can add handling without giving you a result you need.
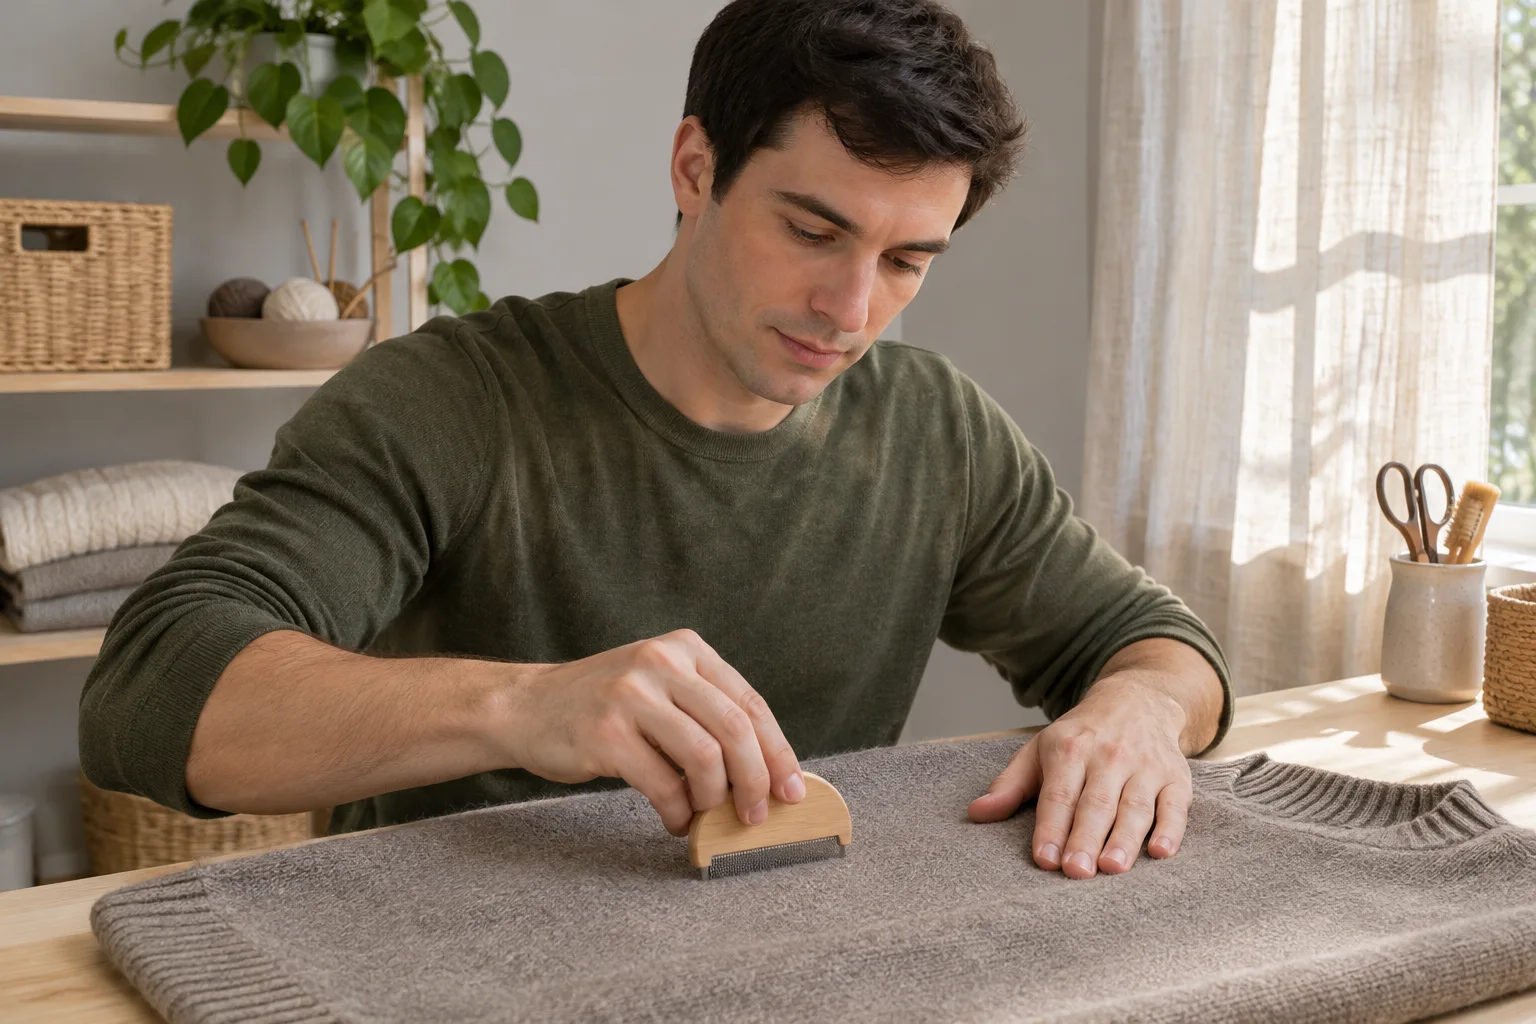
Work on a limited area
If the test was successful, choose a small area that matters for normal wear, such as part of a sleeve or an intact side panel. Work in short passes in the direction allowed by the tool instructions. Lift the comb to reposition it. Avoid dragging it back across the knit or crossing a seam without looking. If the fabric shifts under your hand, stop and smooth it again before continuing.
Clear collected fibres from the tool as directed so you can see what it is doing. Set the comb down while you move the sweater. This is an ordinary garment-care task, so it is reasonable to finish one area and leave the rest for another day. You may find that a few visible pills disappear and other clusters are better left alone.
Keep away from areas with open stitches or decorative details that catch. Do not try to make all panels look identical. The amount of wear can differ by location, and attempting to erase those differences can mean unnecessary work on the material. Once the sweater looks suitable for how you plan to use it, finish the task.
Check the fabric and store the sweater
Look once more at the place you treated. If you see a newly raised loop or loose yarn, do not pull it or run the comb over it again. Set the sweater aside and ask about repair if needed. If the fabric looks intact, remove any loose material in the way the maker recommends and put the tool away.
Store the sweater according to its label. If folding is suitable, the guide to folding a sweater explains how to support a knit without making it carry its own weight on a hanger. If you are deciding which pieces need attention at all, a wardrobe fit audit can help you choose a practical order. A small amount of pilling does not have to become a recurring inspection task.

Know when to leave a pill in place
For example, imagine an intact panel on a sweater you wear under a coat. You notice a small cluster near one side but the garment is comfortable and the label supports gentle combing. Test a small patch, treat the part that matters to you and stop. A loose decorative knit with a large snag is a different case. You can leave it for a specialist rather than applying the same procedure.
Pills may appear again as the garment is worn. Use the maker’s care directions and respond when there is a practical reason to do so. You do not need a daily check, a target number of removed pills or a promise that the fabric will look new after each wear.
Questions about sweater pilling
Can I use a lint roller for everything?
Check the garment instructions. Loose particles and attached clusters can behave differently. If a roller is allowed for loose lint, that does not automatically make it the right tool for a pill or a pulled loop.
Should I comb right up to the seam?
Avoid crossing seams or trim where the tool can catch. Work only on a supported, intact area. If the pills sit on an awkward edge and cannot be reached gently, leave that edge alone.
What if I cannot identify the fabric?
Start with the label or maker’s information. When the answer is unclear, avoid trying a more aggressive method. A specialist can look at the construction directly and advise whether surface care is appropriate.
Can I prevent all future pilling?
This routine makes no such promise. Use the garment’s washing and storage directions and deal with a small area if it becomes worth the effort. Ordinary signs of wear can remain without making the sweater unusable.