

How to tuck in a shirt with room to move
Learning how to tuck in a shirt starts with two garments you already own: a button-up shirt and trousers that close comfortably. The useful goal is a hem that stays reasonably contained while you sit, reach and walk. You do not need a perfectly flat torso, a prescribed body shape or a new set of accessories. Small fabric folds are part of wearing clothes, including clothes that fit well.
This guide uses a full tuck, with the whole lower hem inside the trousers. It is a practical option when you want a continuous waistband or your occasion calls for a tucked shirt. Leave the shirt out when that suits its design and your plans better. Treat the process as a short dressing task, rather than something to inspect repeatedly throughout the day. The photographs illustrate individual actions, not measured results or a comparison of people.
Decide what the outfit needs today
Start with the setting. A workplace may have a written dress code; an invitation may specify particular clothing. Follow that information rather than assuming that every meeting requires the same look. For an ordinary casual day, the choice can simply be whether you prefer this shirt tucked into these trousers. Neither version establishes your worth or competence.
Put on the trousers at their usual comfortable position. Do not raise or lower them dramatically to imitate a photograph. Then hold the shirt against that waistband and consider where its fabric will go. If you are still choosing between several combinations, the existing wardrobe fit audit helps separate a garment problem from a general wish to change everything. Here, choose just one combination to try.
Inspect the hem before starting
Look at the bottom edge while the shirt hangs freely. Note its length at the front, sides and back; curved tails can have different lengths around the same garment. There must be enough actual fabric to sit below the waistband after the tuck. A short hem that only just meets the top of the trousers leaves very little material to work with.
The shirtmaker's Tailor Store guide to tucked and untucked shirts distinguishes longer tuck-in hems and describes placing the tails inside trousers, outside underwear. Those are useful starting points. Its made-to-measure sales advice is not a requirement for this exercise. Use the clothes available to you and assess the result on the actual pair, without adopting a universal length rule.

Give the waistband enough space
Check that the trousers close normally before adding the shirt. Empty bulky objects from the front pockets for the initial trial so that you can identify fabric bunching separately from a wallet or keys. Keep your normal underlayers in place. The shirt goes between the trousers and underwear, rather than being fastened into underwear.
If the waistband already feels uncomfortable, forcing more material beneath it will not solve the fit. Choose another pair you own or leave the shirt out if appropriate. A belt can support trousers designed to use one, but it should not be tightened to compress a bundle of fabric. This method does not require clips, tape, hidden straps or a purchased retaining device. You can decide whether the ordinary combination works before considering any alterations.
Place the front, then continue around
Button the shirt as you intend to wear it. With privacy and a comfortable standing position, loosen the trouser fastening enough to place the hem without forcing your fingers into a tight waistband. Start with the front panels. Lay them downward, keeping the button placket reasonably centered over the trouser fastening. Exact geometric alignment is unnecessary; the useful question is whether the shirt has twisted.
Continue gently around each side and the back. Guide the lower fabric downward instead of pushing a large handful into one location. Check that a corner or tail has not remained outside accidentally. Fasten the trousers normally once the whole hem is inside. Keep fingers and shirt fabric clear of a zipper or other fastening as you close it; if something catches, stop and release it rather than pulling harder.
Spread the spare fabric gently
Run an open hand along the shirt just above the waistband to notice where the cloth has gathered. If one side contains a thick bundle, loosen the fastening again and spread that material over a broader area. Work with fabric that is already there. Pulling the opposite side firmly may move the bunch instead of resolving it.
Some shirts have considerably more width than others. You can try a small soft fold of spare cloth toward the back at each side, provided it lies comfortably and does not make a hard lump. This is optional, not a required second technique. If the simple tuck already works, leave it alone. Avoid sharply pressing folds into the shirt while it is on your body or using pins to hold an arrangement together.
Release a little movement room
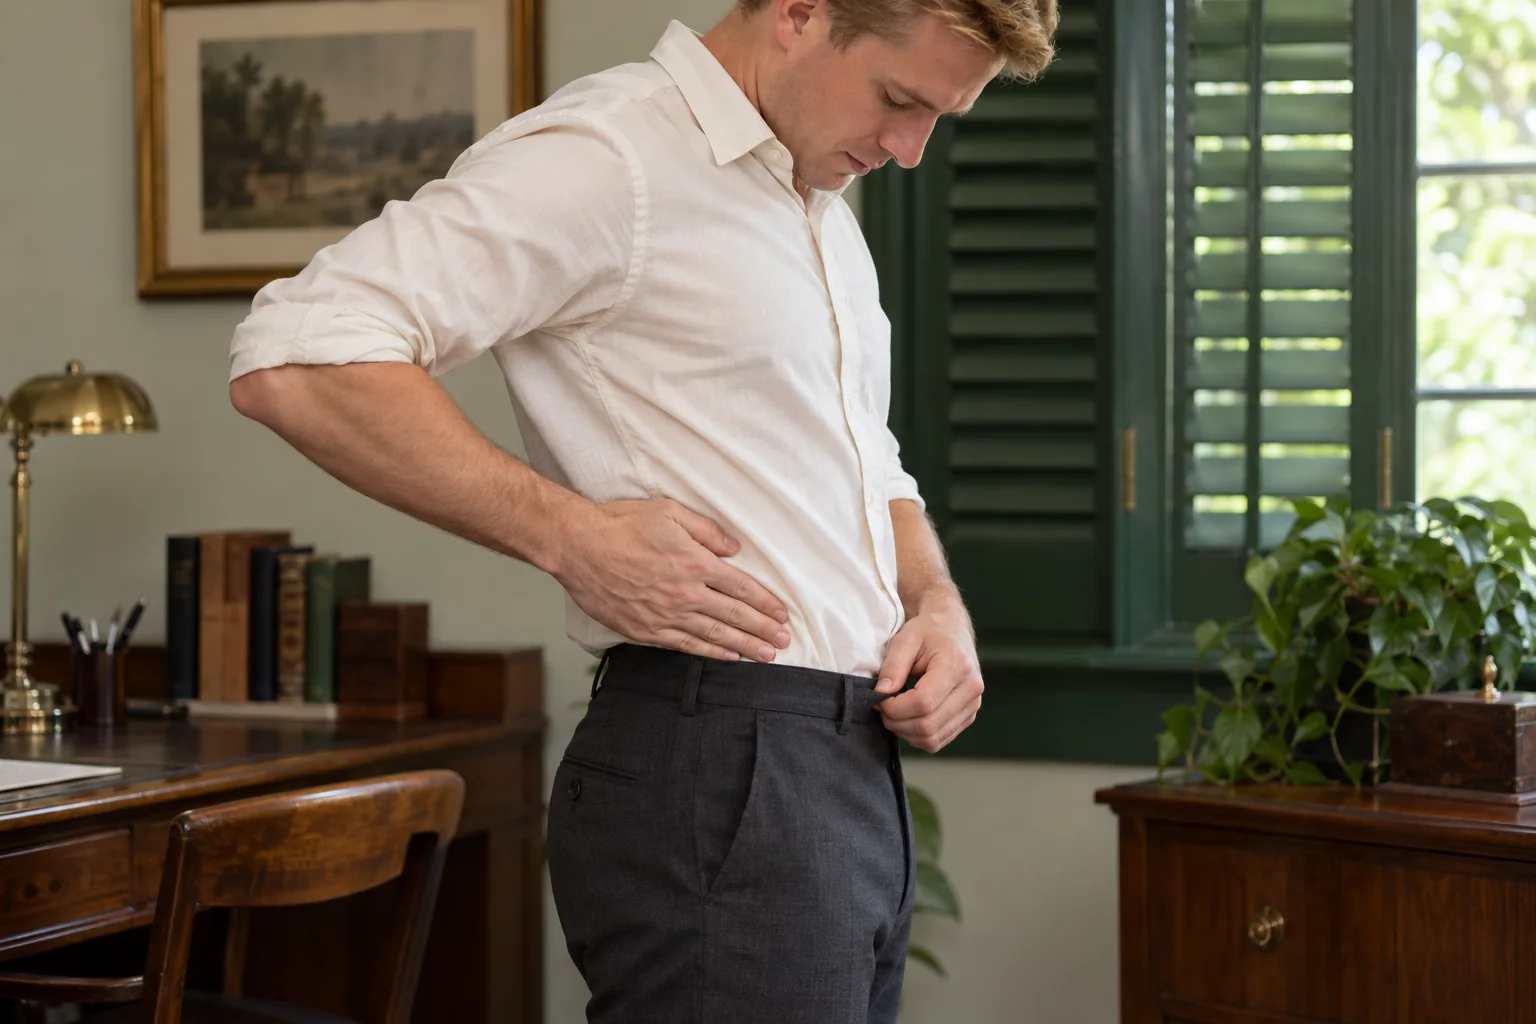
After closing the waistband, stand naturally with your arms relaxed. A shirt pulled tightly downward may look smooth for a moment but be awkward to wear. Gently ease a small amount of fabric upward above the waistband, distributing it rather than creating one large pouch at the front. Stop once the shirt can settle without feeling held under tension.
There is no standard number of centimeters that suits every shirt and trouser combination. Fabric thickness, available length and personal comfort differ. If easing the shirt immediately brings the hem out, return to the length check instead of trying to anchor it harder. Small creases or a shallow drape above the trousers are acceptable. The objective is clothing you can use, not the removal of every visible fold.
Sit, reach and walk once
Use a stable chair and sit as you normally would. Stand again, take a few steps and reach toward an everyday object within comfortable range. These ordinary actions are enough to reveal whether the shirt pulls strongly, opens between buttons or loses its tuck. You do not need exaggerated stretches or repeated attempts to make the clothing fail.
Notice what happened, then make one relevant correction. For example, release a little more room if the shirt feels taut, or spread a side bundle if it presses against you. If both sleeves and shoulders feel restrictive, rearranging the hem alone may not help. The guide to tracking style without overthinking offers a broader approach to keeping these decisions bounded. Finish once the combination is comfortable enough for its intended use.

Read the problem before changing the method
A hem that escapes only at one side suggests checking that section's available length and whether it was fully tucked initially. A large central pouch suggests redistributing cloth rather than simply tightening the belt. Pulling at the shoulders when reaching is a different observation from a loose waistband. Name the specific issue before choosing the next action.
Suppose a cotton shirt works while standing but the back hem comes out when you sit. Start by checking whether it was tucked at the back and whether you pulled it excessively tight. If a modest reset still fails, try another existing shirt or trouser pairing. This is an illustrative decision sequence, not a product test or a promise that one adjustment fixes every garment. Persistent mismatch can be a reason to ask a tailor about the garment, without treating your body as the problem.
Include the layer you will actually wear
If a jacket, cardigan or bag is part of the outfit, add it before leaving. Put the bag on normally and check that the strap has not caught the shirt. Sit briefly with the jacket if that is how you will spend your journey. A tuck that works alone may need a small reset after adding another garment; that does not mean the original effort was wasted.
For a hurried morning, prepare the combination ahead of time rather than attempting several unfamiliar techniques at the door. The existing simple morning grooming routine explains how to give preparation a manageable place in the day. Keep this clothing task similarly limited: choose the pair, tuck once, check normal movement and leave. No appearance score or daily comparison photo is needed.

Know when an untucked shirt is easier
A short casual shirt, a heavy overshirt or a garment designed to hang loosely may simply be easier outside the trousers. You can also prefer that look. If the setting permits it, undo the tuck fully and let the hem fall naturally instead of keeping a half-finished arrangement you did not intend.
A deliberate front-only tuck is another styling choice, but it is different from the full tuck taught here. Do not combine techniques because the first attempt was frustrating. Reset, consider the actual occasion and use the simplest suitable option. If a formal requirement and the available clothes do not work together, seek practical clothing advice with time to spare. There is no need to cut, sew or permanently change the shirt during this dressing exercise.
Questions about the full tuck
Does every tucked shirt need a belt?
No. Use the trousers' intended fastening and your preference. If you normally wear a belt, keep its usual comfortable setting. A belt should not be the tool that forces an otherwise uncomfortable waistband to accept extra material. Trousers with a different fastening or adjustment can work without adding one.
Can I prevent every wrinkle?
No ordinary dressing method guarantees that. Sitting and moving produce folds, and a small amount of fabric above the waistband provides room. Distinguish an uncomfortable trapped bundle from normal creasing. You do not have to correct each fold during the day or compare yourself with a carefully arranged photograph.
What if the shirt keeps coming out?
Check the hem length, the original placement and the movement room once. Then consider a different existing combination. Repeating the same tight tuck or buying retaining accessories immediately can obscure a simple fit mismatch. Ask a clothing professional about a particular garment if you need advice beyond this reversible adjustment.
Is a mirror necessary?
It can help you notice a twisted placket or a tail left outside, but a brief glance is sufficient. Comfort and ordinary movement matter more than repeated visual inspection. If appearance checking becomes distressing or compulsive, step away from it and seek qualified support rather than adding more checks. The useful endpoint is getting dressed and continuing your day.