
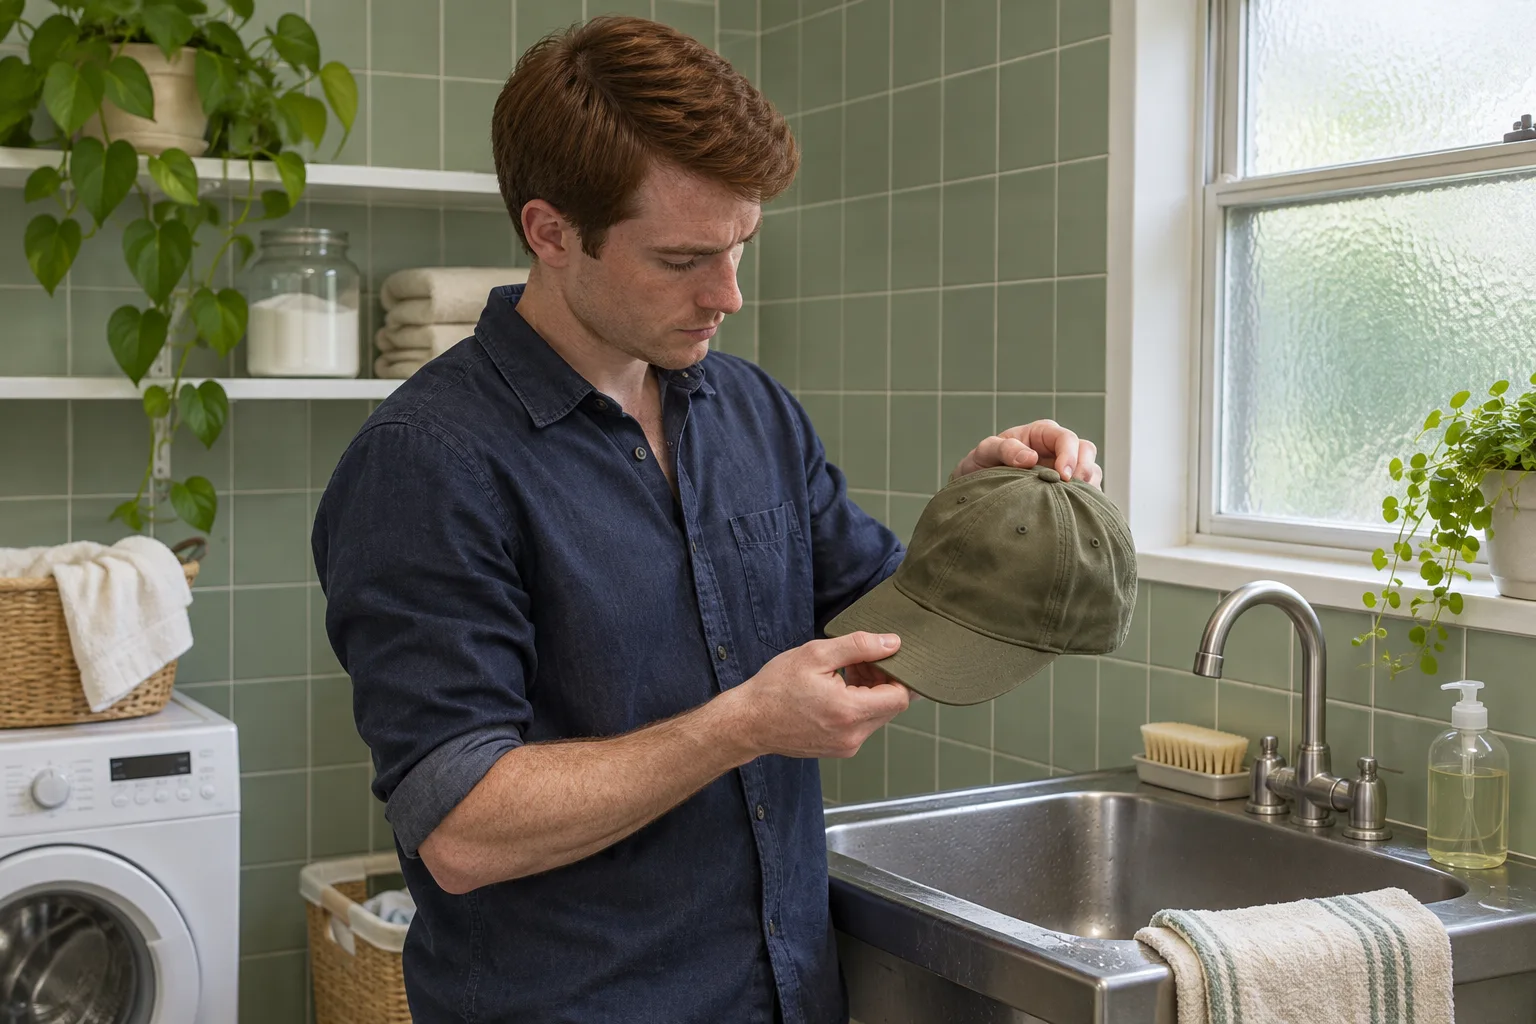
How to wash a baseball cap by hand when the label allows it
If you want to know how to wash a baseball cap by hand, start by looking at the cap you own. A dusty brim, a mark on the inside band and a cap that needs a more general clean call for different amounts of handling. The care label or the maker’s instructions for that model determine whether to use water at all. Once you know what the construction can take, choose the smallest cleaning job that will meet your needs.
You do not need to make an older cap look new. A cap with a light mark can still be perfectly usable. This guide focuses on a cap that the maker says can be cleaned by hand. It includes a local wipe for a small area and a careful approach to a wider clean when the instructions permit it. It does not assume that all brims can be soaked or that the same method works on every fabric.
Find the care instructions for the cap you own
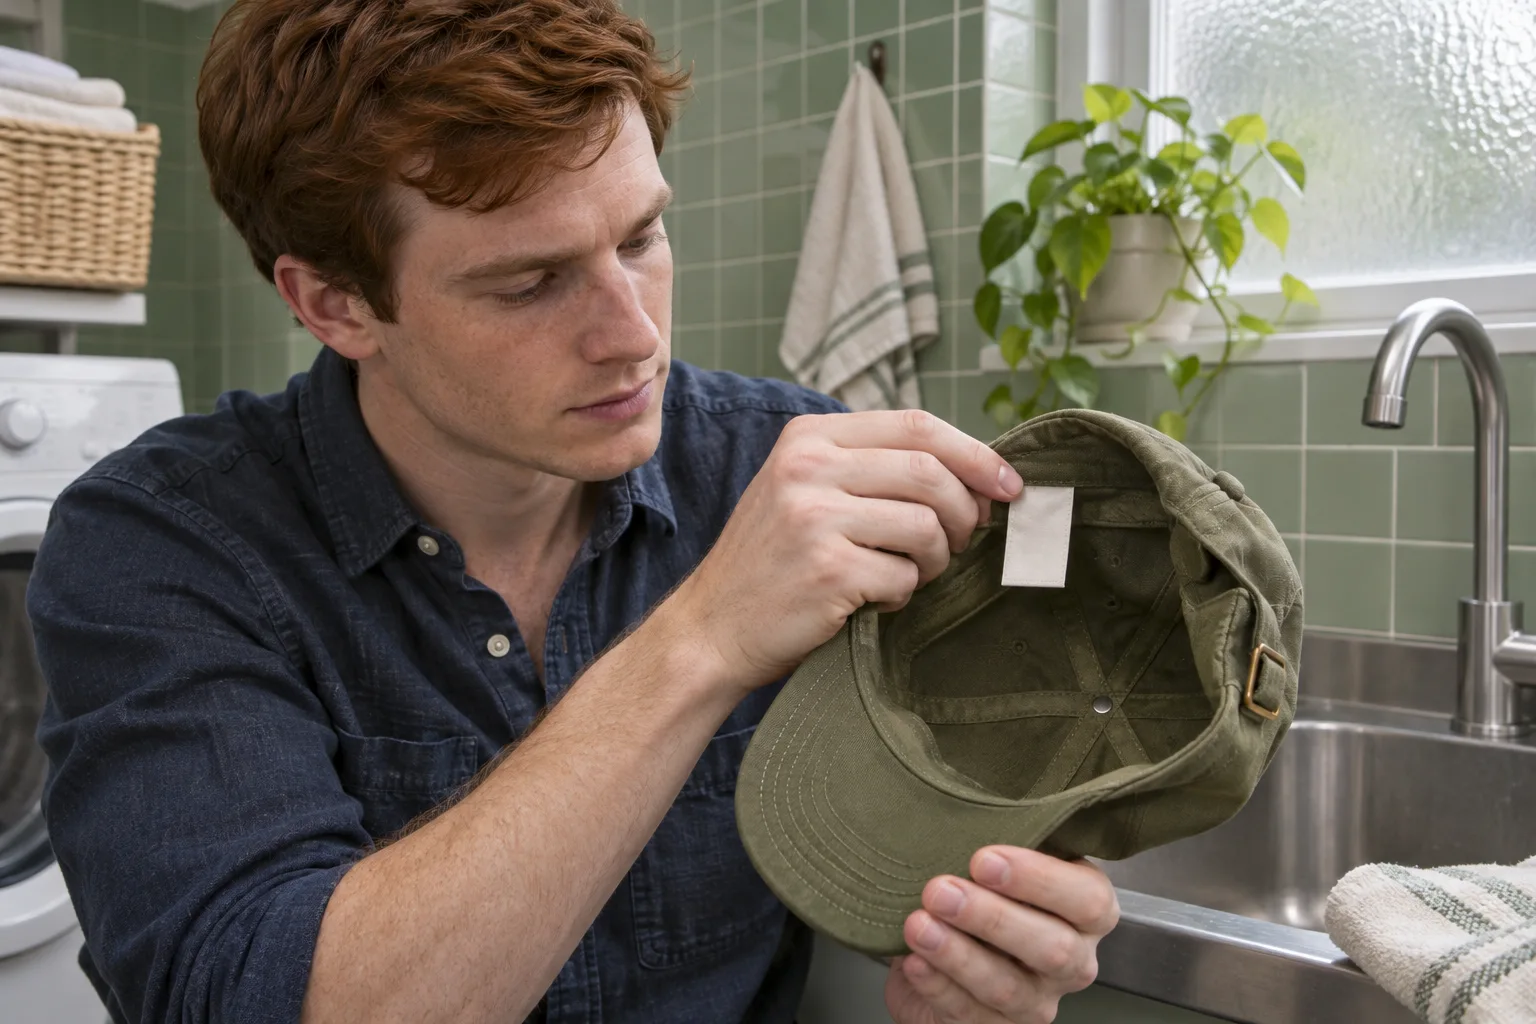
Check the label inside the crown or along the sweatband. If the cap has a model name, use it to look for the maker’s guidance. Similar looking caps can differ in the fabric, the way the front is supported and the materials inside the brim. A photo of a cap from another collection is not evidence that yours can tolerate the same treatment.
The New Era cap care guide describes gentle hand cleaning with a soft cloth or brush for suitable caps. Treat the advice as guidance for the constructions it covers. If your own cap says to wipe only, choose that method. If the label is missing and the brim feels fragile or you cannot identify the material, ask the maker or a cleaner familiar with hats before wetting it.
Check the condition before using any product. A loose seam, flaking print or cracked part of the brim can catch even on a soft cloth. Limit what you do around a damaged area. If the cap has sentimental value or a construction that would be difficult to replace, an expert assessment can save you from experimenting on the item itself.
Decide whether a local wipe is enough
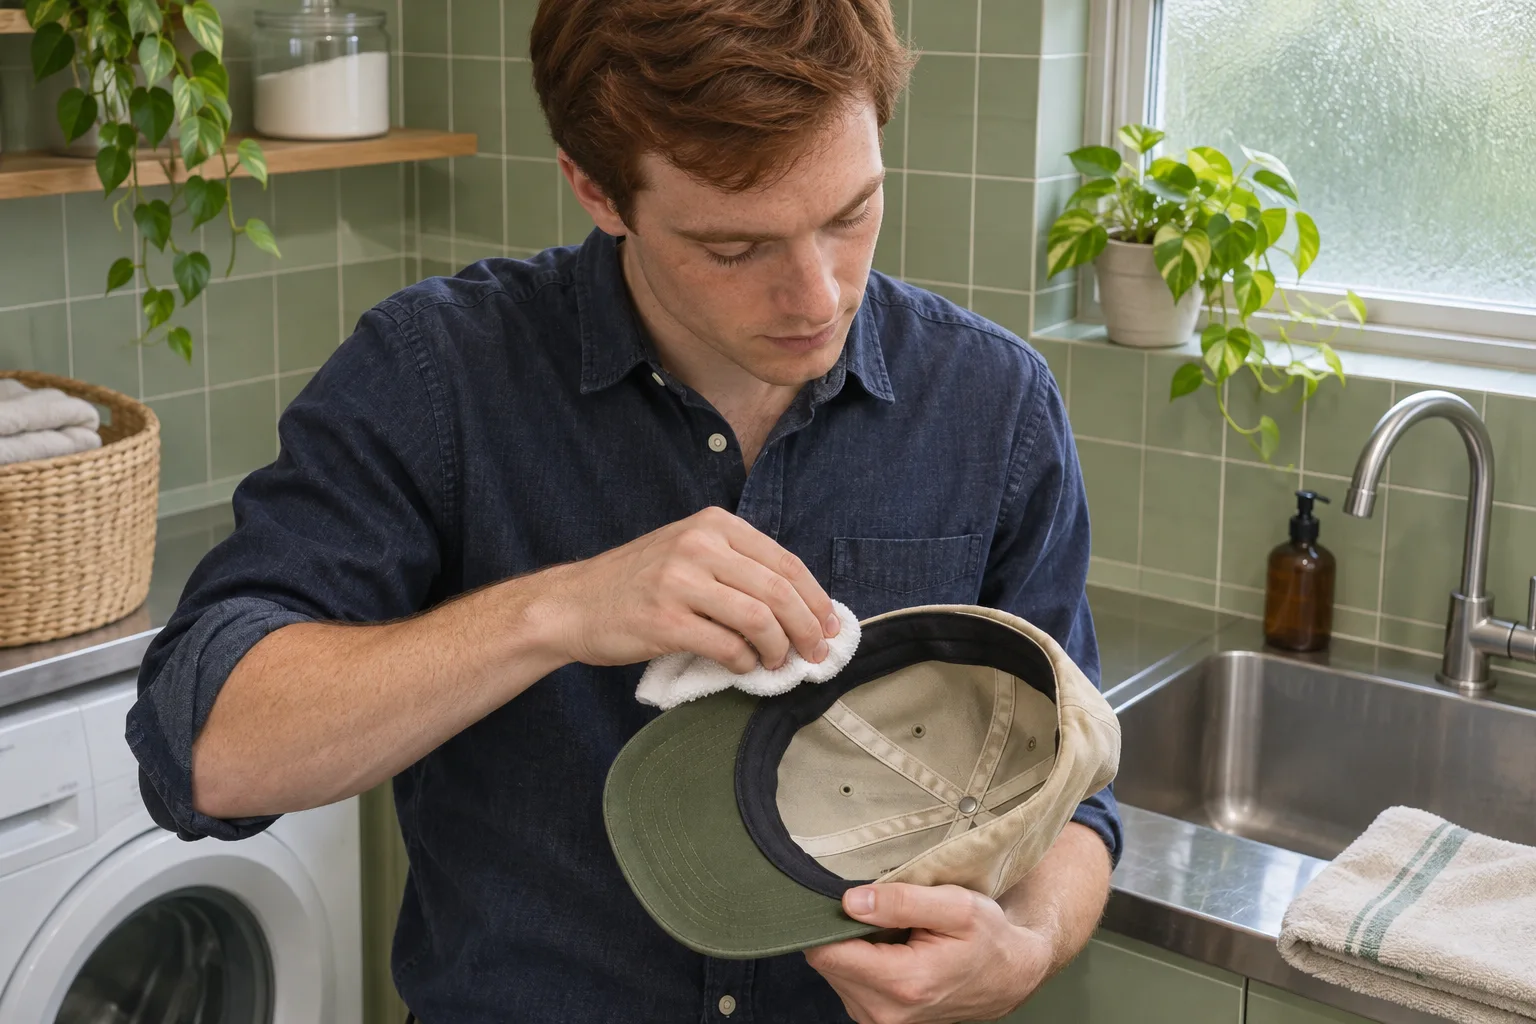
Look at the cap in ordinary room light. A mark along the band where it touches your forehead does not necessarily call for cleaning the entire crown. If the instructions permit a damp cloth, start with the inside area you can reach comfortably. Support the cap from behind so you can touch the band lightly rather than scrubbing against a collapsing panel.
A small local clean can also make sense when you need the cap soon. Wetting more fabric means there is more material to dry, especially around seams. If you need to leave before the cap could reasonably dry, choose another one for the day and clean this one when you have time. The guide to checking hat fit can help if you are choosing between caps that you already own.
If the mark is surface dust, follow the maker’s dry-cleaning guidance first. Some models permit gently lifting loose dust with a soft tool. Avoid using a stiff brush to make progress faster. If the dirt does not come away without force, stop and reassess what the care instructions actually allow.
Prepare a place to clean and a place to dry
Clear the sink or a basin and rinse away any residues from previous cleaning. Set out a clean soft cloth and a dry towel before you start. Look for a drying spot with ordinary air circulation that will not leave the cap pressed against another object. You should be able to move the cap there without balancing it by the brim.
Use only the water temperature and cleaning product allowed by the label or maker. If the instructions call for a mild cleaning product, use the recommended amount. More product can leave you with more residue to remove. Do not mix cleaners or add bleach, solvent or household stain treatments when the maker has not approved them.
Plan where you will set the cap if you need to stop. A clean towel next to the basin gives you somewhere to support it without folding it. Leaving it hanging from a wet brim while you search for another cloth can strain a shape you were trying to preserve.
Work gently on the inside band first
If the instructions allow damp cleaning, use the cloth on a small unobtrusive area first. Check whether the cloth picks up the cap’s colour and whether the fabric changes as it dries. If you see unexpected colour transfer or the surface changes, stop and seek the maker’s advice. Repeating the same motion with more pressure is unlikely to answer the question safely.
For a small mark on the band, hold the crown with one hand and use the cloth with the other. Dab or wipe lightly as appropriate for the material. Work in small areas, using a clean part of the cloth as needed. Avoid catching raised embroidery or loose threads. If the inside band is the only area that needed attention, leave the brim and the rest of the cap alone.
Follow the instructions for removing any cleaning residue. If they allow a separate damp cloth, wipe with that cloth instead of flooding the cap to rinse a single spot. Check the area after drying rather than judging the final appearance while it is wet. Some marks may remain. A second treatment is a choice to make after assessing the fabric, not an automatic next step.
Hand clean more of the cap only if permitted
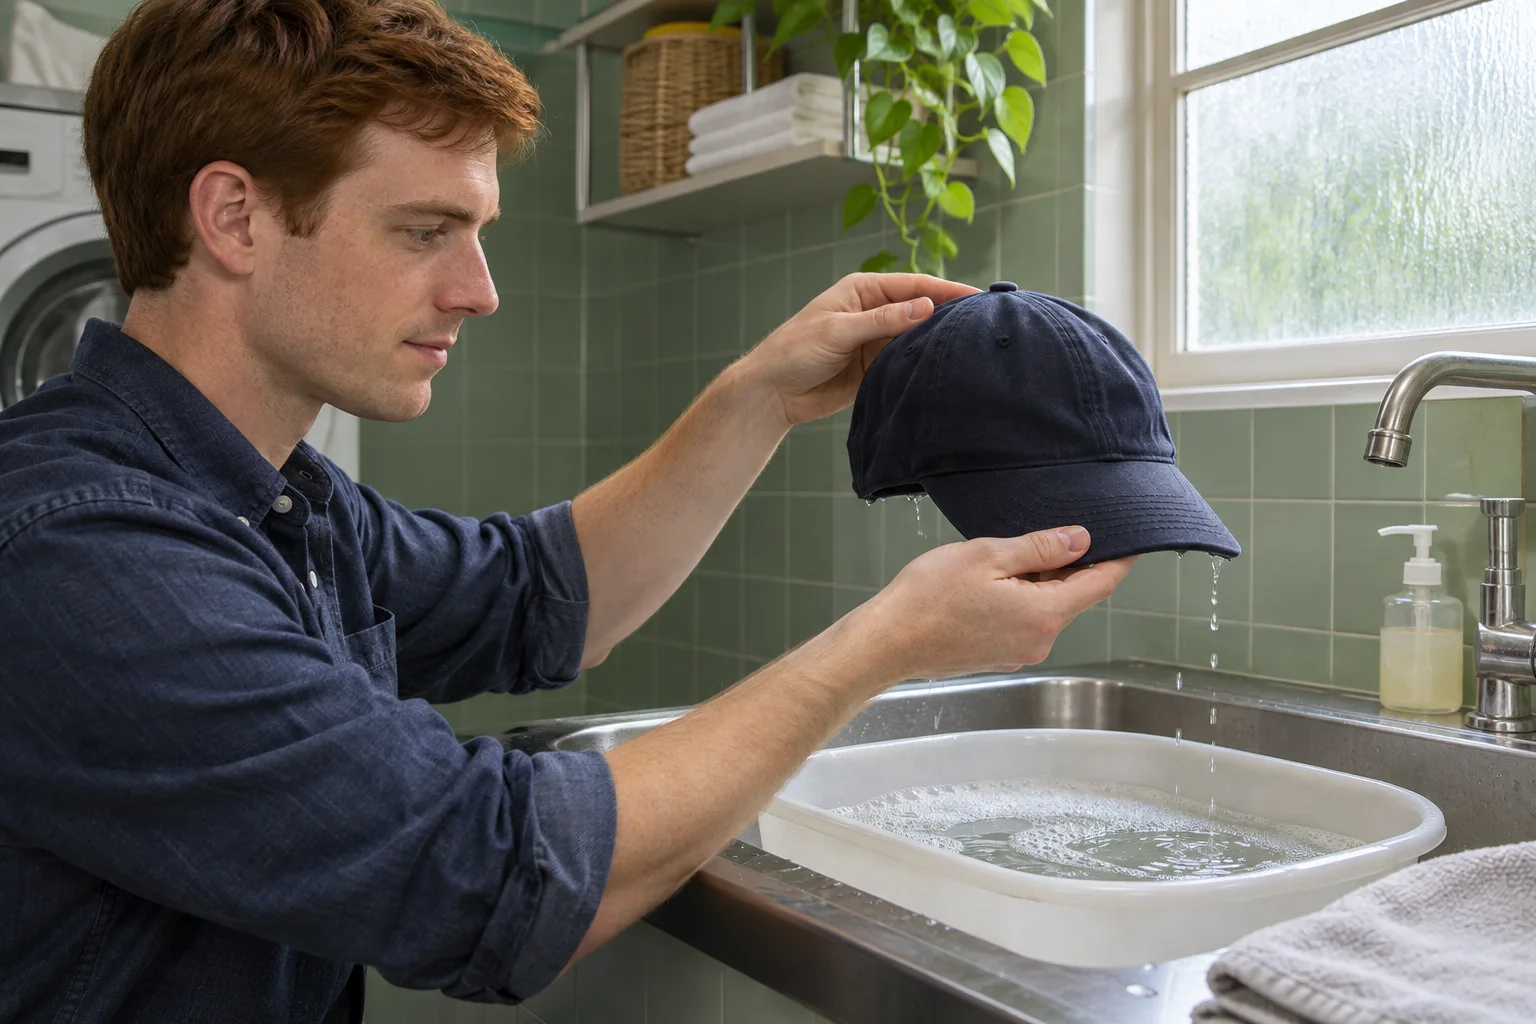
Some makers describe a broader hand wash for particular caps. Follow that model’s guidance on how much of the cap can get wet and what to do around the brim. Use both hands to support the shape when moving it. Keep the motions gentle. Folding the brim sharply to fit a small bowl changes the task from cleaning to bending the cap.
When removing water, avoid wringing or twisting. Lift the cap with support and let excess water drain as directed. If the care instructions allow it, blot the fabric with a towel. Do not squeeze the crown hard in an effort to shorten drying time. A little extra time is easier to manage than a crease in a structured panel.
Do not use a washing machine, dishwasher or tumble dryer unless the model’s own instructions specifically permit the relevant method. A method that worked on another cap does not establish that it is suitable for this one. The same caution applies to warm radiators, hair dryers and other ways of speeding up the final step.
Let it dry with the shape supported
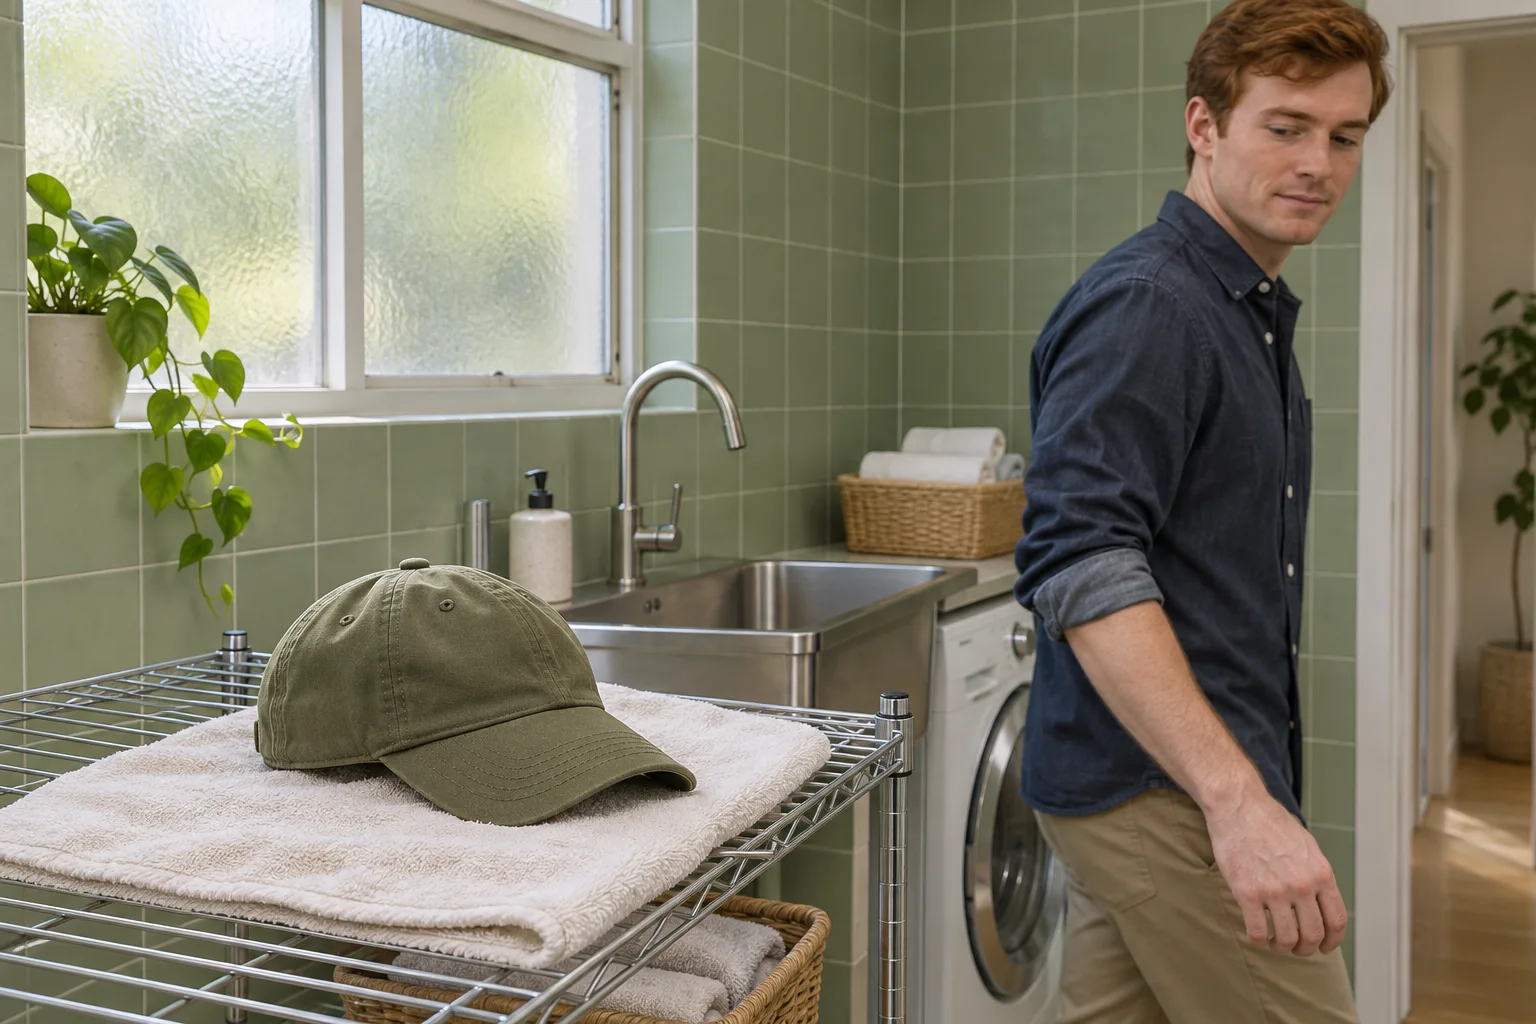
Place the cap in a ventilated spot using the support recommended by the maker. Set it in its normal shape without stretching the band. A clean towel can catch drips without requiring you to hang the cap by a single point. If the towel becomes wet, replace it with a dry one and make sure air can reach the fabric.
Check the band and seams before wearing or putting the cap away. They may feel damp even after the outside looks dry. Give them time rather than pressing the cap against a heater. Where the maker warns against direct sun, choose a shaded spot with ventilation. There is no single reliable drying time for every fabric and room.
If you are preparing clothes for a particular day, arrange the cleaning ahead of time. The simple morning grooming routine is one way to plan what needs to be ready before you leave. A cap can dry in its own time while you get the rest of your clothes ready.
Make a sensible stopping decision
Look again once the cap is dry. If it is comfortable to wear and the area you wanted to clean is sufficiently tidy for everyday use, put the cloth away. If the result is uneven, check the care guidance before trying something stronger. For an uncertain fabric, a valuable cap or a mark that remains after gentle cleaning, consider a professional who can examine the item.
For example, a small band mark on a cap that permits wiping may need only a little attention at the sink and time to dry. A cap that has been through several outdoor trips might need a wider clean if its own instructions allow it. A vintage cap with no label and an unfamiliar brim calls for a different decision. Separate those cases instead of starting with the same basin of water for all three.
Questions about cleaning a cap by hand
Can I soak the brim?
Only if the maker’s instructions for your model allow it. If you cannot identify the construction, ask for advice before soaking. A local wipe on an approved area can avoid unnecessary exposure to water.
How do I deal with a mark that keeps coming back?
Check where it appears and how the cap is stored after wear. Allow the cap to dry fully before putting it away. If repeated gentle cleaning is not enough, ask the maker what is appropriate for that fabric. Stronger treatment is not always the next step.
Should I clean the entire cap for one mark?
Start with the area that needs attention, provided the label permits the method. Support the material and assess the result once dry. Cleaning more of the cap is useful only when there is a reason to do it and the instructions allow it.
When can I wear it again?
Wait until the band, seams and crown are dry. If you are dressing before then, use another cap. Drying conditions and construction vary, so the feel of the fabric gives you a better practical check than a fixed number of hours.