
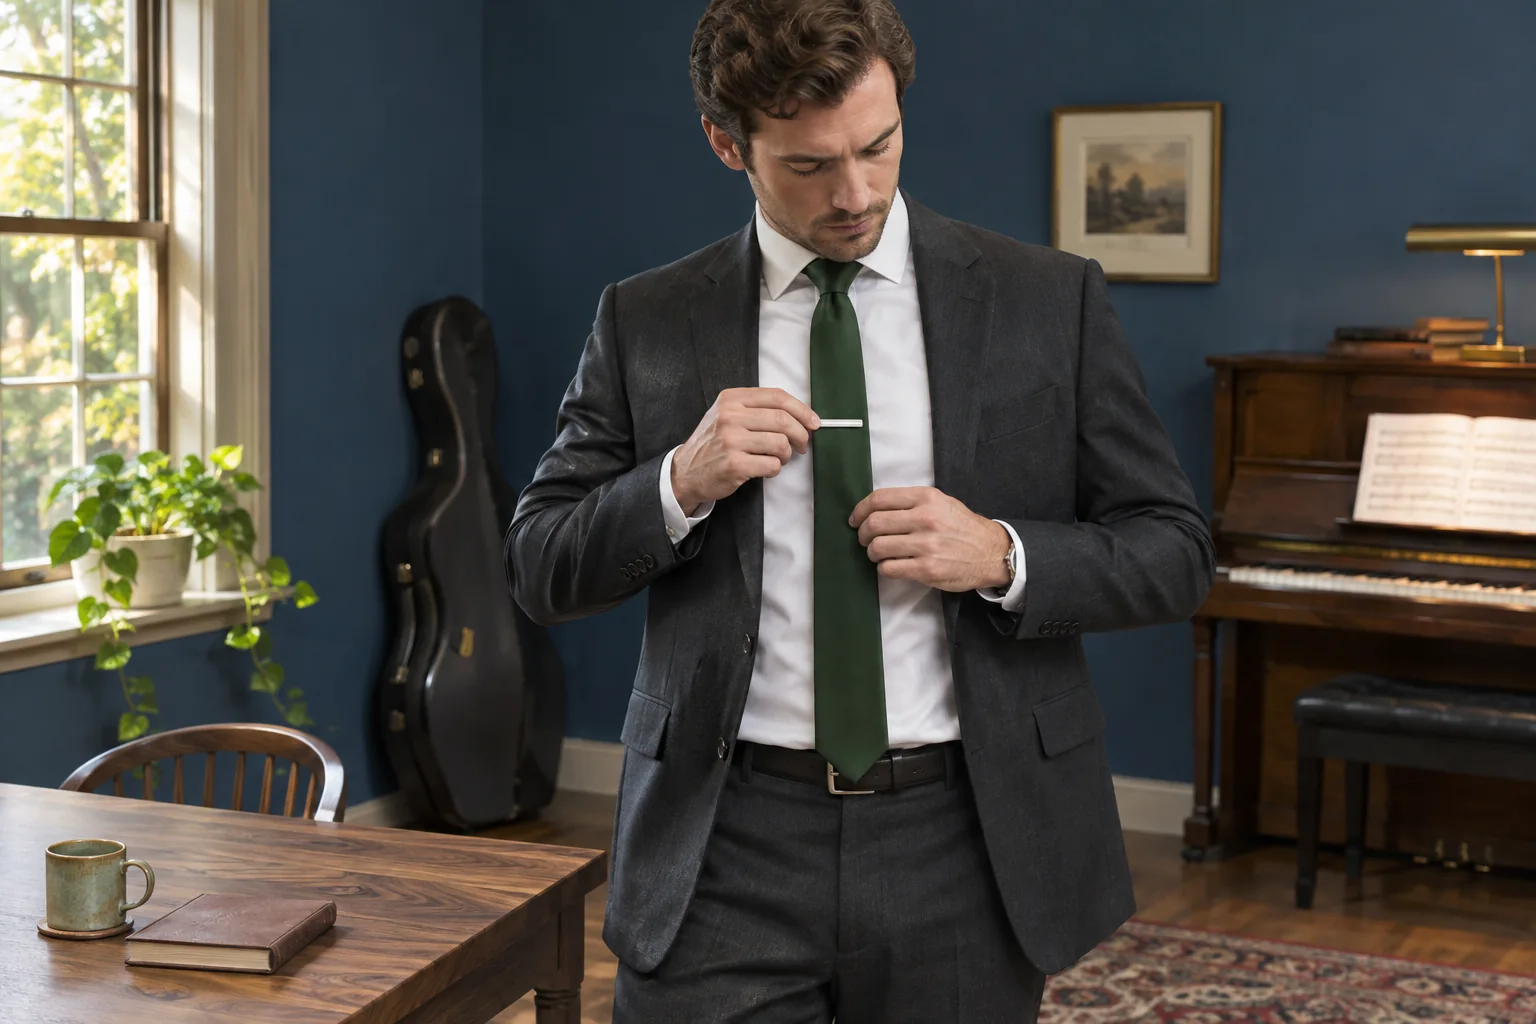
Tie clip placement that works with your shirt and jacket
Tie clip placement starts with a simple practical aim: connect the tie to the shirt without pulling either garment out of shape. Finish tying the tie, choose a compatible clip, attach it to the shirt placket as well as the tie and check the result with your jacket on. A short standing and seated check is more useful than trying to copy a position from a photograph of someone wearing different clothes.
The clip is optional. You can leave it out when it does not suit the garment, the occasion or your preference. It does not make an outfit objectively better, and its height is not a measurement of your body. This guide helps you inspect the fastener you have, find a sensible starting position and stop once the tie is held comfortably. The final step is learning to remove it without dragging the metal along the fabric.
Finish the shirt and tie before reaching for the clip
Put on the shirt you intend to wear and fasten it normally. Tie the knot and let both blades hang as you want them. If the length or knot still needs work, resolve that first with the guide to tying a simple tie knot. Moving the tie after it has been clipped to the shirt can pull the placket sideways and make a previously comfortable arrangement feel awkward. Work in that order rather than making several changes together.
Have the jacket or other planned layer nearby. The opening of a jacket affects how much of the tie and clip you can see. A waistcoat or knitwear may already hold the tie where you need it, so an extra clip might serve little purpose. Decide whether you want to use the accessory before concentrating on its position. If you are dressing for an event with stated requirements, follow those requirements instead of relying on a general styling suggestion.
Identify the mechanism in your hand
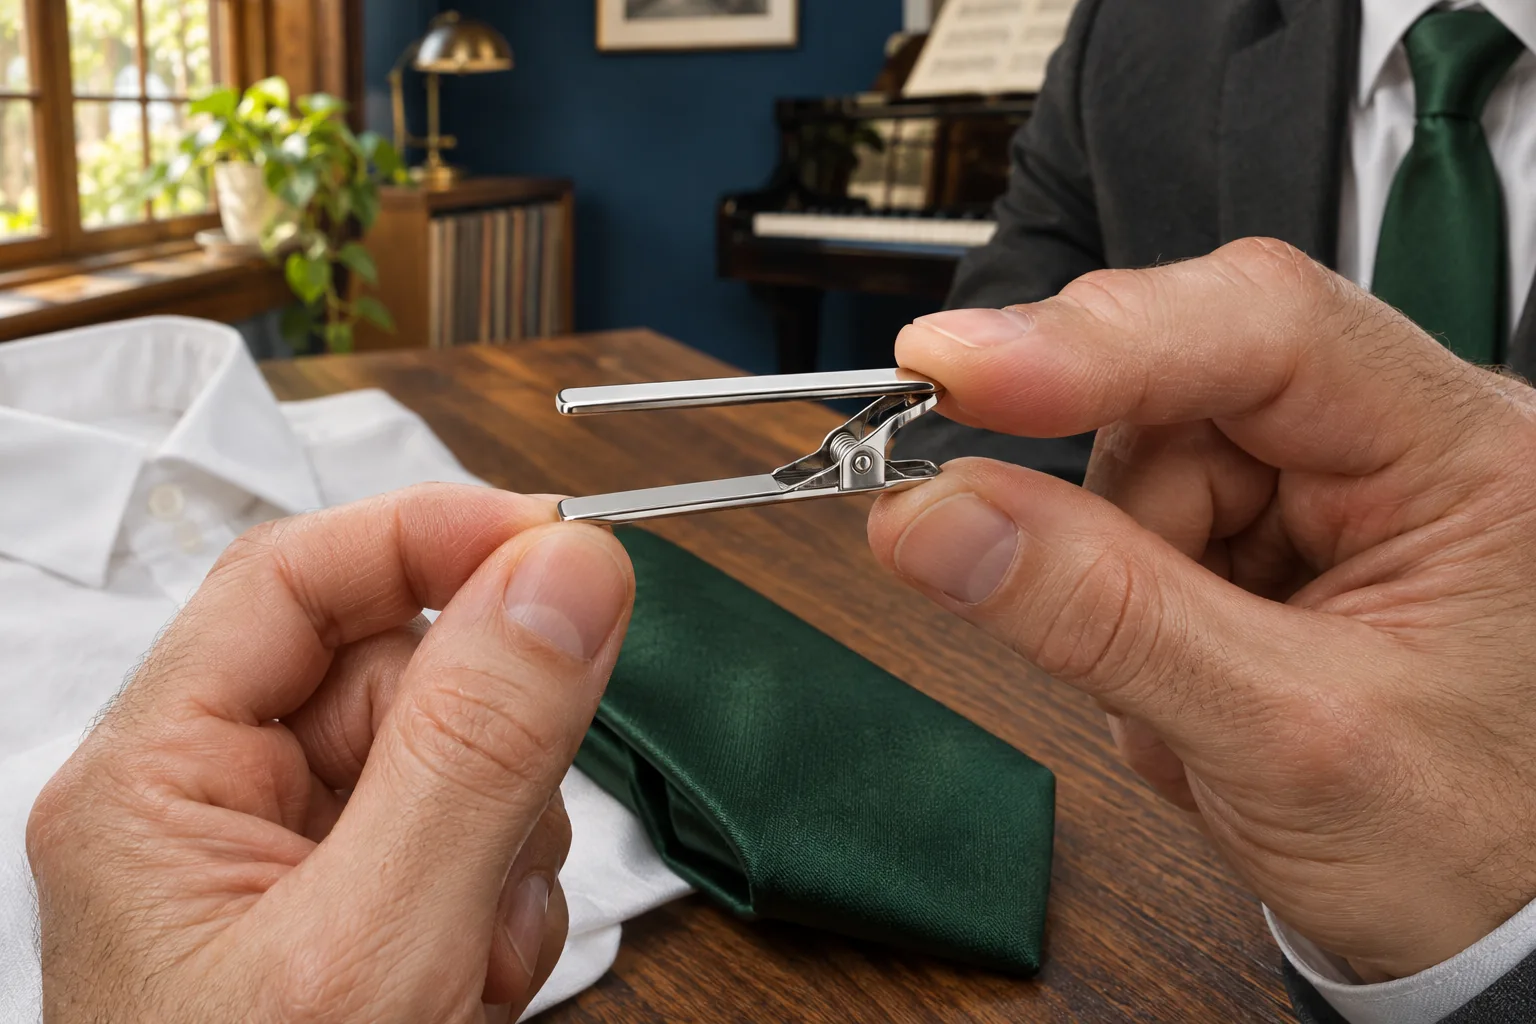
Look at the fastener before bringing it to the shirt. A spring clip opens when you press its lever; a slide bar moves onto compatible layers without the same hinged action. A tie pin is a different object and is outside this walkthrough. If you cannot tell how your accessory opens, check its own instructions or ask the seller. Do not try to discover the mechanism by pulling it across a tie you care about.
Open and close the clip gently away from the clothing. Look for rough edges, visible damage or anything caught between the gripping surfaces. A stiff or damaged fastener is a reason to pause, not to squeeze it harder while it sits against fabric. The photographs show a simple spring clip, but the exact movement depends on your model. Keep the instructions for an unfamiliar piece available. There is no need to bend the arms or modify a hinge just to complete this outfit.
Start with width and a useful area of the tie
Hold the clip beside the tie at the height you are considering. For a restrained starting point, choose a bar that ends within the visible edges of the tie. A clip extending well beyond a narrow tie can look different from what you intended and may be inconvenient beside a jacket. Compare the actual objects together. A product size name alone does not show how the bar relates to the width of this particular tie at this point.
The area around the third and fourth shirt buttons is a common starting point for placement, not an obligation. Button spacing, jacket openings and personal preferences vary. Use that area to begin looking, then check the accessory with the jacket you will wear. Keep the knot and clip visually separate. You are trying to make a comfortable, usable arrangement, not finding an exact universal distance that every person must reproduce. If a prescribed uniform has its own instructions, use those instead.
Connect the tie and the shirt placket together
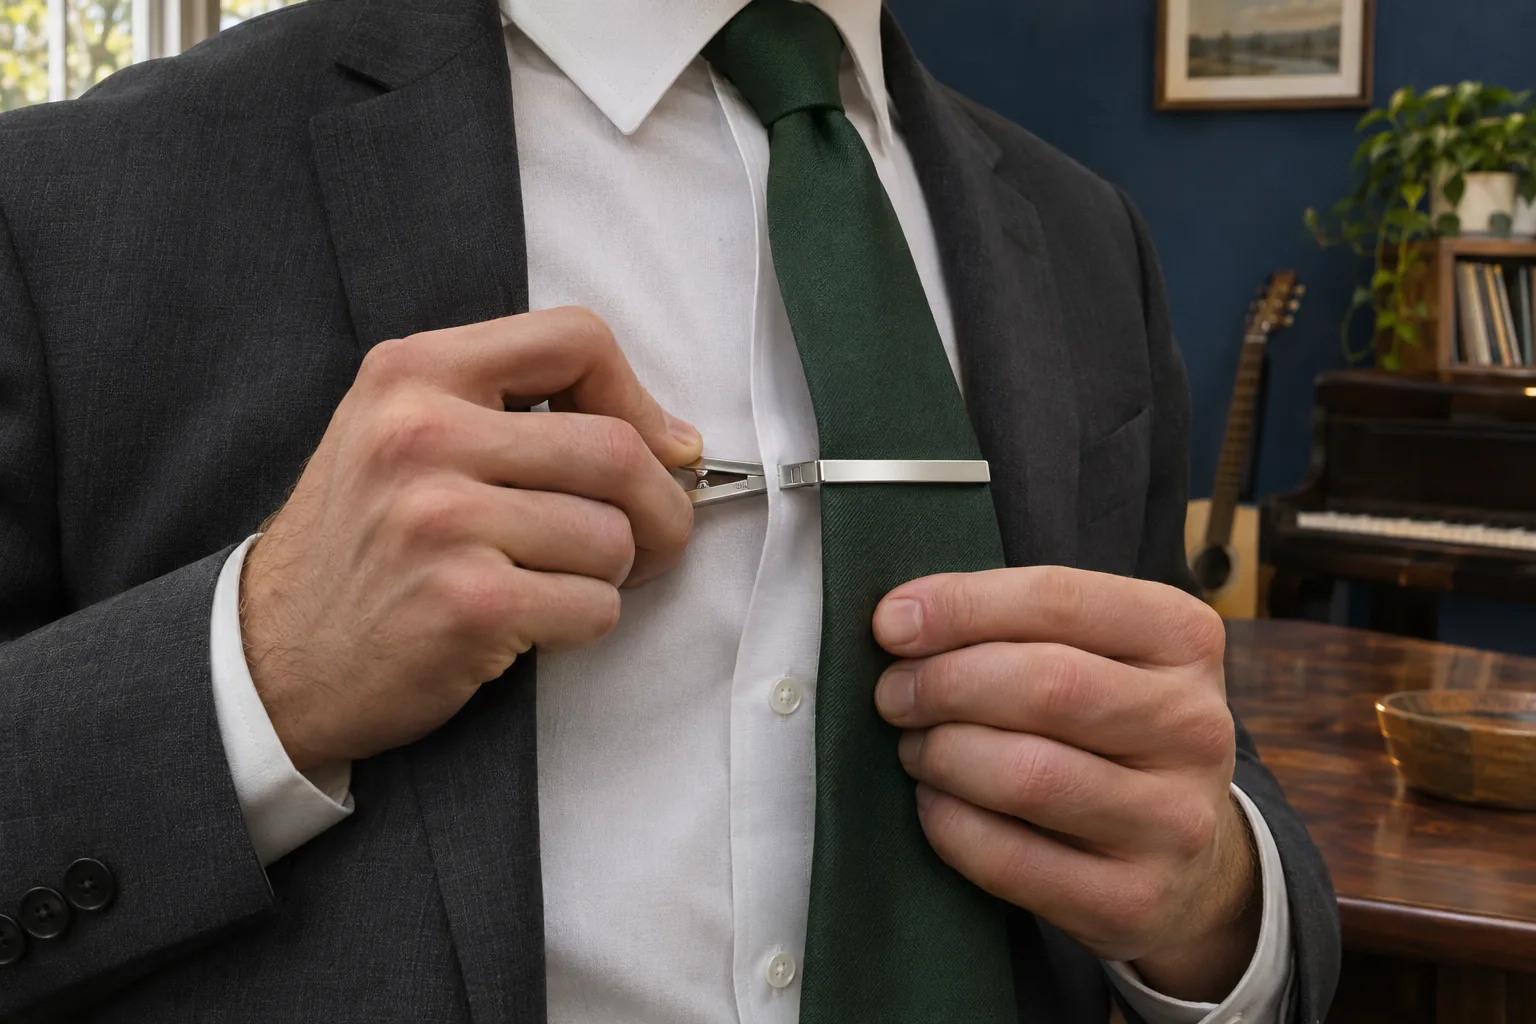
Gather the front blade and the narrow back blade where they naturally lie. Position them over the front placket, the strip of shirt fabric carrying the buttonholes. For a spring clip, open it fully enough for the intended layers and place the rear arm behind the front placket, with the visible bar across the tie. Close it according to the model’s instructions. Clipping only the two tie blades together does not connect the tie to the shirt.
Let the fabric settle instead of stretching the tie tight before closing the clip. Check that you have not caught an unrelated fold or dragged the shirt sideways. If the layers do not fit comfortably inside the accessory, remove it and reassess compatibility. Do not force a thick tie into a narrow fastener. Equally, avoid pushing a slide bar through resistance as if the fabric were a guide rail. A different accessory or no clip is a reasonable choice when this combination does not work.
Check the position with the jacket you will wear
Put on the jacket and stand normally. Fasten it as appropriate for the garment, then see where the bar appears within the opening. If the position does not suit the outfit, take the clip off, move it and reattach it. Avoid sliding a closed fastener up and down the tie to make small corrections. You can adjust the arrangement without using the fabric as a surface for repeated metal movement.
Look once from an ordinary viewing distance. A simple starting choice is to keep the bar roughly level, while accepting that clothing moves with you. Decide whether the clip is visible where you want it and whether the shirt front still hangs comfortably. You do not need to magnify a photograph to make every edge perfectly horizontal. The useful question is whether the accessory holds the tie as intended without making the outfit harder to wear during the day.

Sit and reach before you leave
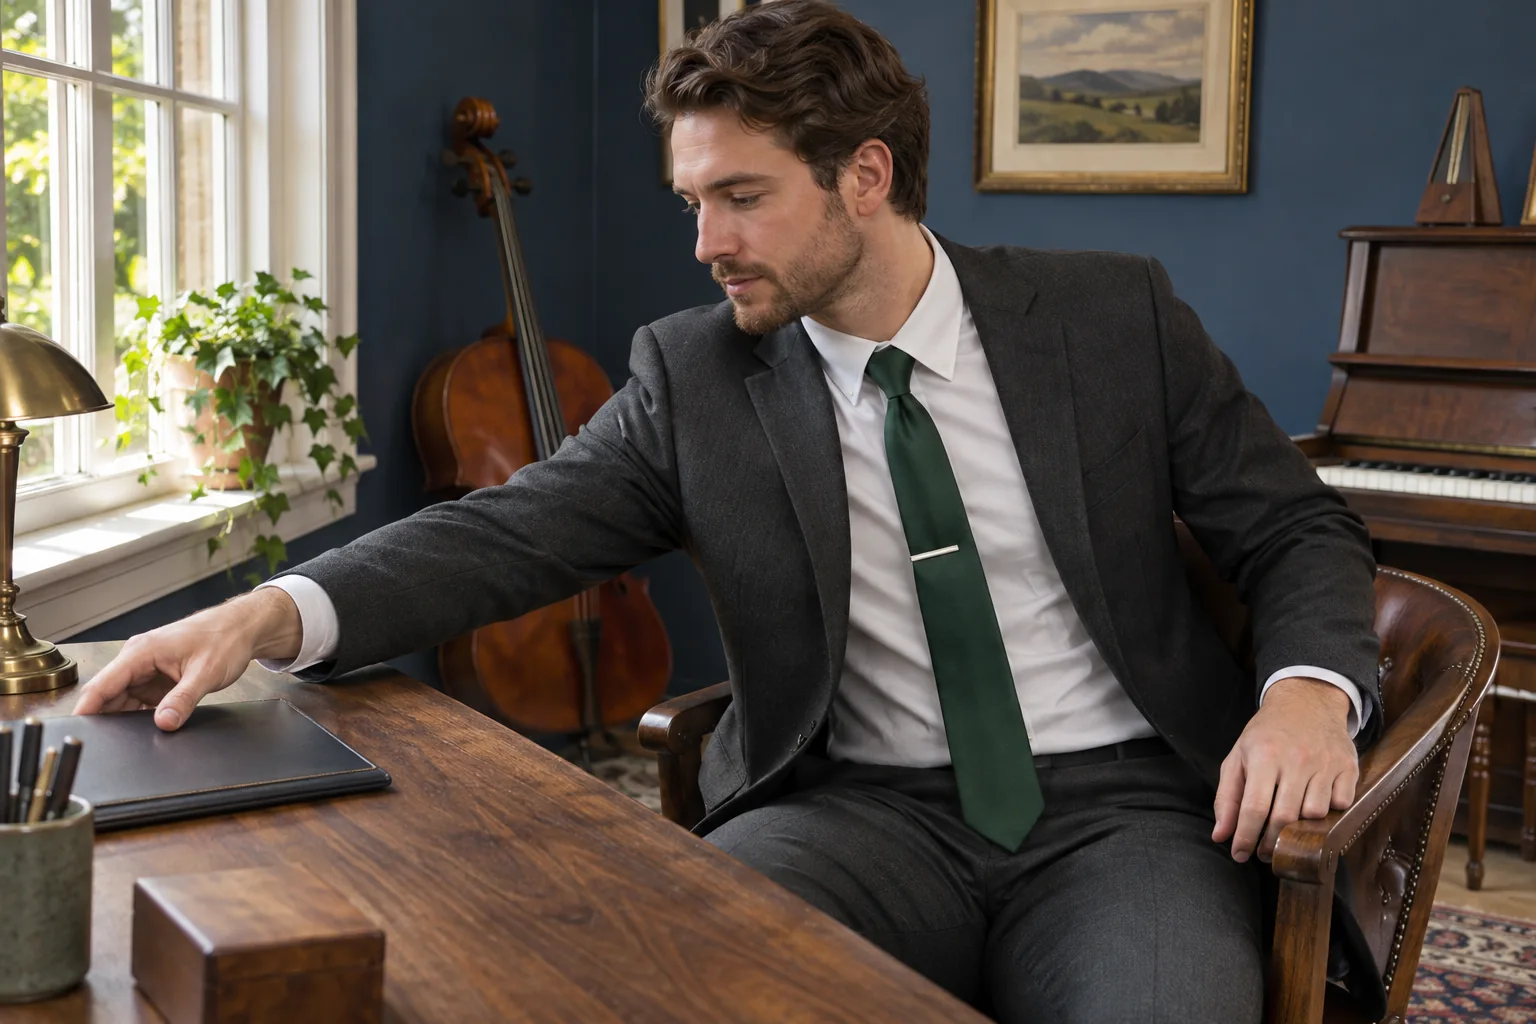
Sit in a normal chair with the jacket arranged as you would usually wear it when seated. Lean forward a little or reach for your bag. The tie should have room to move with you without feeling pulled against the shirt. If the fabric tugs or bunches, open the clip and reset the layers with some natural ease. Changing the attachment is preferable to enduring an uncomfortable position because it looked correct while you were standing very still.
Stand again and let the clothing settle. There is no need to perform a long set of movements or repeatedly test the same detail. A brief check answers whether you can use the outfit in ordinary circumstances. If your job or activity places specific restrictions on loose neckwear or jewellery, follow those restrictions. A fashion accessory does not replace workplace instructions, and wearing a clip is not proof that a tie is appropriate for every task.
Know when to leave the clip out
Consider omitting it if a layer already covers and holds the tie, the mechanism seems unreliable or the fabric does not fit the grip. You can still wear a considered outfit without every accessory you own. If you like the visual effect but the particular piece does not work, keep that as a future fitting or shopping question. It does not need to become a last-minute effort to reshape the metal or change the whole outfit.
Once the tie is held comfortably, stop adjusting it. An accessory can shift slightly as you move without requiring constant attention. If you find yourself checking it every few minutes, decide whether leaving it out would make the day easier. The aim is to support wearing your clothes, not to introduce another detail that must be monitored. A single practical decision about the clip is enough; there is no score to improve and no comparison with another person to win.
Remove the fastener before storing the tie
At the end of the day, support the tie near the clip and open the mechanism before removing it. For a slide bar, follow its own removal directions without dragging it through a fold or forcing it over an edge. Put the fastener somewhere it cannot get lost or scratch other items. Do not leave it attached and then pull the tie out from under it while undoing the knot. Separate the accessory and garment deliberately.
Look at the area briefly before putting the tie away. If you notice a persistent mark or a fabric problem, follow the tie maker’s care advice rather than experimenting with heat or household products. The separate guide to packing a tie explains preparing the garment for travel. Take the clip off before that preparation too. Storing the two items separately makes the next use simpler and gives you a chance to notice a damaged fastener before it touches the fabric again.
Questions about using a tie clip
Does it attach only to the tie?
No. To hold the tie to the shirt, the accessory needs to connect the tie layers to the front placket. If it only joins the two blades, they can still move together away from the shirt. Check the instructions for your fastener before attaching it.
Is the third-to-fourth-button position compulsory?
No. It is a common starting area for an ordinary shirt and jacket. Button spacing and jacket shape vary. Check the result in the clothes you will actually wear and follow any specific uniform requirements that apply to your occasion.
Can I move it while it is closed?
Remove and reattach it for a different position. Sliding a closed clip along the fabric makes the correction harder to control. If the model resists normal opening, stop and inspect the mechanism rather than pulling harder on the tie.
Do I need a clip for every tie outfit?
No. It is an optional accessory. Some layers already keep the tie in place, and some occasions or activities are simpler without it. Choose the arrangement that works with your garments and your day instead of treating the accessory as a requirement.