
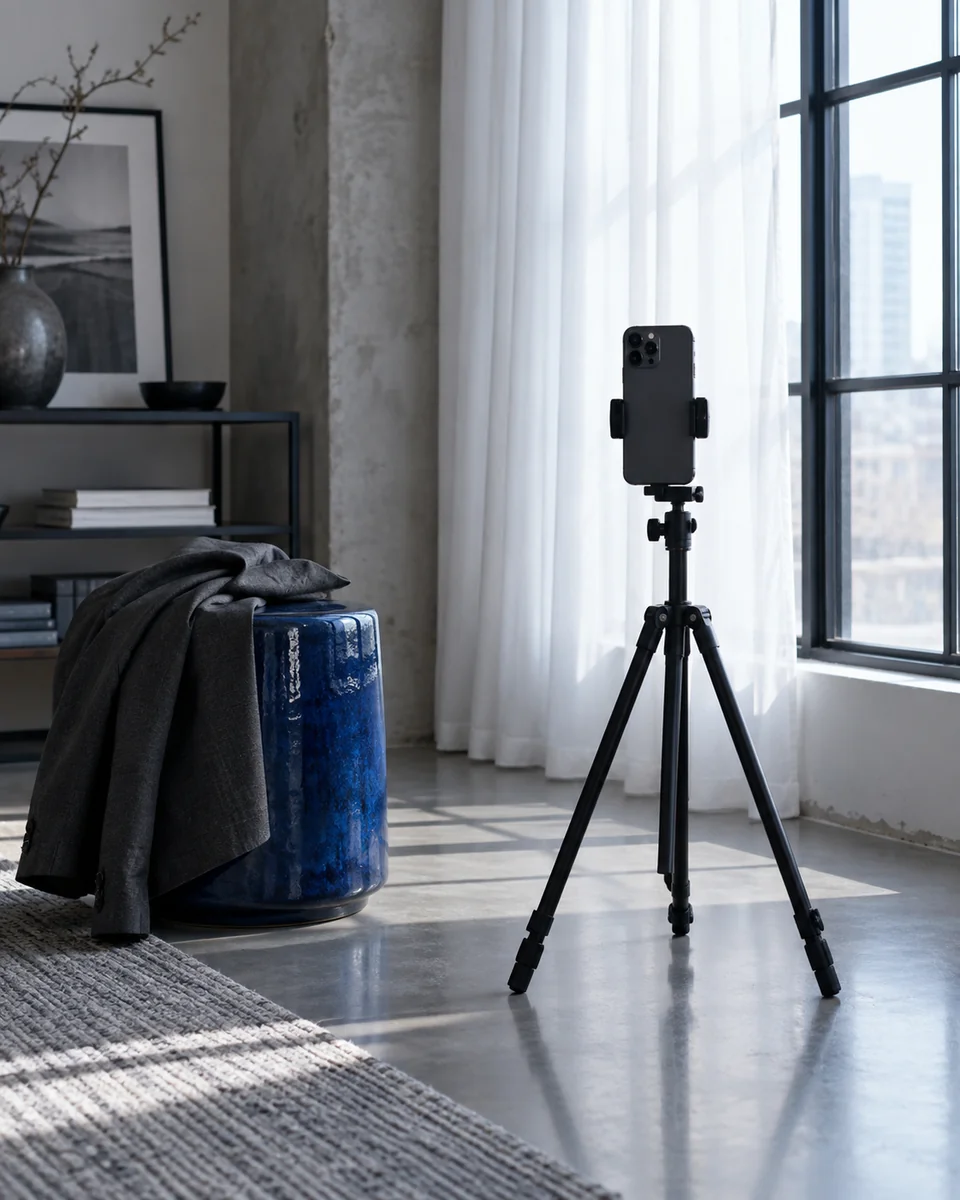
- Keep camera position and light consistent.
- Take clear front and profile references.
- Check the setup before judging a difference.
Your looksmaxxing baseline is the reference for every later comparison. A front view helps you read facial balance and visible widths; a true profile helps you inspect the lower-face silhouette and nose–lip–chin relationship. Record the setup so changes in the photograph do not become assumed changes in your face.
Assign a question to each view
Use the front view to inspect the whole outline before focusing on symmetry, brows or apparent widths. Keep the eyes level and the expression natural. For a skin-related reference, retain ordinary texture and record lighting rather than choosing the smoothest-looking exposure.
Use the profile for a different question: the relationship between the lips, chin and neck outline, or the contribution of beard length. Do not replace it with a three-quarter portrait. Save the two views as one baseline set and write which feature-level question you will revisit.
Choose a setup you can reproduce
Put the camera at eye level and use a stable surface or a stand. Keep the same device, camera and distance for later check-ins. Avoid holding the phone so close that your nose dominates the frame. Move the camera back and keep enough detail for a clear portrait, following the capture instructions of the app you are using.
Camera distance changes perspective. This matters when comparing facial proportions: a result from an arm’s-length selfie is not interchangeable with one from a camera farther away. Research on photographed faces has also found that estimating distance from smartphone portraits is unreliable in some conditions. Do not treat an apparent change in proportions as proof of physical change.
- Use the same camera for each comparison.
- Keep the lens around eye level.
- Save your setup notes with your baseline photos.
Give the front and profile different jobs
For the front photo, face the camera naturally. Keep your eyes level, shoulders relaxed and expression neutral. Move hair only enough to keep the face visible; do not pull the skin or deliberately tense the jaw. Remove beauty filters and portrait effects that change the shape or surface of the face.
For the profile, turn to a true side view instead of a three-quarter angle. Keep your normal head position. Raising the chin or stretching the neck creates a different presentation and makes comparison harder. The point of two views is context, not finding the most flattering version of each angle.
Read observations before scores
A report can help you notice the relationship between haircut shape, facial hair and your overall presentation. Start with those observations. Ask whether the explanation matches the photos and whether it suggests a practical next step you actually want to take.
A FaceScore or PSL-style number is not a measurement of your worth, health or future. Lighting, expression and model assumptions all affect the output. An unexplained score difference should send you back to the input conditions, not straight to a new appearance routine.
Make the next comparison fair
Choose one visible experiment, such as a different parting or a neater beard outline. Keep the rest of your setup stable. Compare the same view beside the same view and look at the whole portrait before zooming into tiny details. If you cannot reproduce the lighting or camera position, label the images as different conditions.
MogRise uses front and profile photos to connect an AI report with personal priorities. Use the report as a starting point for your own decisions. Keep your original photos, record what you changed, and leave enough time between checks for the question you are trying to answer. You do not need to rescan every day to make a useful decision.
Make a capture recipe you can repeat
Write down the place, camera, approximate distance, phone height and light direction. Use the same lens mode and avoid comparing a close selfie with a portrait taken from much farther away. Mark a practical standing position if it helps. The setup does not need studio precision; it needs to be consistent enough for the feature question you are asking.
Leave room above the hair and below the chin so the full frame remains visible. Keep the neck and upper shoulders in the reference when they help show posture. Check focus on the face before saving the image. A simple recipe reduces the chance that a later comparison is driven mainly by a different crop, lens position or shadow.
Take the profile without creating a pose
A useful side reference shows the forehead, nose, lips, chin and neck relationship from a consistent direction. Keep the shoulders and head comfortably positioned. Avoid pushing the chin forward, lifting it sharply or changing the facial expression to manufacture a cleaner outline. Those actions may suit a styled portrait, but they complicate a baseline comparison.
Review the original image before cropping. Check that the forehead and chin are visible and that hair, beard or a high collar is not hiding the region you need. If your question concerns facial-hair contour, record the beard length and finish. The view and the grooming state together explain what the lower boundary represents.
Reject an input when the question is hidden
A good-looking photo can be a poor assessment input. If a fringe hides the hairline, glasses obscure an eye corner or the chin is cut off, the image cannot answer every facial question equally well. Select a reference for the information it contains. Keep presentation portraits in a separate set if you also want to explore a photographic style.
Do not retake the entire set because of one small imperfection. Retake when blur, obstruction, extreme perspective or inconsistent expression affects the area you need. This gives the photo check a clear stopping point and prevents the preparation stage from becoming an endless search for the most flattering baseline.
| Question | The reference must show |
|---|---|
| Facial thirds | Visible landmark regions and an uncropped full head. |
| Jawline and chin | A relaxed lower-face outline and useful profile. |
| Eye frame | Eyes and brows without obstruction or a deliberate squint. |
| Skin appearance | The same region in neutral light without strong smoothing. |
Label a comparison before you interpret it
Give each reference a date and a brief setup note. For a styling test, add the variable that changed: fringe finish, beard length, frame pair or collar. Keep the comparison at similar screen size. If the original and new photo have different lighting or camera distance, describe the result as uncertain until you can repeat the conditions.
Use the notes to ask one question about the result. ‘Does the shorter chin trim reduce added lower-face length?’ is more useful than ‘Do I look better?’ The baseline is a tool for answering that question. Once it has done the job, save the decision and close the comparison rather than repeatedly re-rating the same two images.
Leave with two repeatable views and a facial question.
Your jawline looks different in two photos, but the lighting and camera distance changed.
Keep one clear front reference and one true profile. Record the lens, distance, camera height and light. State what you intend to compare, such as beard contour, so a later photo answers a specific question.
Your looksmaxxing baseline card
Use the prompts to turn this guide into your own next step. The examples are suggestions; write what fits your situation.
Can you repeat the setup without guessing? If a condition changes, write it down before comparing the result.
Add a note to any prompt to continue. Your notes stay on this page. Download a text file before leaving.
A few useful clarifications.
01Do I need the most flattering photo for face analysis?
Choose the clearest useful reference for the question. A flattering pose or dramatic shadow may hide information or alter the visible outline. Keep styled portraits separate from the baseline when their purpose differs.
02What should I record with a baseline photo?
Record the date, camera mode, approximate distance, height, light direction and grooming state. Include the specific variable if you are comparing a change. Keep the note brief enough to repeat.
03Should I remove glasses for an eye-area assessment?
Use an unobstructed reference when the frame hides the landmarks you need. For a glasses-framing comparison, photograph the pair as worn and keep the other conditions stable.
Where your next question leads.

Facial harmony: read the relationships between your features.
Understand facial thirds, midface, symmetry and profile balance. Learn what a face analysis can show and how to use it in looksmaxxing.

FaceScore and PSL: turn the report into a looksmaxxing plan.
Read FaceScore and PSL-style ratings alongside facial harmony, jawline, eye-area and skin observations. Choose an action from the explanation.

Track looksmaxxing progress with a feature-level record.
Record looksmaxxing actions, comparable references and feature observations. Review what changed without relying on a score alone.