FACE ANALYSIS · 8 MIN READ
Your looksmaxxing baseline: front and profile photos.
Build a repeatable looksmaxxing baseline with front and profile photos. Keep facial analysis and progress comparisons consistent.
Take consistent looksmaxxing baseline and progress photos. Separate changes in your face or framing from camera distance, pose and lighting.
 LOOKSMAXXING / FRONT / PROFILE / PROGRESS
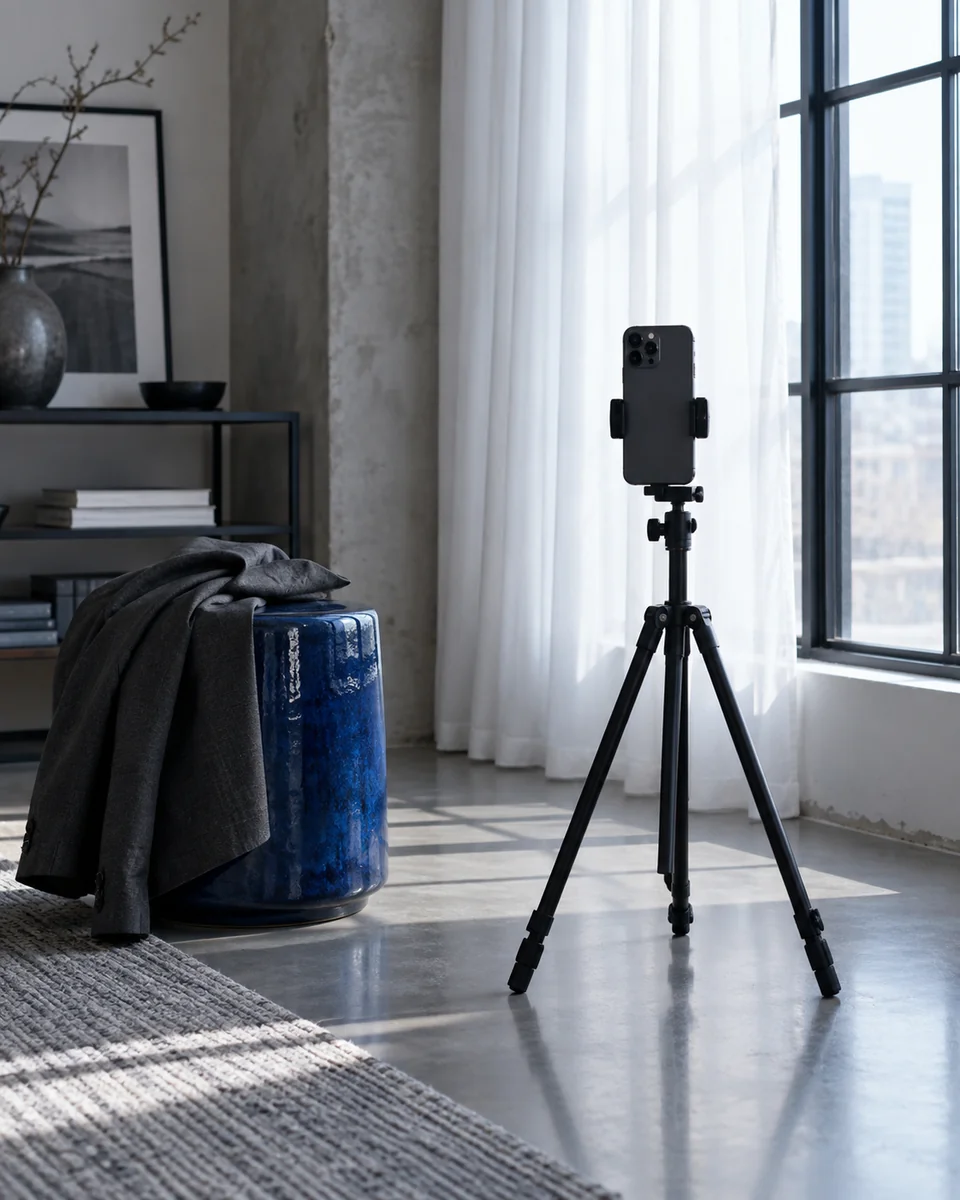
Use the same view, camera distance, height, expression and light. Record the change you intended to test before comparing the images. Front and profile references answer different questions; a dramatic portrait and a neutral baseline also have different jobs.
Good photography can support a looksmaxxing plan when you know which question the picture is answering.
| The question | AAnalysis & progress reference | BAn expressive portrait |
|---|---|---|
| Purpose | Understand a feature or review one recorded change. | Choose the presentation you want for a personal photo. |
| Conditions | Repeat the camera position, view, expression and light. | Explore light and composition to create the intended mood. |
| Interpretation | Compare matched conditions and record uncertainty. | Enjoy the result without treating the pose as evidence of structural change. |
Keep your baseline separate from your favourite portrait. Both can be useful without being interchangeable.
Use the front reference for facial balance, brow framing and visible widths. Use a true profile for the lower-face contour and the nose–lip–chin relationship. Keep the mouth relaxed and the head in its normal position.
Record the device, camera, approximate distance, lens height and light source. Use a stable support and a simple background. Remove effects that smooth skin or reshape the face. Keep enough original detail to review the feature you are actually assessing.
Label the photos with the action, not just a date or score: a beard-contour adjustment, lower hair volume or a care-routine check-in. If the conditions differ, note that limitation. Finish with a decision about the action instead of repeatedly searching the image for new concerns.
A baseline documents the starting frame. A comparison isolates a chosen change. An editorial portrait explores the image you prefer to present. These roles can use different lighting or styling, but the difference should be explicit. A strong portrait may be worth keeping without being evidence of a physical transformation.
Organize the images by purpose. For the baseline, keep the relevant features clear. For a comparison, preserve the setup and record the grooming variable. For an editorial image, note the pose or light idea you like. This simple separation improves both the reliability of your looksmaxxing record and the clarity of your photography decisions.
Camera distance, height, head orientation, light direction and crop all matter to the visible portrait. You do not need laboratory control, but you should know which conditions changed. A jawline comparison needs a relaxed lower-face outline; an eye-frame comparison needs a stable expression; a hairstyle comparison needs the full upper silhouette.
Use a capture recipe you can repeat and stop when the necessary information is clear. Do not retake endlessly in search of the most flattering assessment photo. If a condition changes substantially, label the comparison uncertain and repeat the part needed for the question. This gives the photo session a useful endpoint.
Write what the image is supposed to help decide. ‘Compare side weight at the temples’ tells you how to read the portrait and which variables to preserve. ‘Look better’ leaves every region open for judgment. A short caption turns the picture into a tool rather than another image to rate.
After the comparison, save the preferred version and the reason. The next haircut, trim or app conversation can then begin with a clear reference. Photography supports your plan best when each image carries an understandable job.
| View | Useful purpose |
|---|---|
| Front | Width relationships, forehead exposure and eye framing. |
| Profile | Nose–lip–chin relationship and lower-face outline. |
| Three-quarter | An everyday check of the preferred frame. |
| Full body | Outfit proportions and the complete silhouette. |
Give the front and profile their own rows in your notes. For each, record the camera setup and the question it answers. If you are comparing a beard contour, use the front for width and the profile for the lower edge. Keep the original images so a later crop does not become the only reference.
Before each check-in, read the setup note and name what has changed since the baseline. If an unrelated haircut or a different room changes the conditions, record it. The final entry should explain what you learned and whether the action is worth keeping.
Action: reduced length beneath the chin. Conditions: same device, window, distance and relaxed expression. Observation: less added length in profile. Next decision: keep the contour and its maintenance instructions.
Comparing a posed, side-lit after photo with a close, flat-lit before selfie and attributing every difference to the routine.
Save a capture recipe with one front and one profile reference, then write the specific question your next photo should answer.
Leave with a repeatable setup and one review question.
Take neutral front and profile photos and write down the capture conditions.
Can you recreate the setup without guessing?
No account or upload. Notes stay on this page; download them before leaving.
It can, if the setup is clear and suitable for the question. Strong pose changes, heavy filters or hidden landmarks may make it less useful. Prioritize the information the reference needs to contain.
Record the camera mode, approximate distance and height, light direction, pose and grooming state. Keep it brief and practical enough to repeat at the next review.
Define the question and stopping point before the session. Save the result and decision once the comparison has done its job. A new image should have a reason to exist.
Build a repeatable looksmaxxing baseline with front and profile photos. Keep facial analysis and progress comparisons consistent.
Record looksmaxxing actions, comparable references and feature observations. Review what changed without relying on a score alone.
Read FaceScore and PSL-style ratings alongside facial harmony, jawline, eye-area and skin observations. Choose an action from the explanation.