
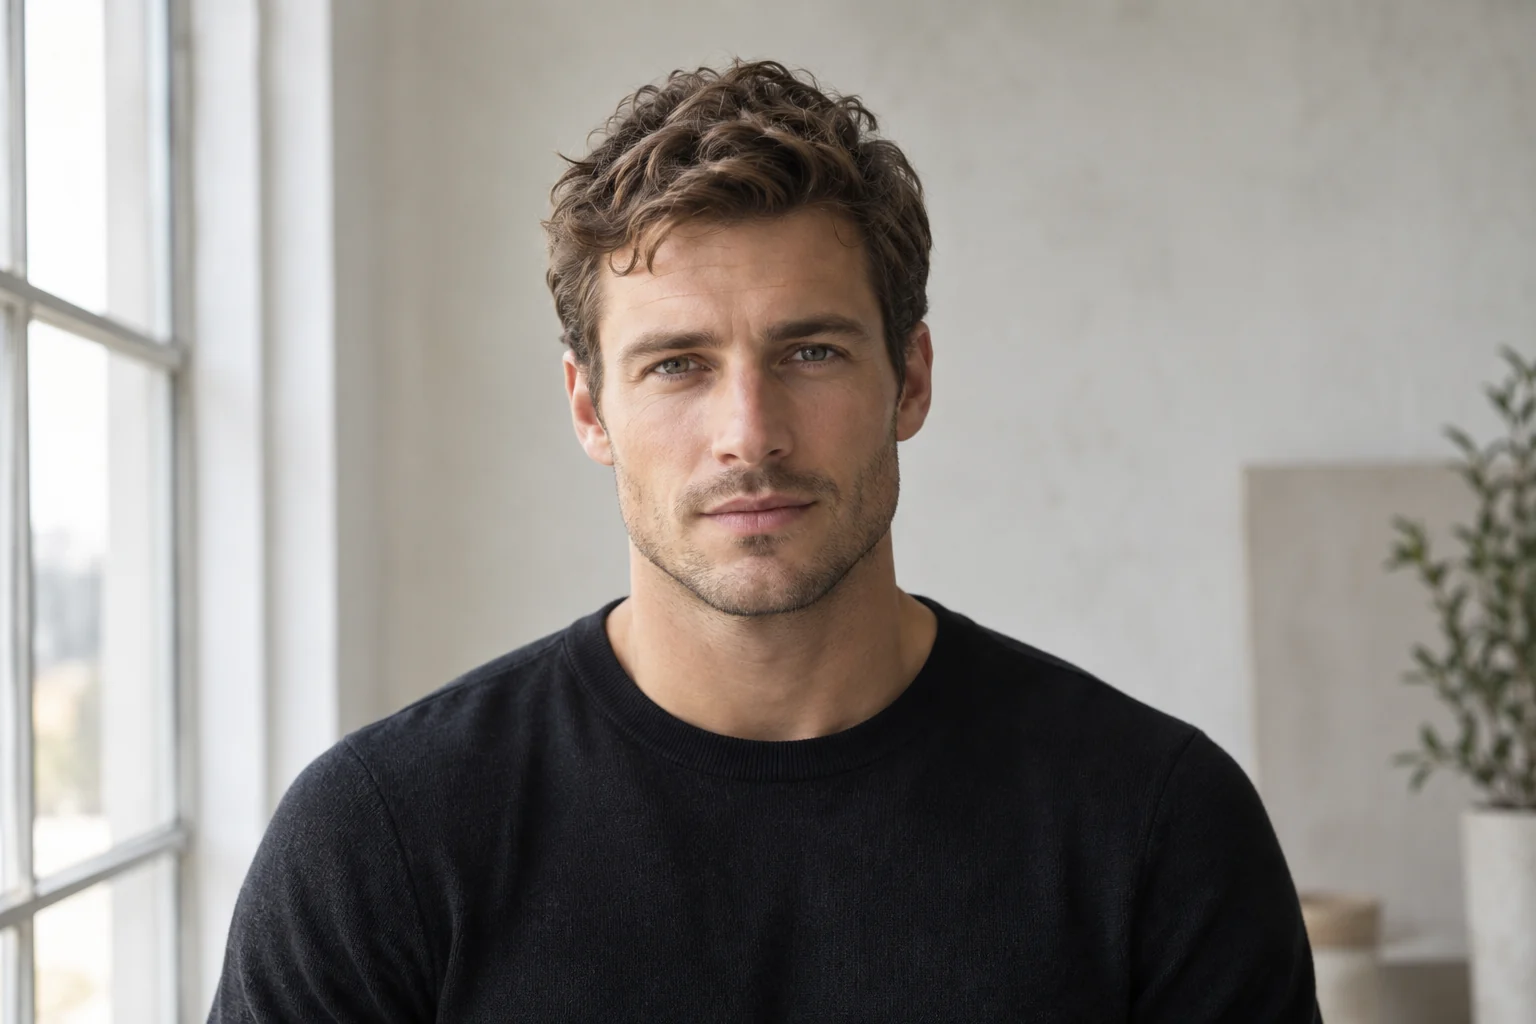
- Decide whether the photo is for comparison or expression.
- Change light direction before reaching for an editing filter.
- Keep the setup consistent when comparing progress.
Light changes which contours and surface details are prominent in a photo. For looksmaxxing analysis, start with a setup that lets you read the face clearly and repeat it later. Keep that baseline separate from lighting you choose for a more dramatic personal portrait.
Choose light for the feature question
A strong side light and a soft frontal setup emphasize different parts of the picture. If you are comparing beard contour, brow framing or skin appearance, use the same lighting conditions for both versions. Do not call the difference between two lighting setups a result of the routine.
Write where the light comes from and where you stand. Keep enough detail in both sides of the face to answer your question. Review a front and a profile reference separately, and check focus and exposure before drawing a conclusion about the feature.
Choose the purpose of the photo
A neutral photo for analysis should show your features clearly. A personal portrait can have mood, gesture and more directional lighting. Both are valid, but they answer different questions. Do not compare a carefully lit editorial image with a casual reference photo and treat every difference as a physical change.
For a repeatable reference, choose a plain background and a position you can return to. Use your normal expression and avoid heavy filters. For a more expressive portrait, keep the reliable setup and then deliberately experiment with pose or light.
Explore the light with a small movement
Stand near a window with indirect light and turn gradually. Watch how the shadows change across your face. Try facing more toward the window for even illumination and turning away a little for stronger dimension. Switch off a nearby overhead light if it introduces a conflicting colour or shadow.
This is a controlled experiment, not a rule that every portrait needs the same lighting. Nikon’s portrait guidance highlights lens choice, lighting and focus as separate decisions. Learn what each contributes instead of expecting one camera setting to solve all three.
Give the camera a stable position
A stand and a timer let you move the camera farther away than an arm’s-length selfie. Keep the lens roughly at the height you intend to repeat and check that the face is in focus. When working with someone else, explain the framing before asking them to take the photo.
Avoid switching between an extremely close wide-angle view and a distant portrait when comparing results. Distance changes perspective. If the aim is a practical reference, choose a comfortable camera position, remember it and use it again.
- Clean lens and stable support.
- A repeatable camera distance and height.
- Similar background, light and expression.
Review the setup before reviewing yourself
When a photo seems off, first check whether the camera moved, the light changed or focus missed. Those are actionable photographic problems. Adjust the setup and take a small number of purposeful alternatives rather than generating dozens of nearly identical images.
Choose the photo that serves your purpose. A clear front and profile reference is a useful input for MogRise; a personal portrait may benefit from a more expressive angle. Keeping those jobs separate makes the photos easier to interpret and the process less frustrating.
Choose between assessment light and portrait light
Assessment light is chosen to make the relevant features readable. Portrait light may be chosen for mood, depth or a stronger silhouette. A side-lit image can make a jaw edge more dramatic while leaving the other side of the face harder to inspect. Neither purpose is wrong, but the resulting photos should not be interpreted as equivalent evidence.
For a baseline, use a setup that keeps the face visible without a deep shadow hiding the region you need. For an editorial portrait, you can explore directional light separately. Label the purpose and keep the original capture. This prevents a lighting experiment from being reported as a skin, eye-area or jawline transformation.
Move relative to the window before changing the camera
A small turn or a move within the room changes how light reaches the face. Observe which side becomes brighter, where the under-eye shadow sits and whether the lower-face outline remains readable. Keep the phone position steady while learning the light. If you move both the subject and camera at once, you cannot easily explain which change caused the result.
Avoid using colored room lights as the baseline for skin appearance or hair color. Check whether the window light is being mixed with a warm lamp. For a repeatable setup, note the room, direction and a practical time window rather than trying to reproduce an exact minute. If weather changes the light substantially, record that limitation before comparing the portraits.
Troubleshoot the image by the feature you cannot read
Inspect the full portrait and identify the specific information that is missing. A dark eye socket, bright highlight on the forehead or hidden chin boundary may call for a different subject position rather than a new phone. Adjust the light relationship first, then check camera height and distance. Keep each correction small enough to understand.
When the image is clear, stop adjusting. The goal is a useful reference, not the strongest possible contrast. Save the capture recipe and use it for the next comparison. For photographic experiments, deliberately change one lighting variable and describe the visible effect as part of the portrait rather than part of your anatomy.
| Photo observation | Setup question |
|---|---|
| One eye region is much darker | Is the light strongly to one side or above the face? |
| Skin color changes between images | Did room lighting or camera processing change? |
| The jaw edge looks dramatically sharper | Is the difference mainly a new shadow or head position? |
| Hair merges into the background | Would another background or position clarify the silhouette? |
Create a two-image lighting lesson for yourself
Take one neutral reference and one intentionally directional portrait with the same camera distance and relaxed pose. Put them beside each other at the same size. Describe the shadow changes around the eyes, cheeks and jaw. This exercise shows how much of a preferred photo can come from light without requiring any change in grooming.
Keep the neutral image for assessment and the directional one as a photography reference. When you later compare a haircut or beard, use the assessment setup. When you want a stronger portrait, reuse the light idea. Having two clearly named purposes makes your looksmaxxing progress record more trustworthy and your photography choices more deliberate.
Leave with a simple setup you understand.
One side of the face disappears into shadow and you keep changing your expression to compensate.
Start with the position of the camera, subject and window. Change one of them at a time, then check the frame. Once the light serves the purpose of your photo, record the arrangement so the next reference starts from a known setup.
Your window-light setup card
Use the prompts to turn this guide into your own next step. The examples are suggestions; write what fits your situation.
Save a short setup note. If the light changes substantially, label the next photo as different conditions.
Add a note to any prompt to continue. Your notes stay on this page. Download a text file before leaving.
A few useful clarifications.
01Is dramatic side lighting useful for looksmaxxing photos?
It can create a strong portrait, but it may obscure one side of the face or emphasize shadows. Use it for a photography preference and keep a readable neutral setup for assessments and progress comparisons.
02Why does my under-eye area change near different windows?
The direction, softness and brightness of light change the visible shadows. Keep the same setup when comparing an eye-area concern and avoid interpreting a lighting difference as a physical change.
03Do I need professional lighting equipment?
No. A consistent, readable natural-light setup can be enough for an editorial baseline. Prioritize the purpose, visible features and repeatable camera position before adding equipment.
Where your next question leads.
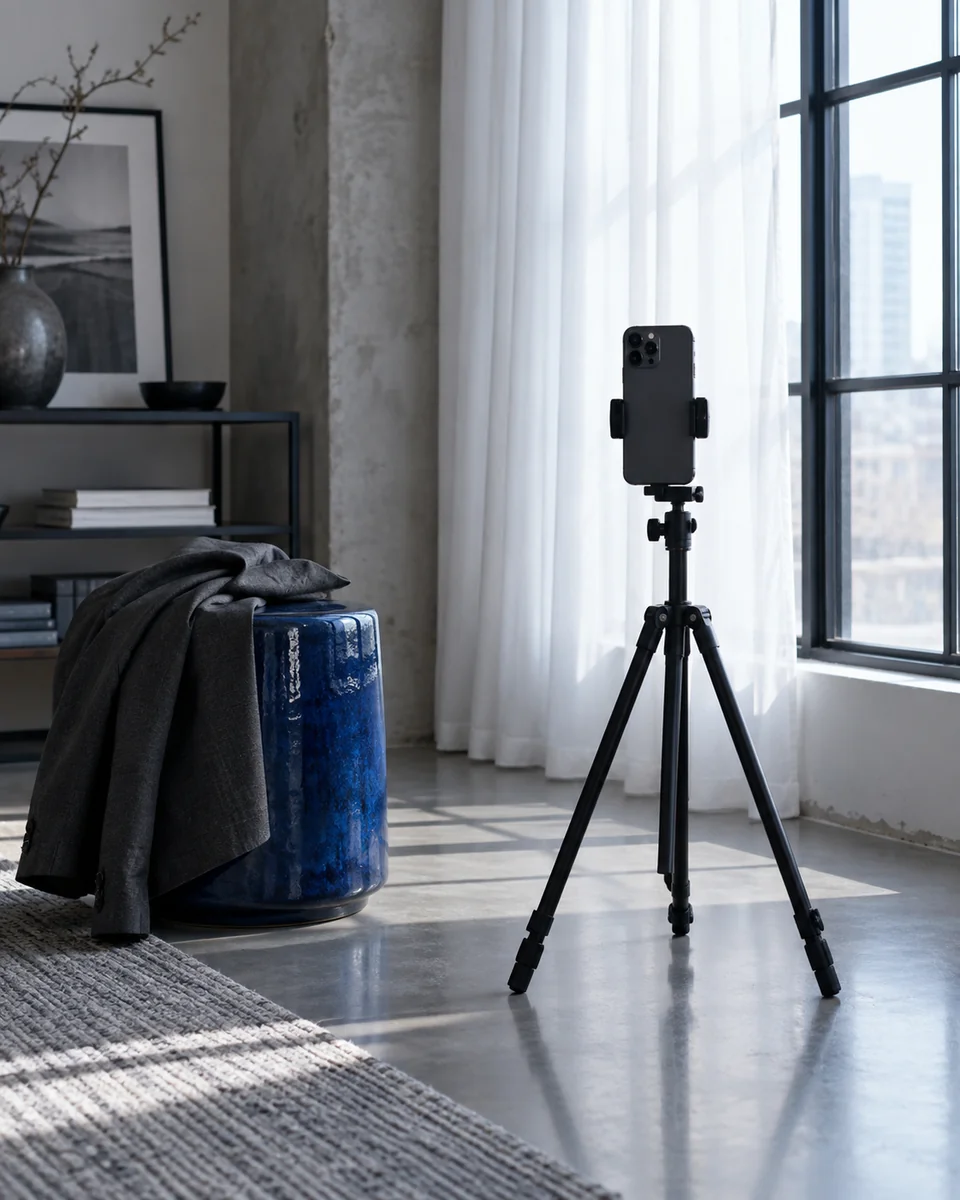
Your looksmaxxing baseline: front and profile photos.
Build a repeatable looksmaxxing baseline with front and profile photos. Keep facial analysis and progress comparisons consistent.
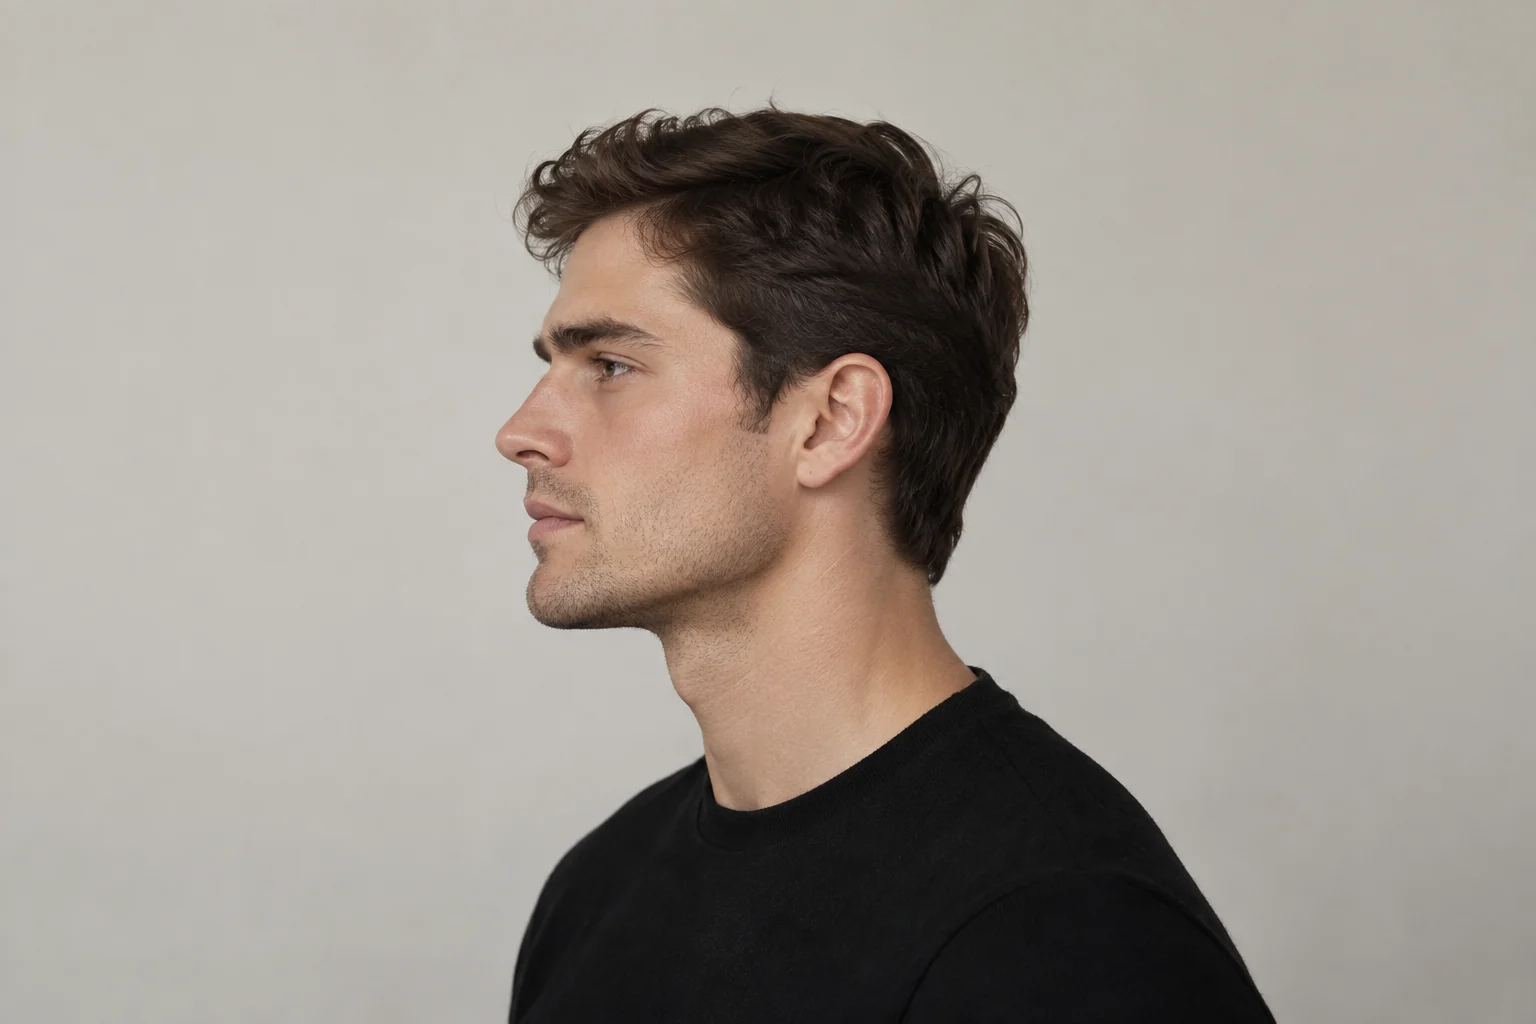
Jawline definition: separate structure, framing and the photo.
Understand jawline definition, chin and profile balance, beard framing and mewing claims before choosing your next looksmaxxing step.
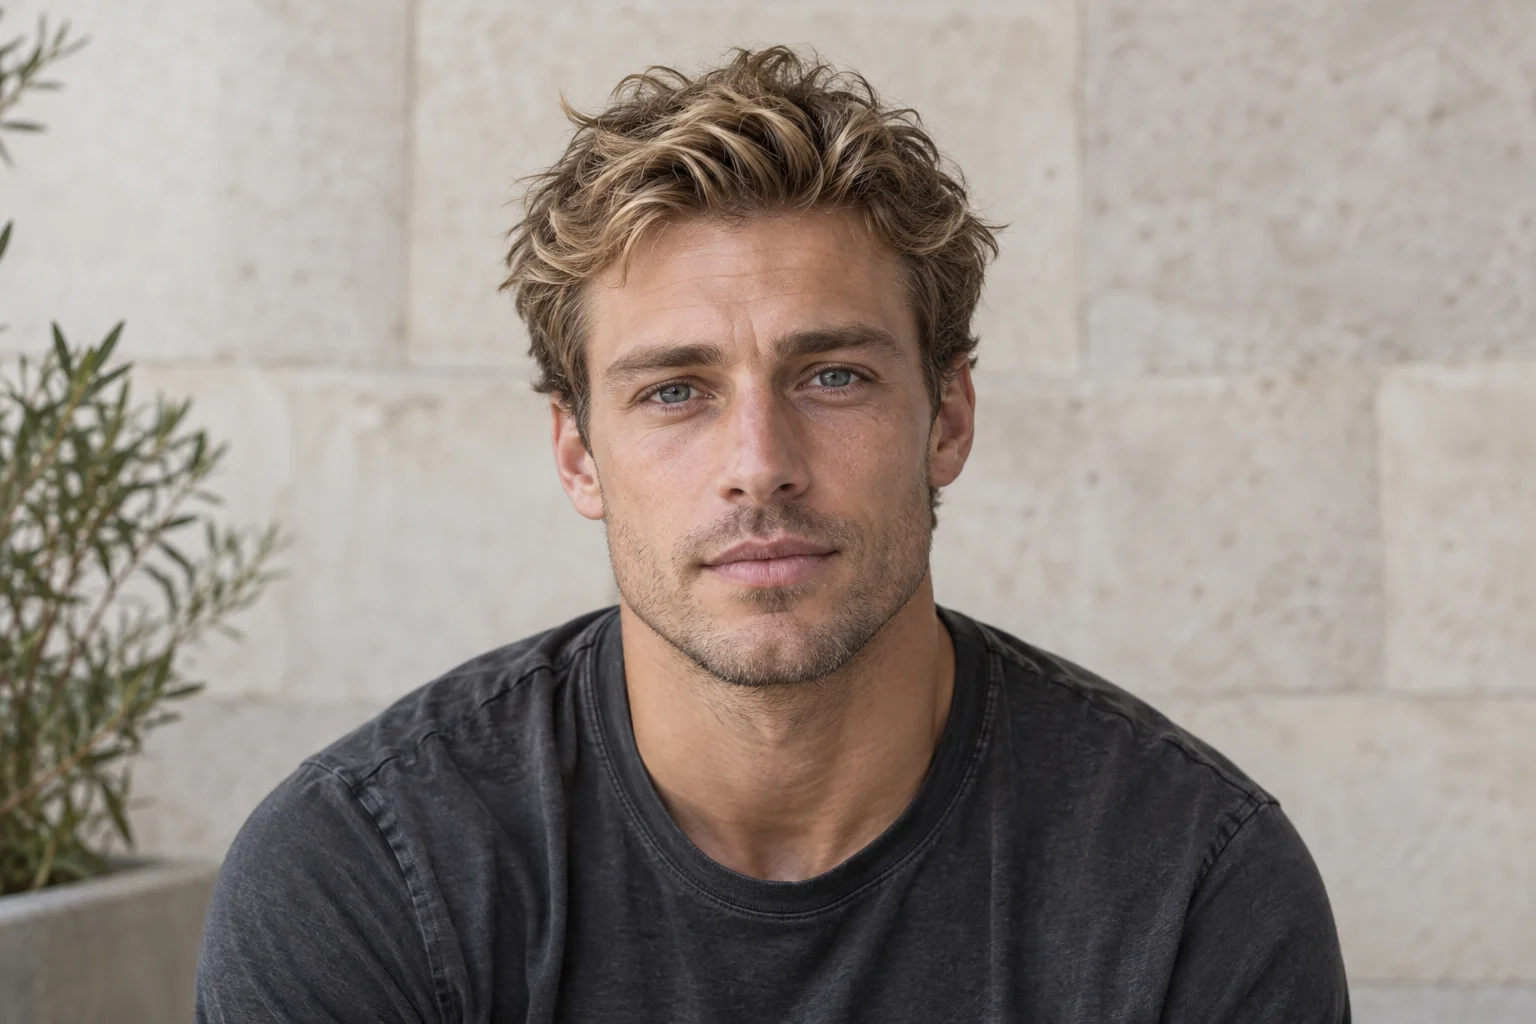
Eye-area looksmaxxing: brows, under-eyes and the whole frame.
Understand brows, under-eye shadows, puffiness and canthal tilt. Build an eye-area looksmaxxing plan around clear observations.